How to Design on a Packaging Dieline with Figma
Typically, we recommend Adobe Illustrator to edit and add dieline designs. However, Figma is a free collaborative design interface with many built-in plugins that can also be used if needed.
Alternatively, you can also try using Canva Pro as a substitute.
Step by Step Guide
1. Getting started
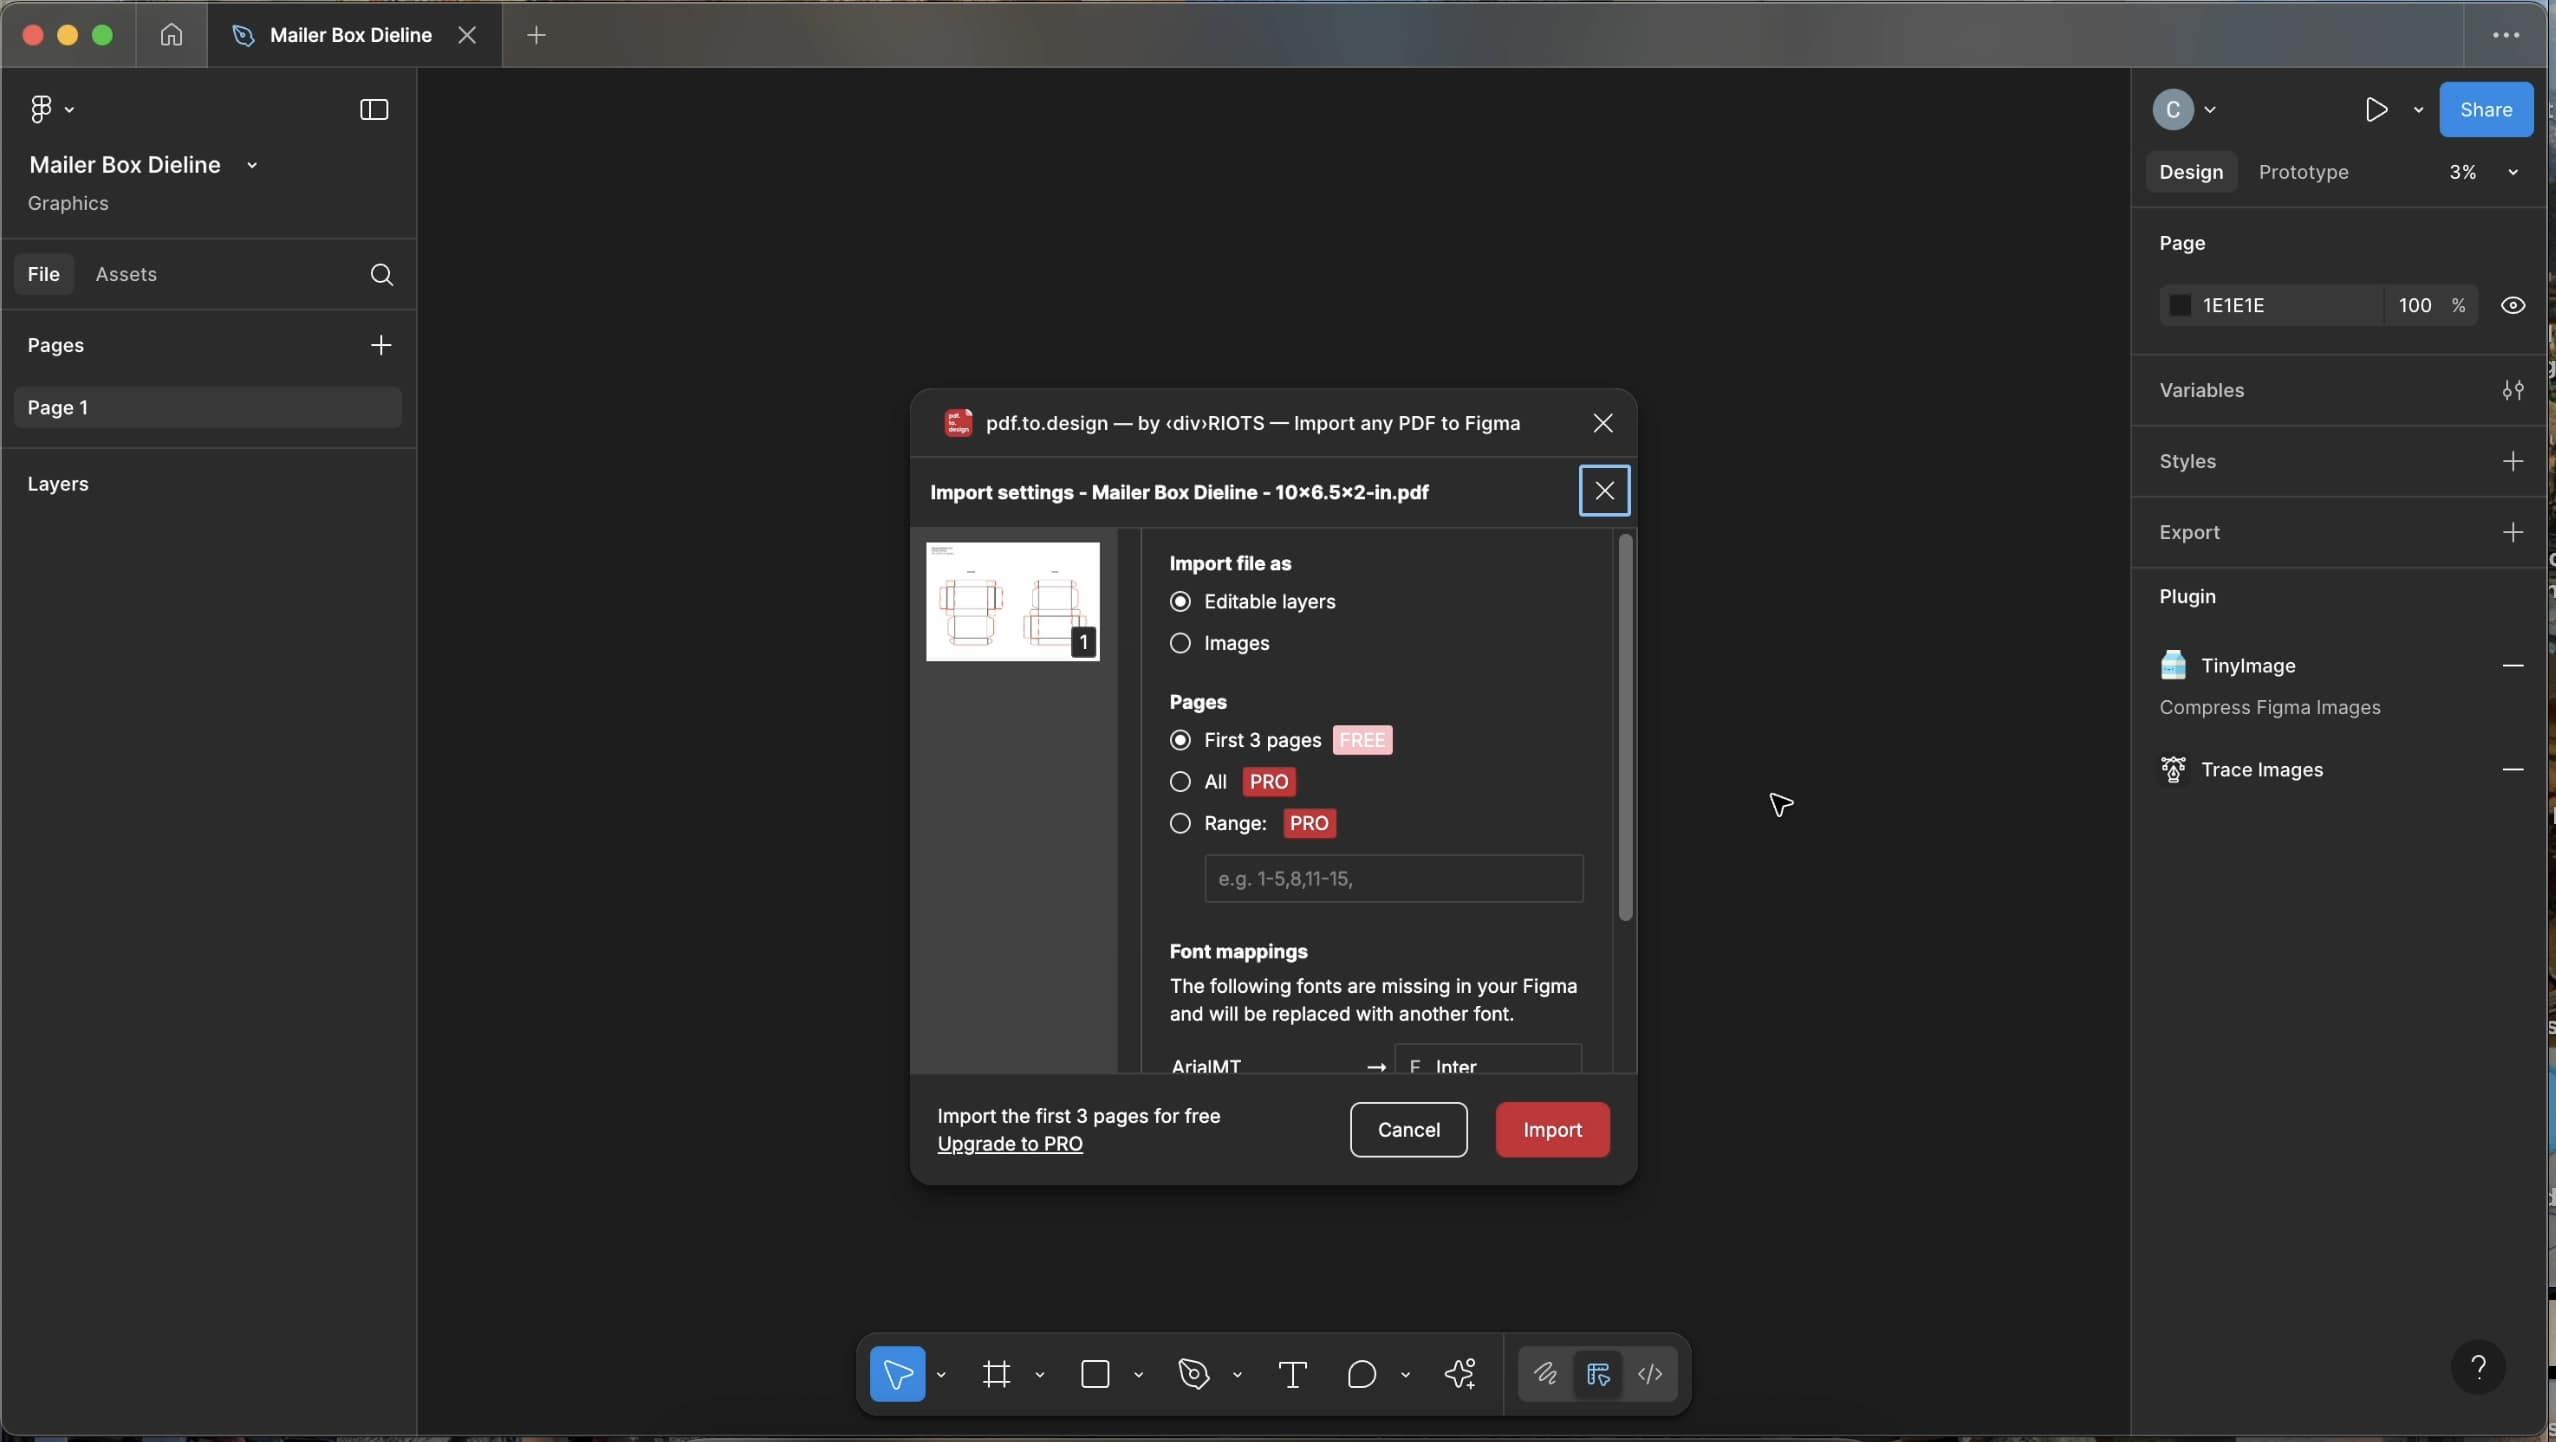
Begin by uploading the provided dieline onto Figma by using the pdf to design plugin. Once open, you’ll be able to add your designs to the dieline template. To help make the design process easier, begin by isolating the frame with the dieline by moving it out, the rest can be deleted. Then ungroup the frame that is on the page and then you can create a group for the elements of the dieline together for ease of use.
2. Adding Elements
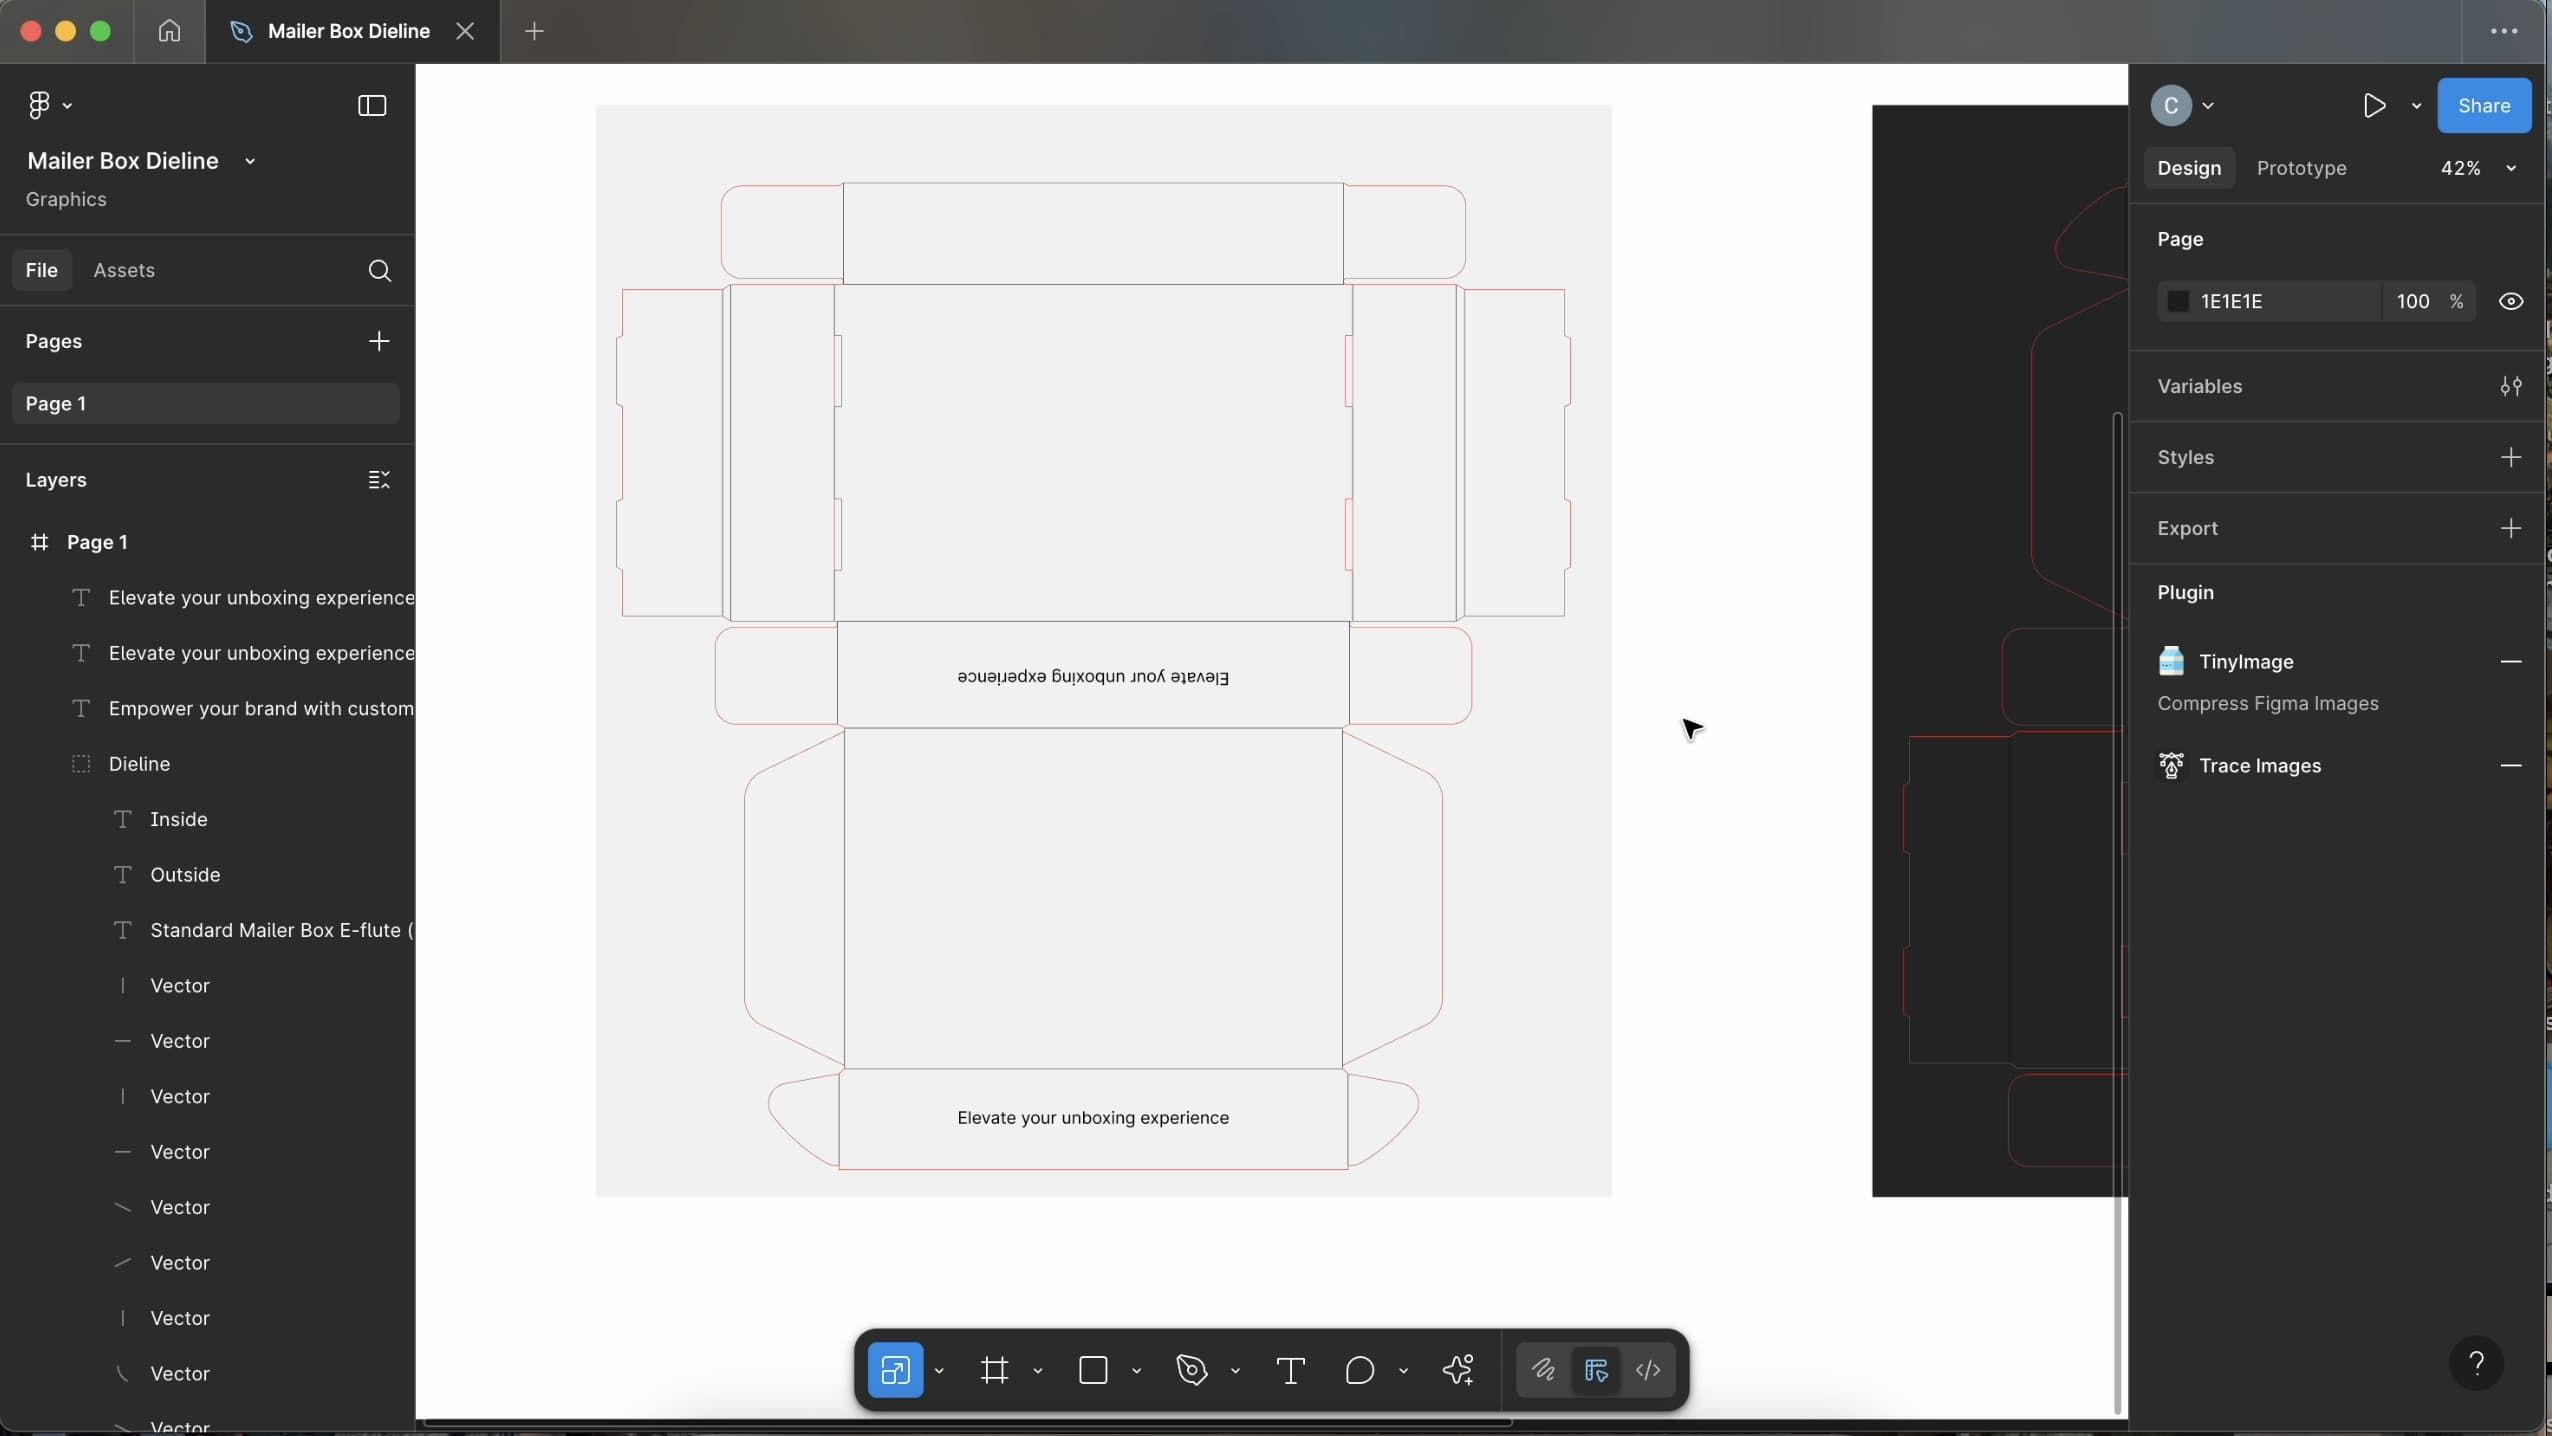
You can reference the appropriate dieline design guide to help navigate which panel is for which side of your box. In general, it is good practice to reference guidelines for dieline design. Begin by adding your background colors while accounting for bleeds. Add any design elements to your dieline, using vector SVG files when possible for high-resolution graphics.
When adding text, note down font names to provide to us alongside your final dieline as well as any image files you choose to add to your design.
3. Uploading Logos
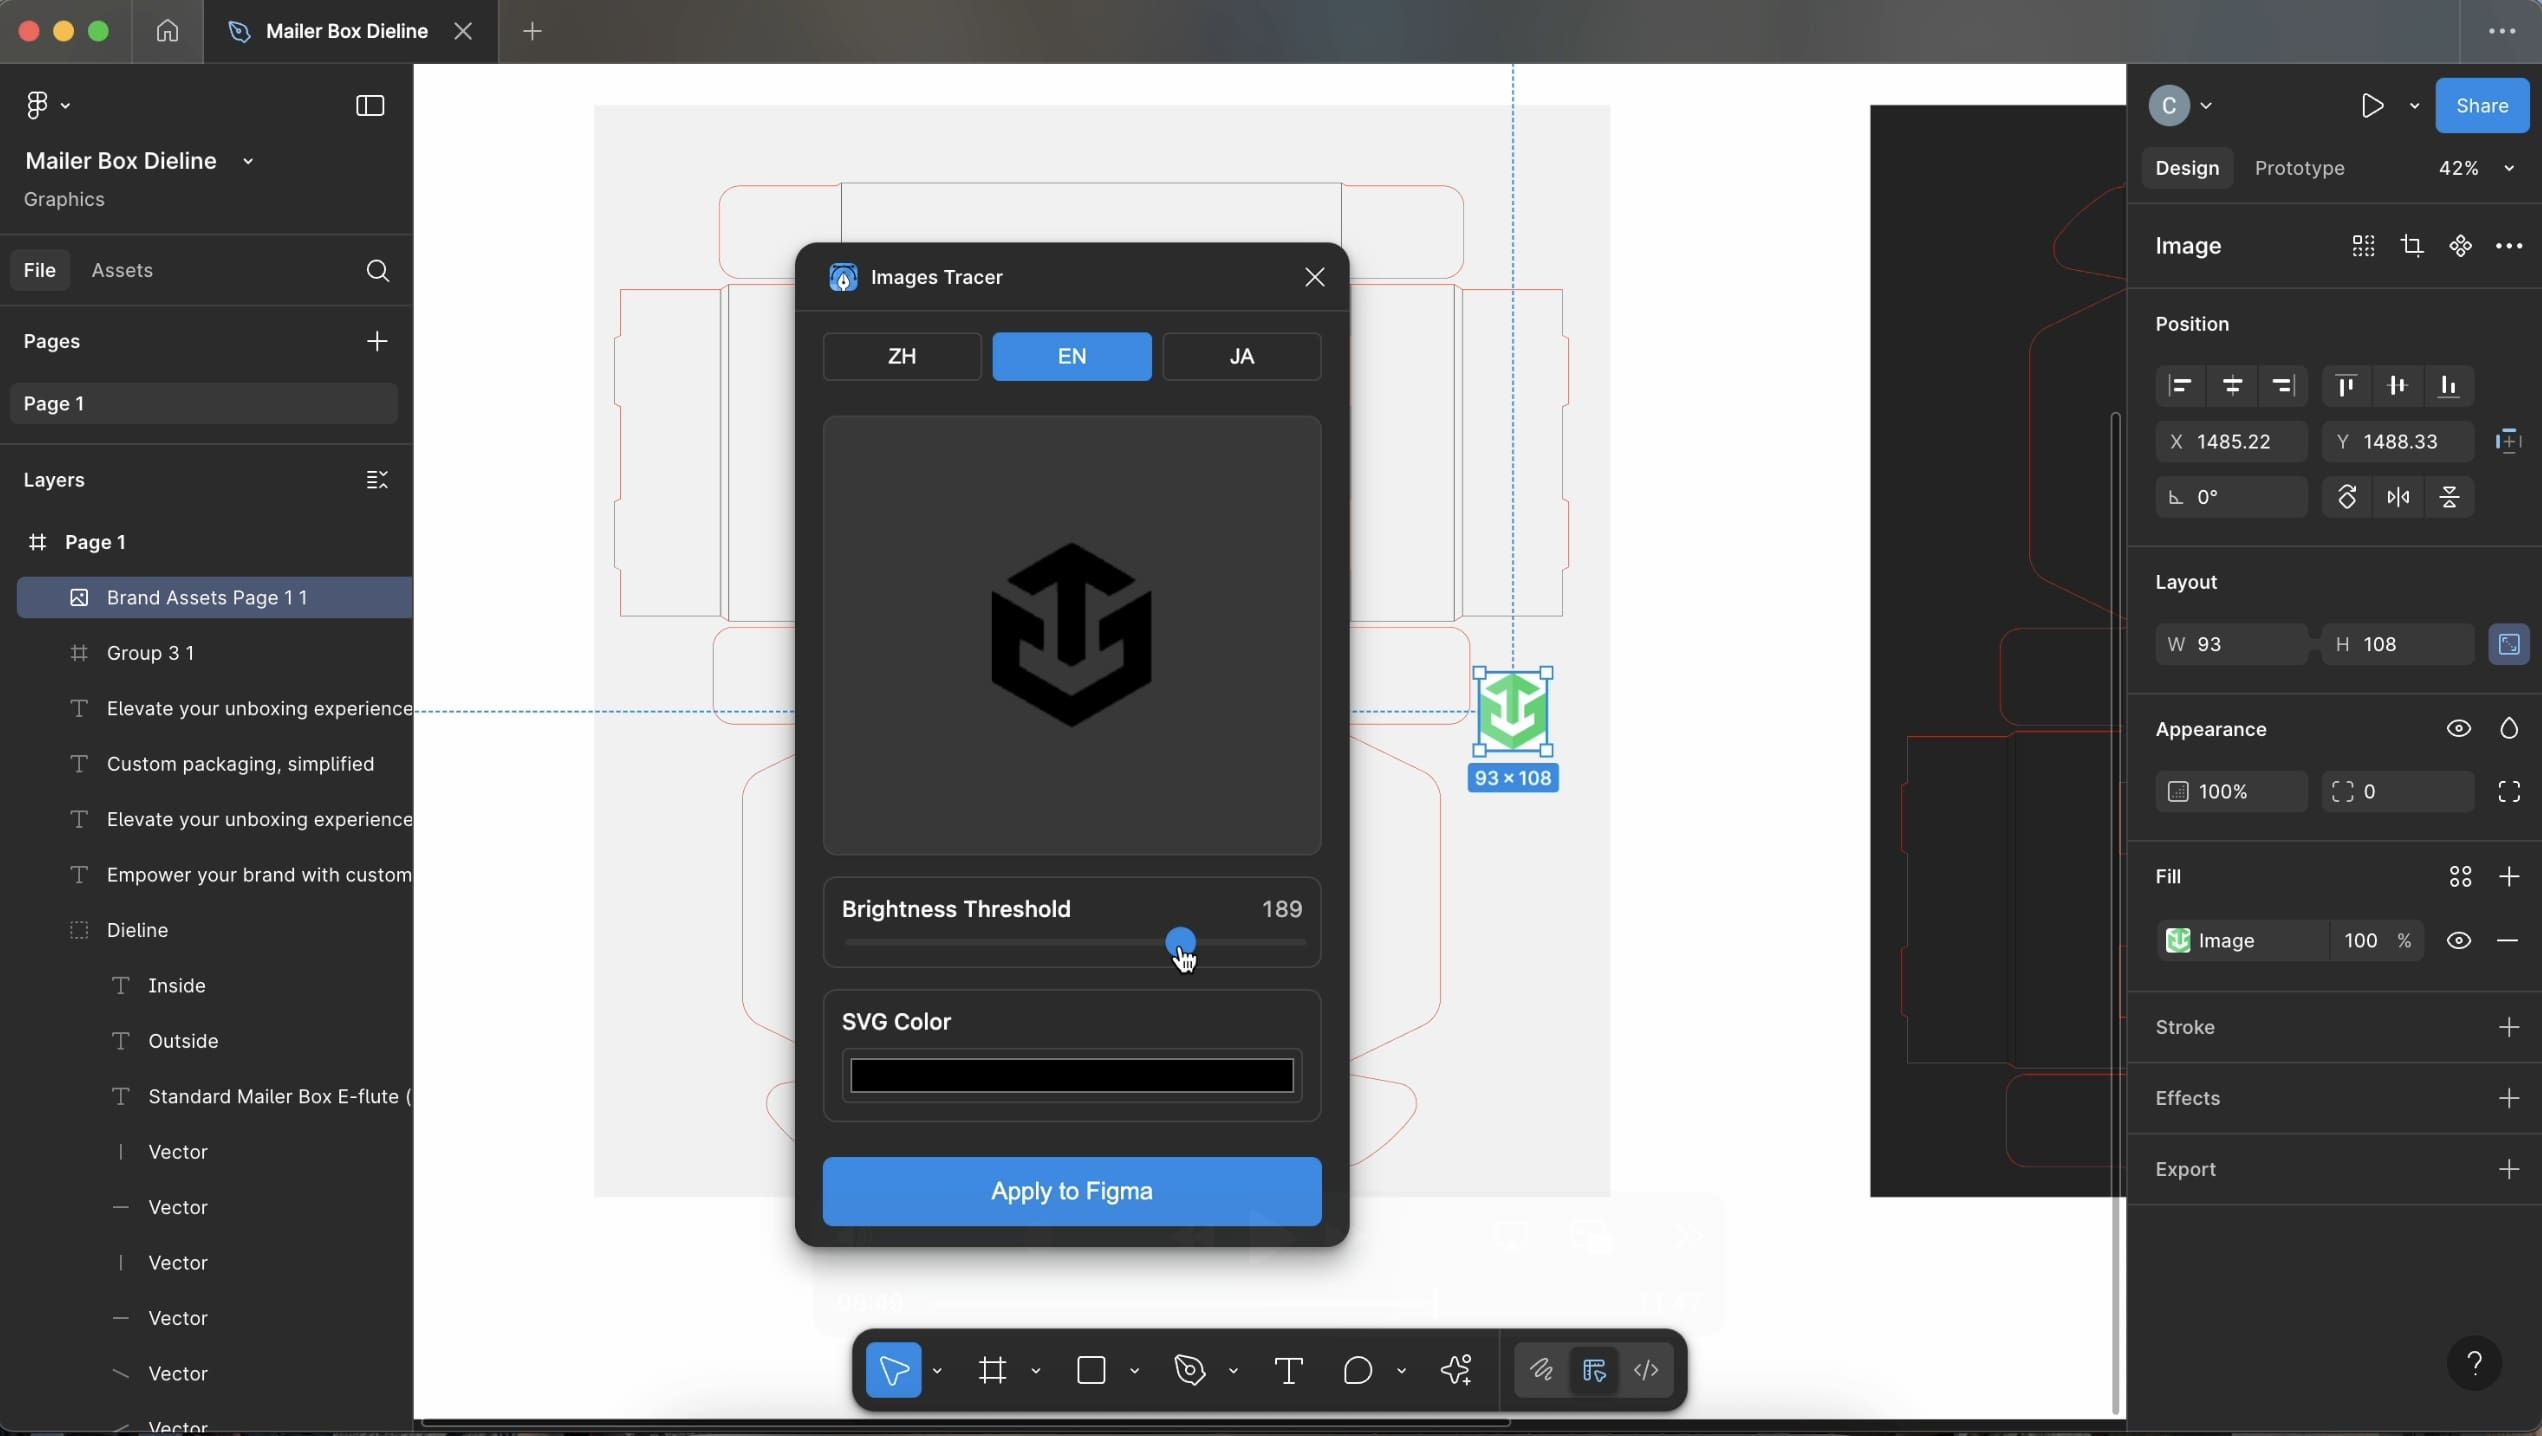
Generally, it is best practice to upload any visual designs as vectors to ensure that they come out in high quality during print. If your logo is not an SVG file, you can do this by adding your logo and using the Images Tracer plugin to add your logo. Use the brightness slider to control how sensitive the vectorizer should be to your design. Generally, Figma allows you to see the alignment of your objects when you move them around but if you want to more specifically center elements in Figma, use the distribute spacing function to get your elements in the middle of panels.
4. Enhancements & Add-ons
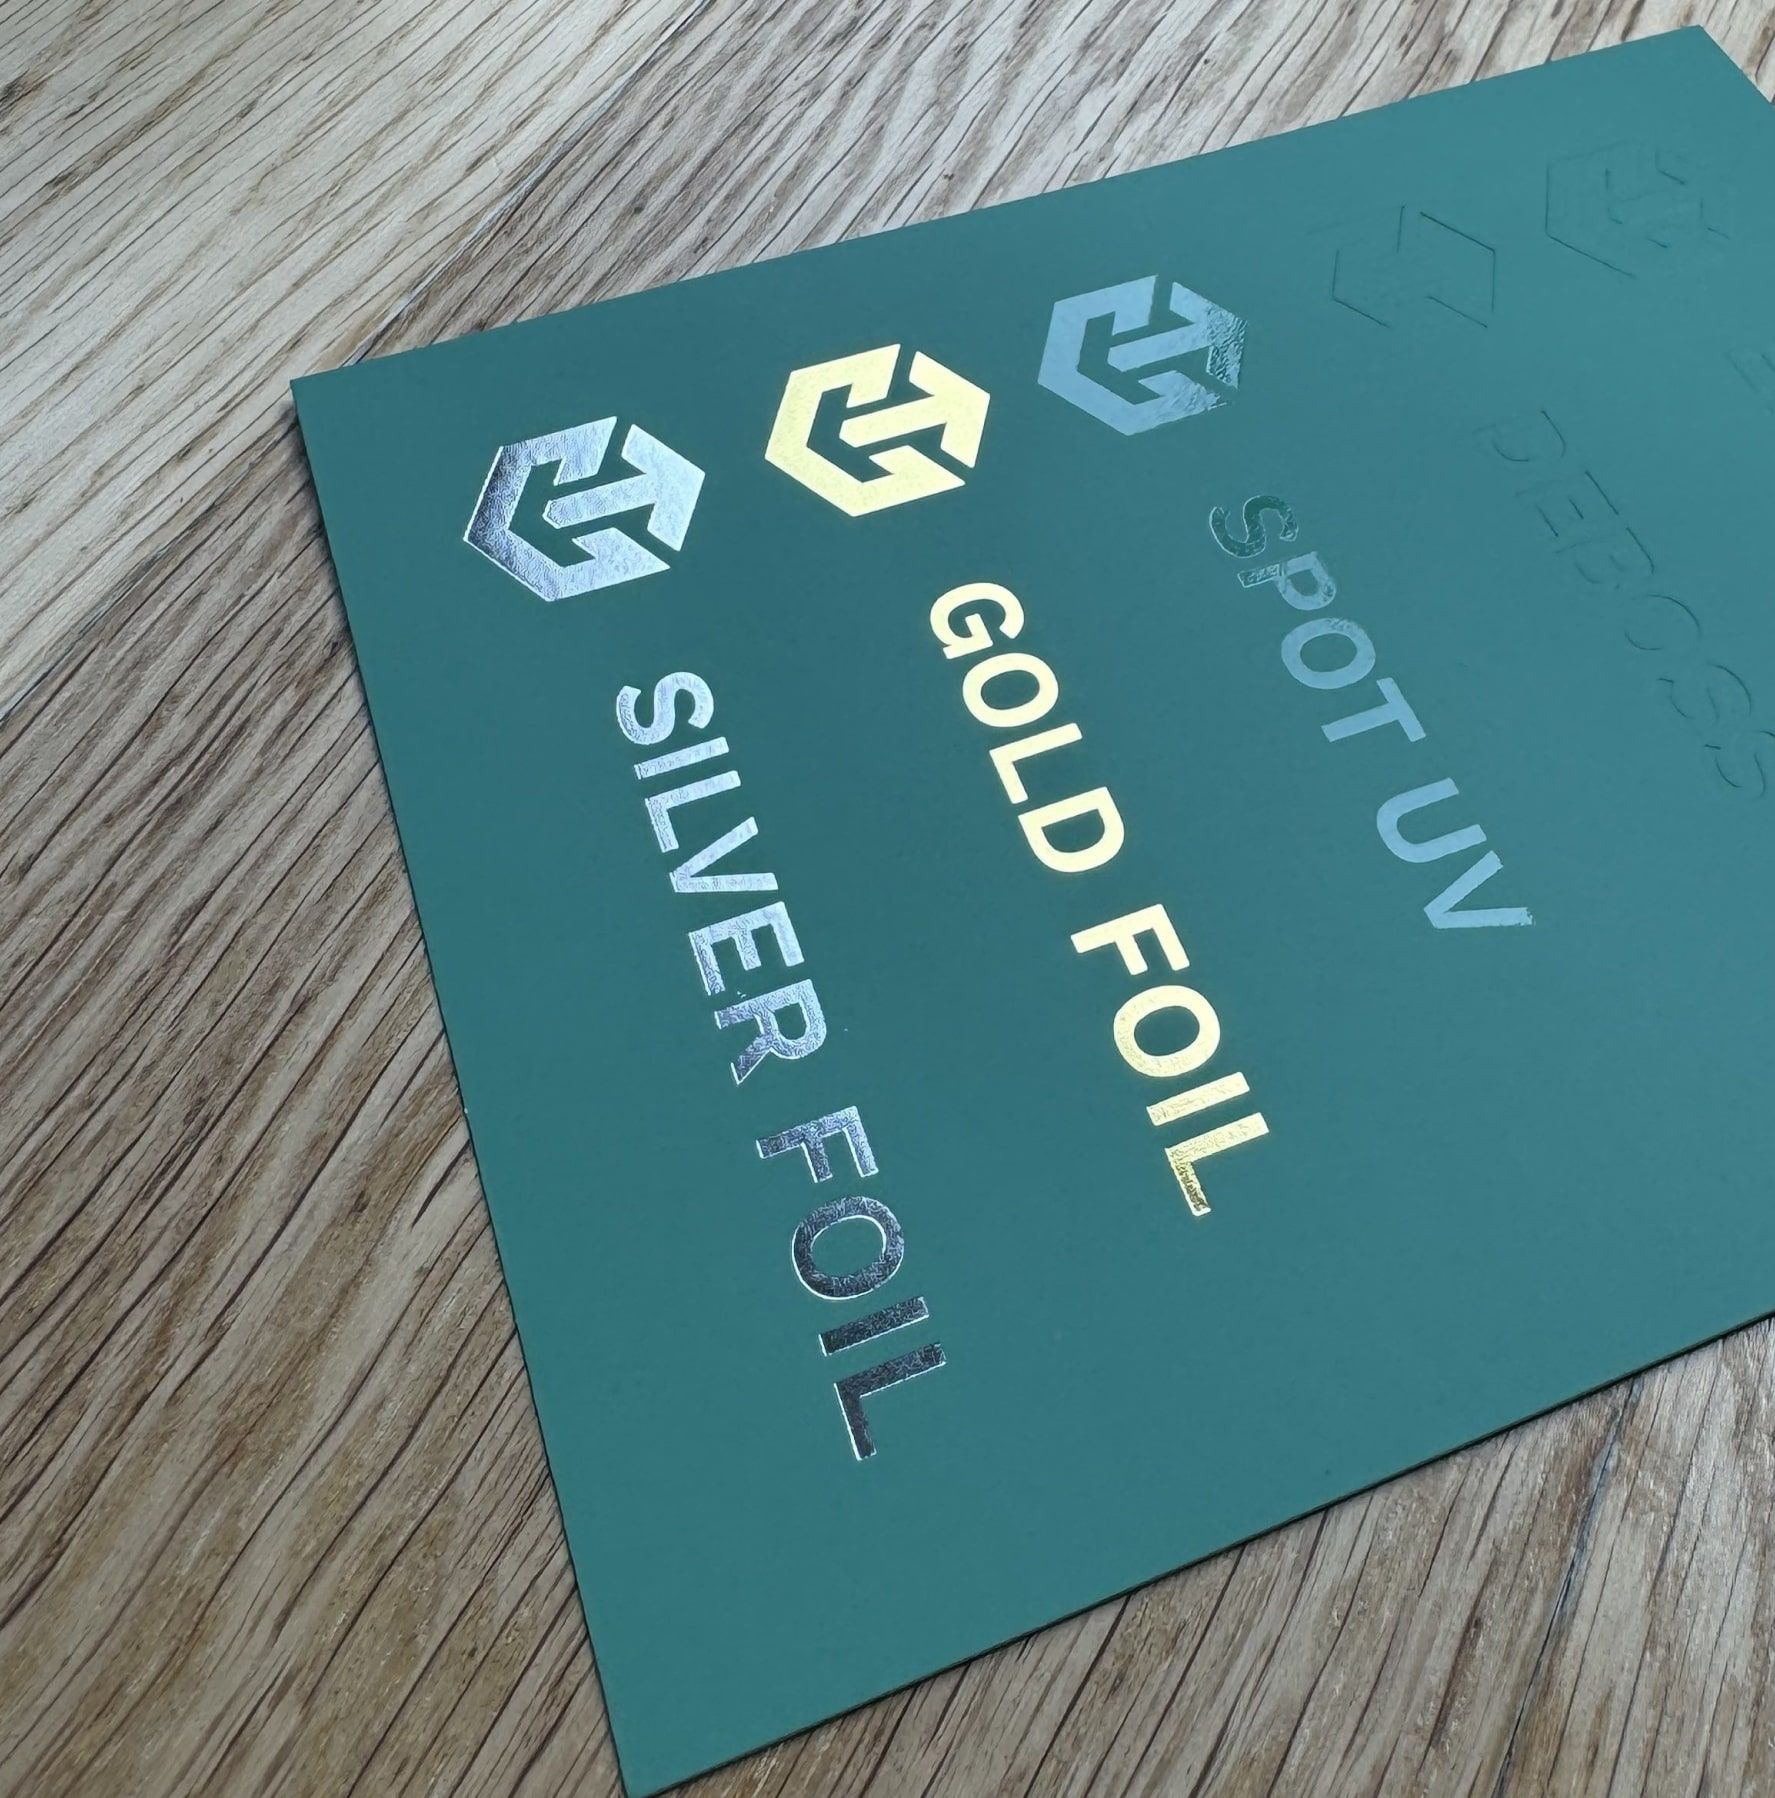
If you are planning to have any add-ons, such as foil stamping or embossing, you typically would have to indicate this on the design itself. However, since Figma isn’t able to export the various layers, you will have to communicate this to us when providing us with your final dieline.
5. Exporting
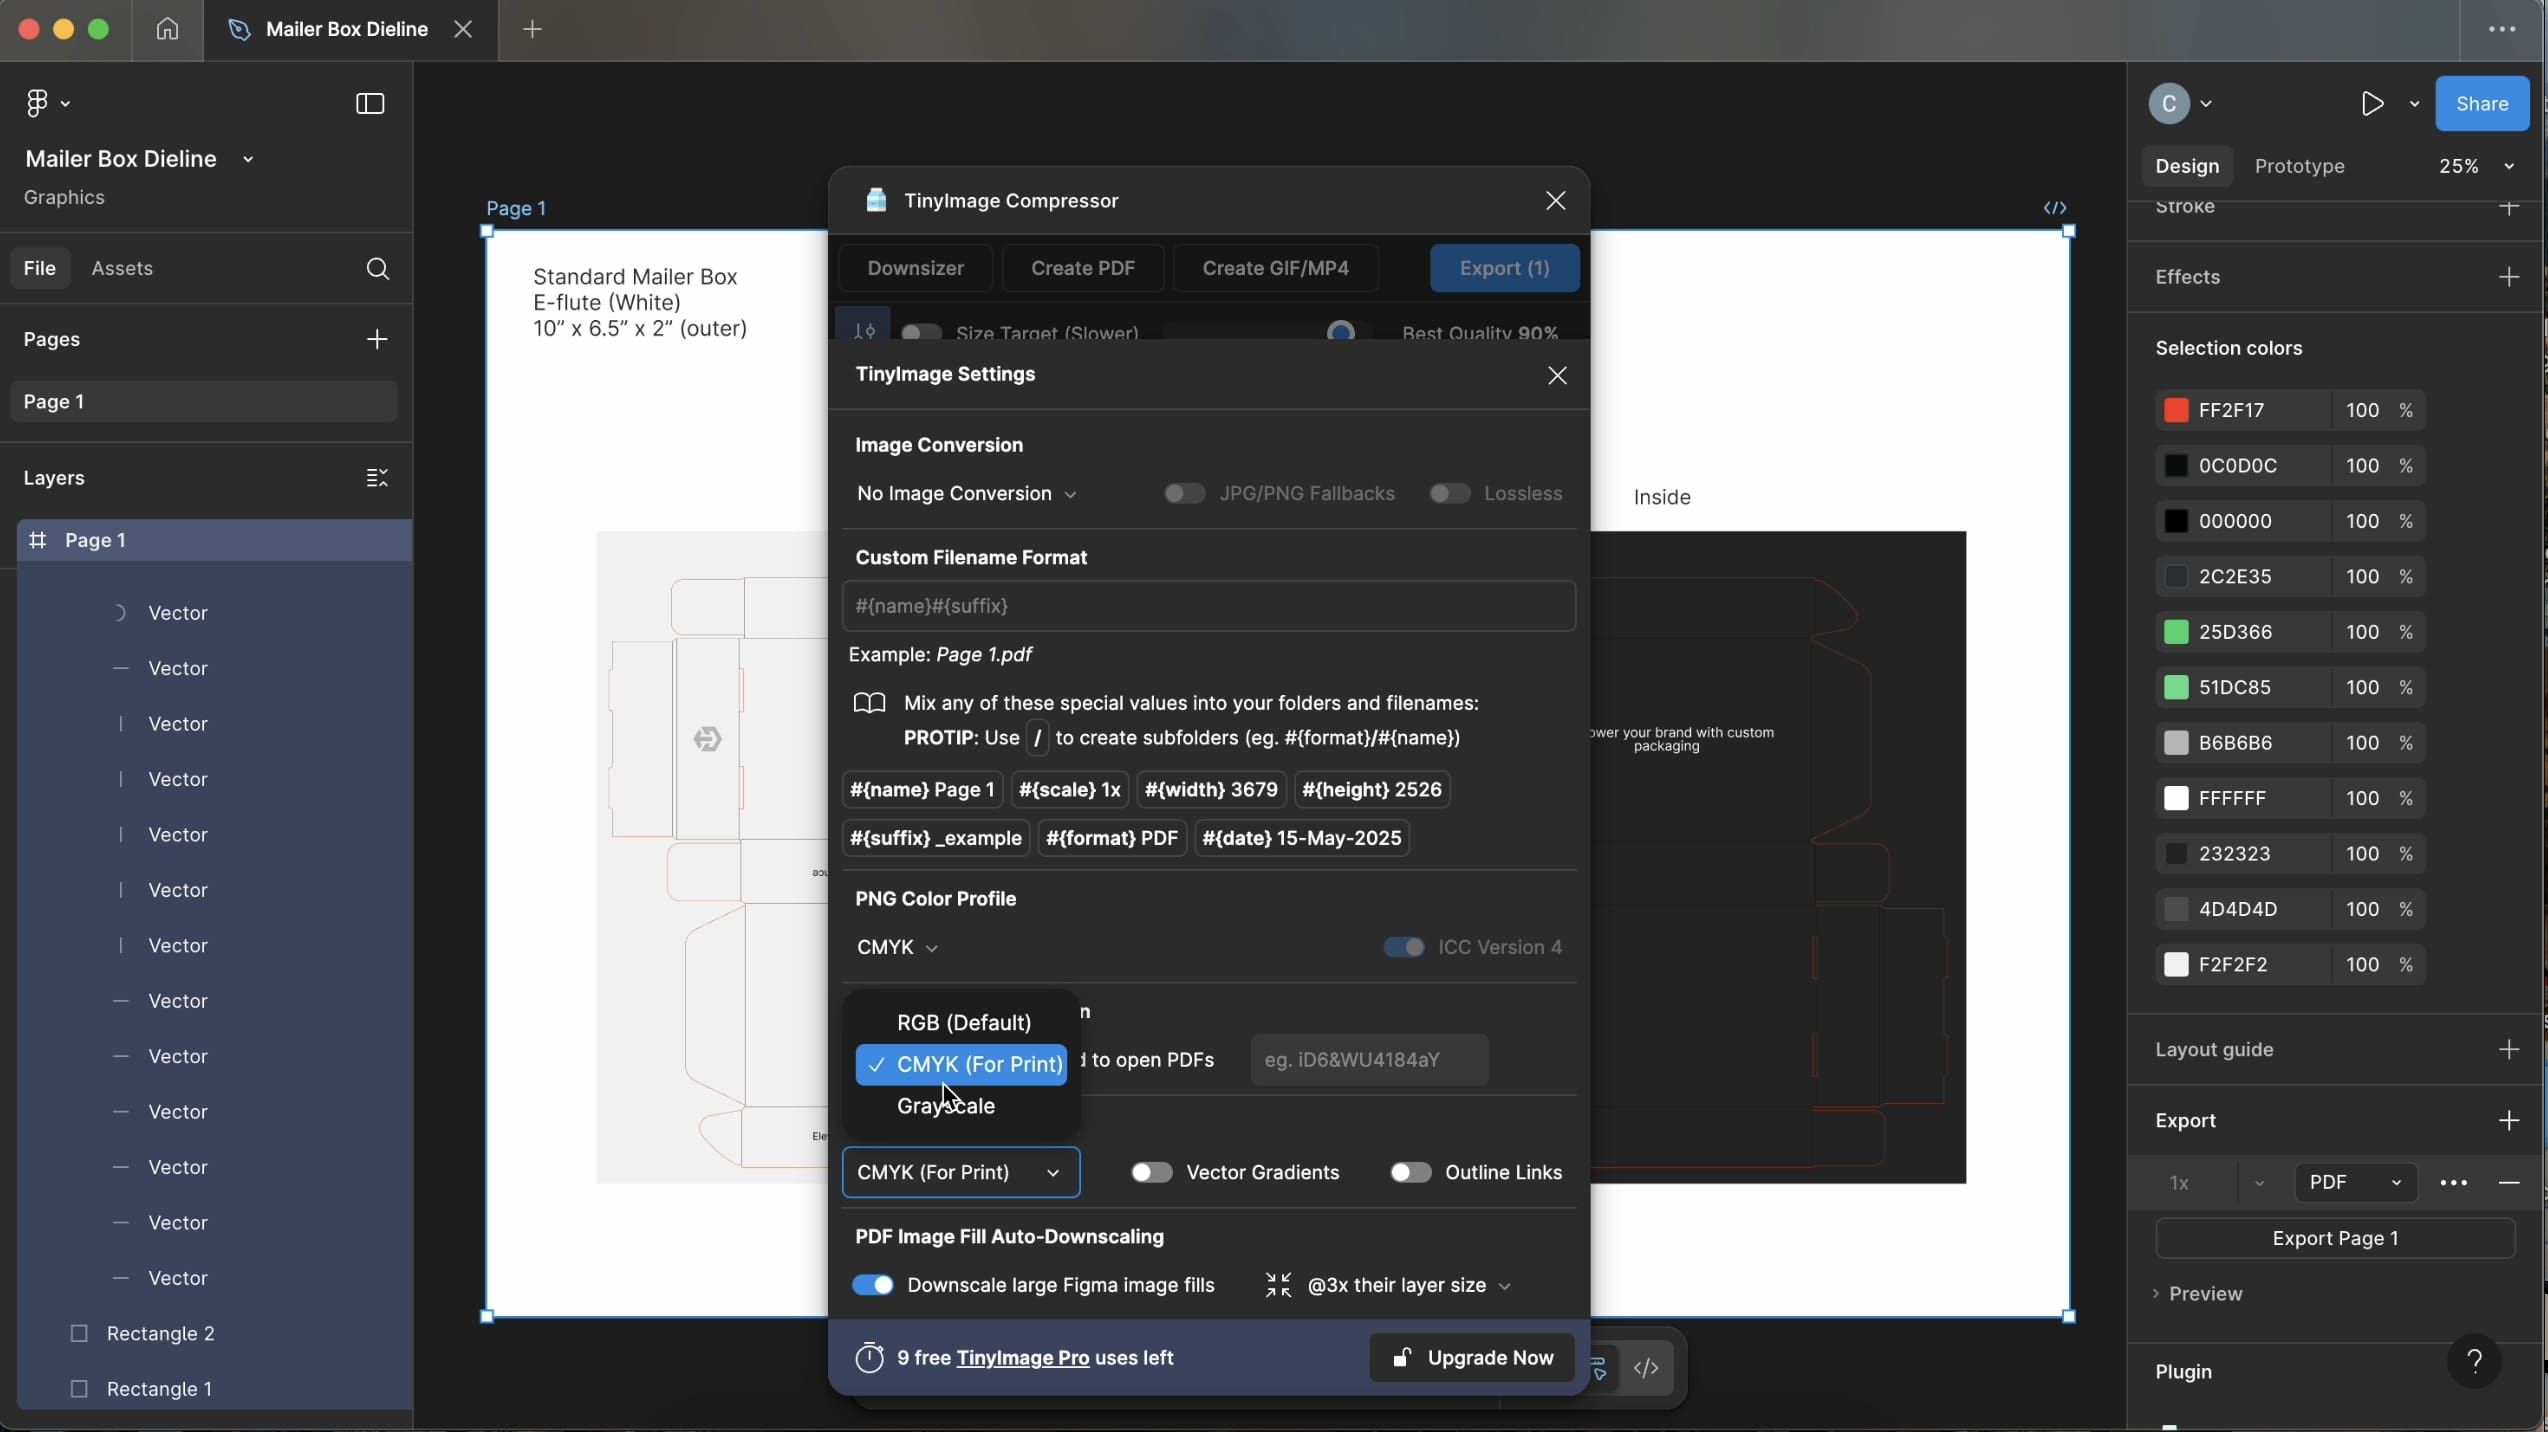
Once you’re done designing, you will have to export your file. Generally, Figma exports files as RGB, which is the color system used for digital and not for print. Therefore, in order to export in CMYK, you will have to use another plugin called TinyImage Compressor. Once you’ve launched this plugin, make sure that you have enabled PDF export functions by going down to export and clicking the + button and selecting the PDF option. Then, the TinyImage Compressor plugin should be able to detect it. From here, go into the settings and select CMYK under PDF export options, and export the PDF.
Although we generally recommend the use of Adobe Illustrator for editing dielines, Figma can be used as an alternative solution as well when in a pinch.
