Whether you order one product online or a bundle of products online, you may receive your order in a classic, brown shipping carton. These shipping cartons are used to protect the products and the beautifully branded secondary packaging during transit.
While you can certainly recycle your cardboard boxes or find creative ways to reuse your boxes, another way to be more environmentally friendly is by composting your boxes.
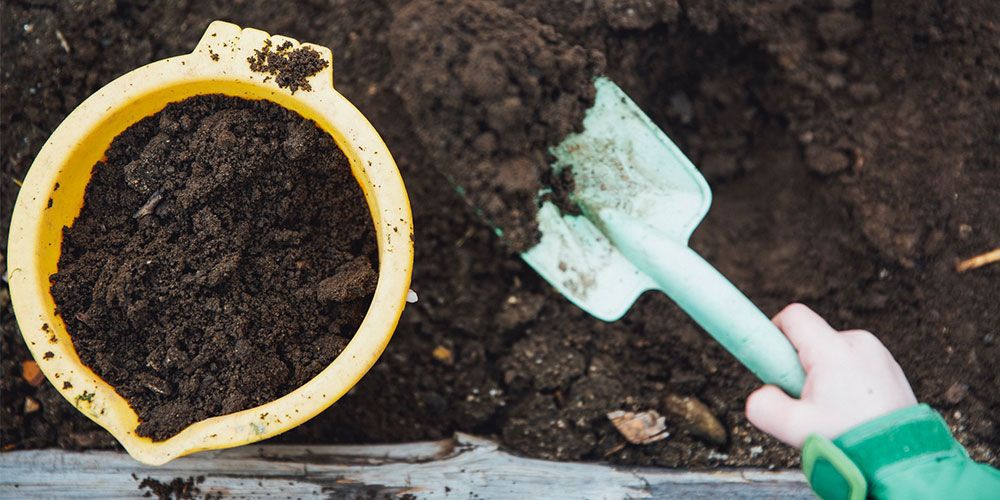
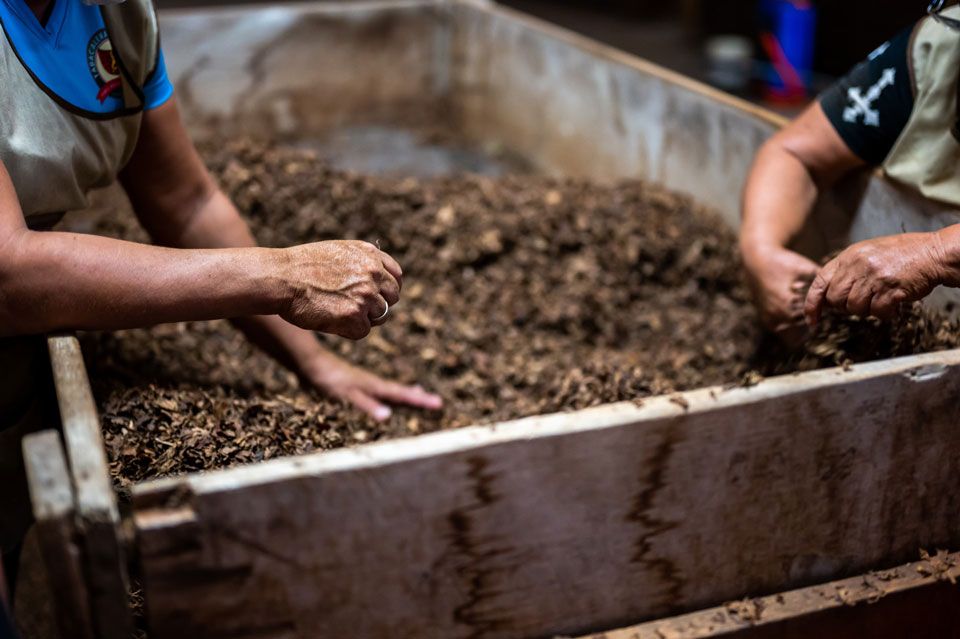
Composting is when organic waste is decomposed biologically in the presence of oxygen by microorganisms. This helps return nutrients to the soil, thus supporting sustainable practices. Composting helps reduce methane emissions from landfills, lowers your carbon footprint, and also enriches the soil in your garden. What's not to love?
What can I compost?
Here are some examples of items that can be composted:
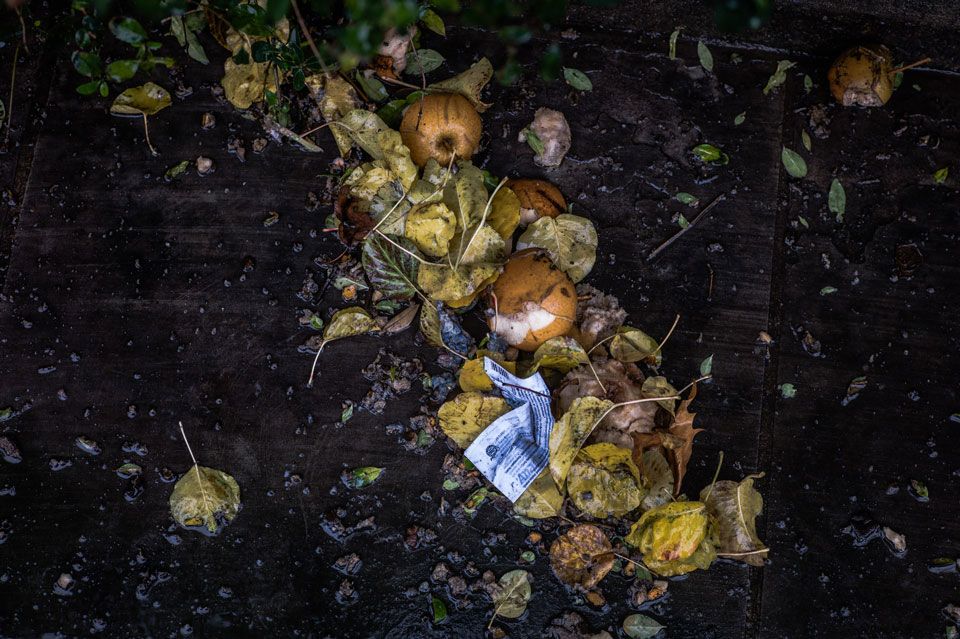
- Organic kitchen waste
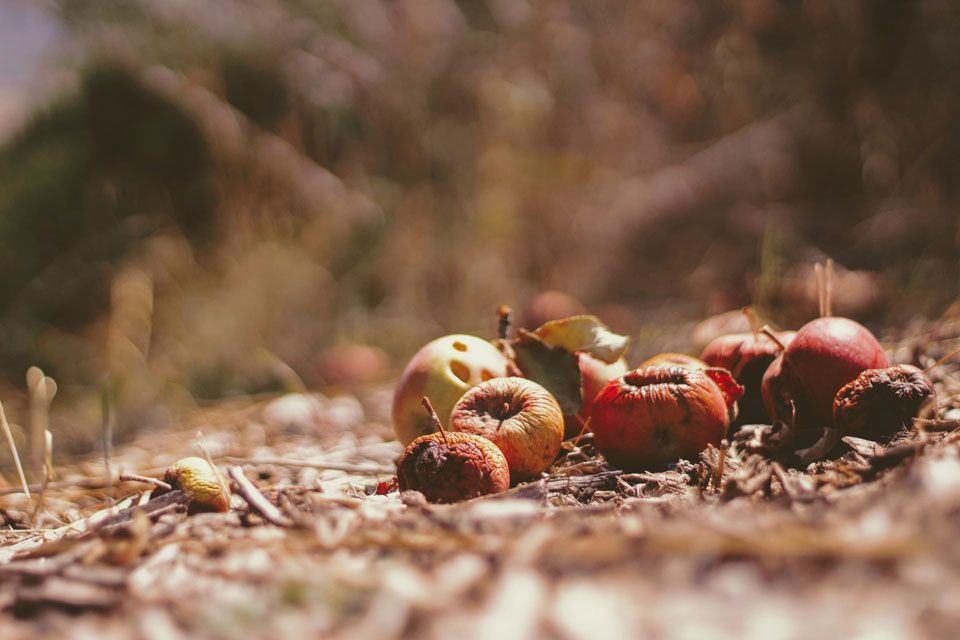
- Garden waste
- Unprocessed natural materials (wood, cellulose fibres, wool and compostable packaging)
- Eco-friendly materials (paper, paperboard, fibreboard and corrugated cardboard boxes) without plastic laminates
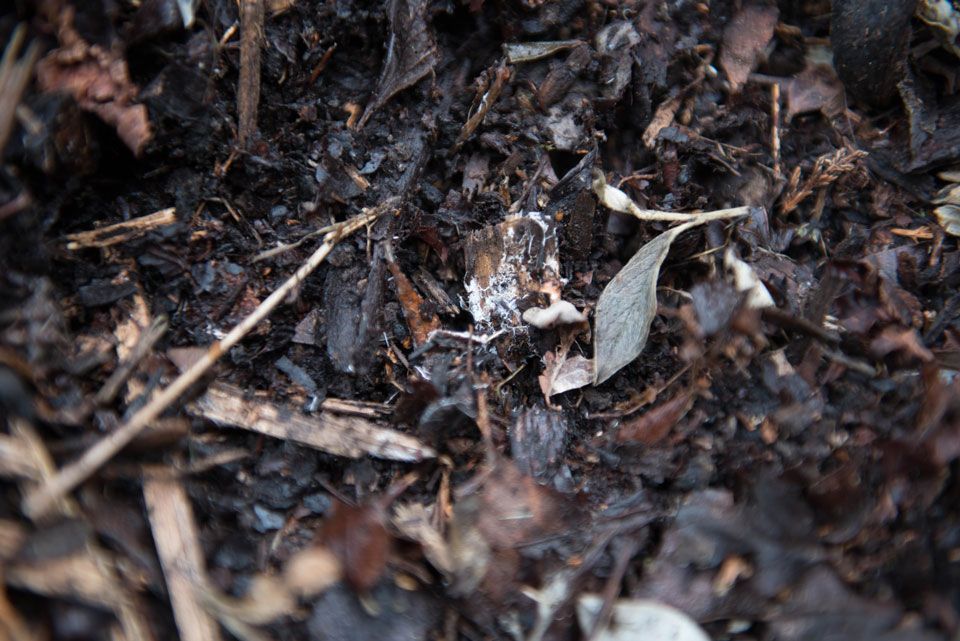
These can be composted because they are composed of all-natural materials which can be decomposed organically. They will break down naturally over time into nutrient-rich humus without the production of any greenhouse gases and without the traces of any toxic chemicals. After composting, you can use your compost as a fertilizer for your garden, or share the love by giving it to your neighbor!
Preparing your Boxes for Composting
Before you compost your boxes, be sure to:
- Remove any cellophane, acrylic or silicone-based sticky tape or labels on your cardboard boxes.
- Shred or tear the cardboard into smaller pieces. (Tip: dampen your cardboard or paper boxes to make it easier to shred them into smaller pieces).
Steps for Composting Cardboard Boxes
Create a base of your compost pile
- Place a 4 inch (~10cm) layer of the shredded cardboard and paper box in the compost pile or compost bin.
- Add brown, high-carbon material, such as dead leaves, ash or straw, into the pile or bin.
- Dampen the compost pile or bin by sprinkling or misting it with water.
Dampening the materials will aid the composting process by creating a suitable environment with sufficient conditions for microbes and fungi to degrade these waste or materials.
Add layers to your compost pile
- On top of the browns, place a 4 inch (~10cm) layer of greens: nitrogen-rich materials, fresh grass clippings, kitchen waste, or animal manure if available.
- Maintain a brown, green, brown, green layering pattern for your compost stack.
- When you reach the height of the stack you desire, add a 2 inch (~5cm) layer of soil on top of the compost pile.
Turn your compost
In order to have a healthy and usable compost pile, you must turn your compost pile. By turning (or mixing) your compost pile, you'll:
- Allow it to aerate - giving piles that are too wet, time to dry
- Distribute moisture evenly - giving piles that are too dry, a bit of moisture, or it won't break down
- Create an oxygenated environment for microorganisms to live and thrive
- Regulate the core temperate of the pile to ensure that beneficial bacteria doesn't die
Steps:
- When 5 days have passed, turn your compost pile (i.e. mix your pile) with something like a pitchfork to create the best environment for your materials to decompose. Move the outer materials into the center, and vice versa.
- Aerate the pile every 7 to 14 days.
- If your compost feels dry, dampen it until it is soft. If possible, use rainwater as it is pH neutral and has lower traces of chlorine and fluoride.
- Check your pile every 3 to 7 days to ensure that your compost pile is in an ideal condition.
- Keep adding additional layers of greens and browns for composting new materials. A good ratio to maintain is 4:1 browns to greens.
- If done in a compost bin then after 6 to 8 months, the fertilizer will be ready. If it is done outside the compost bin then it will take 1 to 2 years.
The Lasagna Method
Also known as sheet composting, this method requires less work than traditional composting as outlined above. Effectively, how this composting method works is spreading all the composting materials directly in your garden in layers that are thin enough that they break down on their own - no turning needed.
However, while this may sound great and less effort, note that:
- The Lasagna Method of composting takes longer
- It's not ideal if you want to continually add layers to compost as sheet composting is most effective when you gather enough materials to compost, then leave it be
Here are the steps for sheet composting your boxes:
- Lay down the cardboard and paper sheet and spray them with water.
- Cover that layer with a 2 inch (~5cm) layer of soil.
- Place a layer of greens on top followed by a layer of browns.
- Place the layers in the pattern above.
- After several months or a year, the fertilizer will be ready.
This method does not require aerating, and the level of moisture is impacted only when dampening the initial layer of cardboard and paper.
In a nutshell, composting is simply layering brown materials followed by green materials in that pattern, and then waiting for nature to do its thing. Consequently, the outcome is rewarding and worthwhile. You will be using what you already have to create something beneficial for your garden and environment.
Check out all the packaging products we offer that you can choose for your brand and learn more about our sustainable packaging solutions here.