What are bleeds in printing?
Bleeds are the areas of print that extend beyond the edge of the cut or fold lines of your packaging. Bleeds account for any slight movement in paper when it's being printed or cut, and therefore helps minimize the likelihood of having any unprinted edges. It's important that all designs at the edge of a cut or fold line 'bleed' over and into the next panel or empty space.
Examples of Dielines with Bleeds
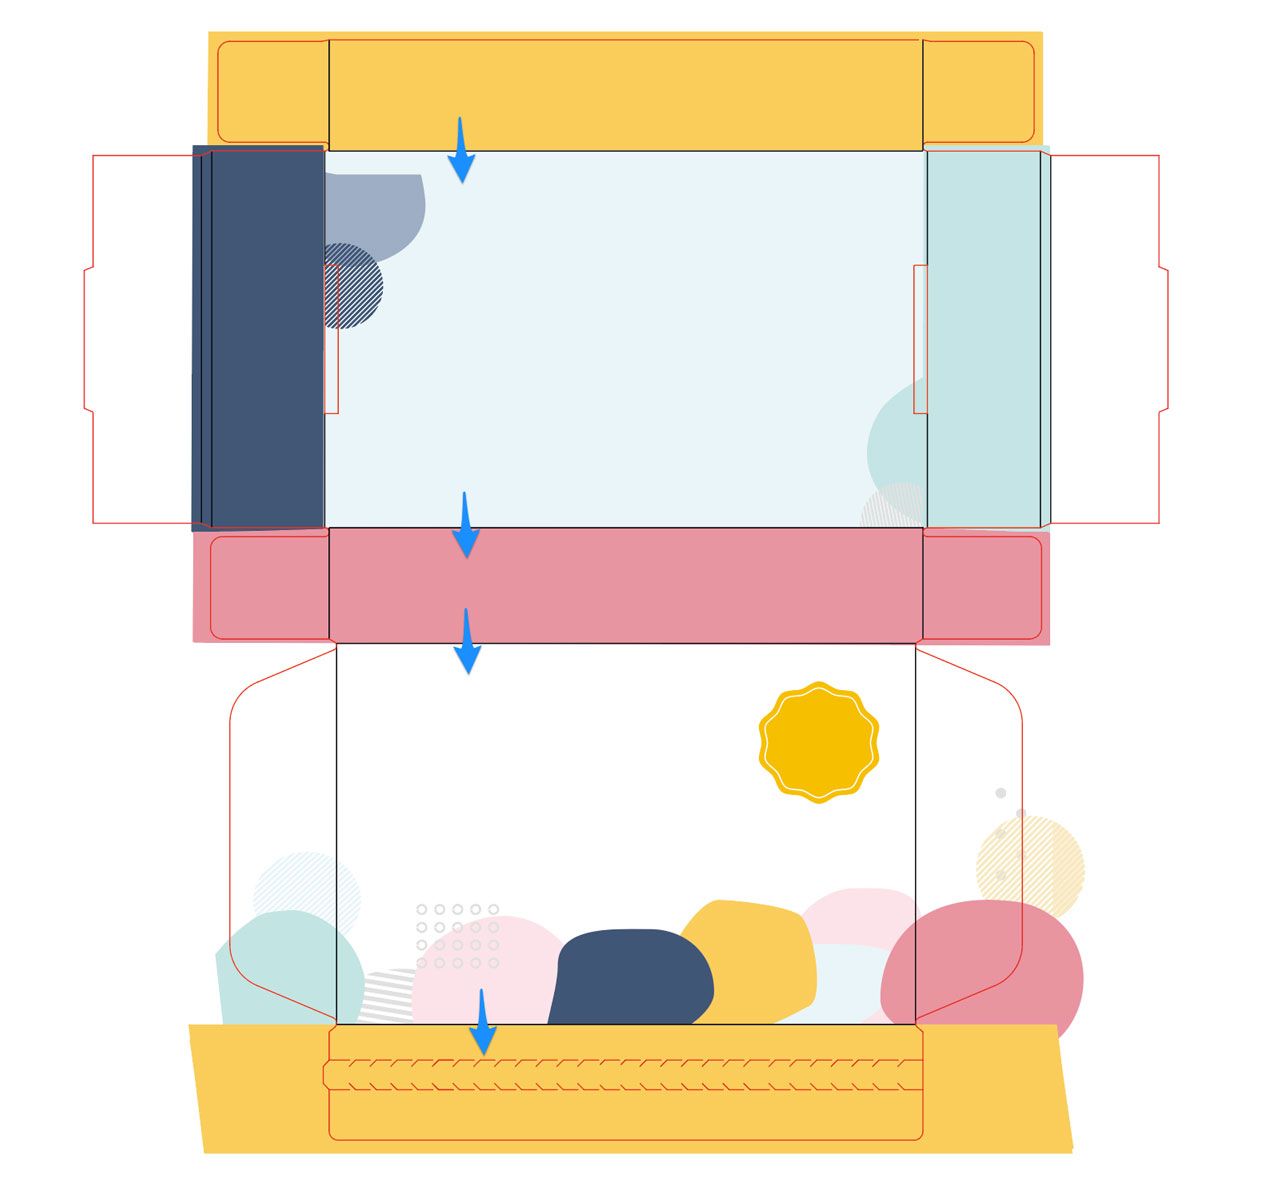
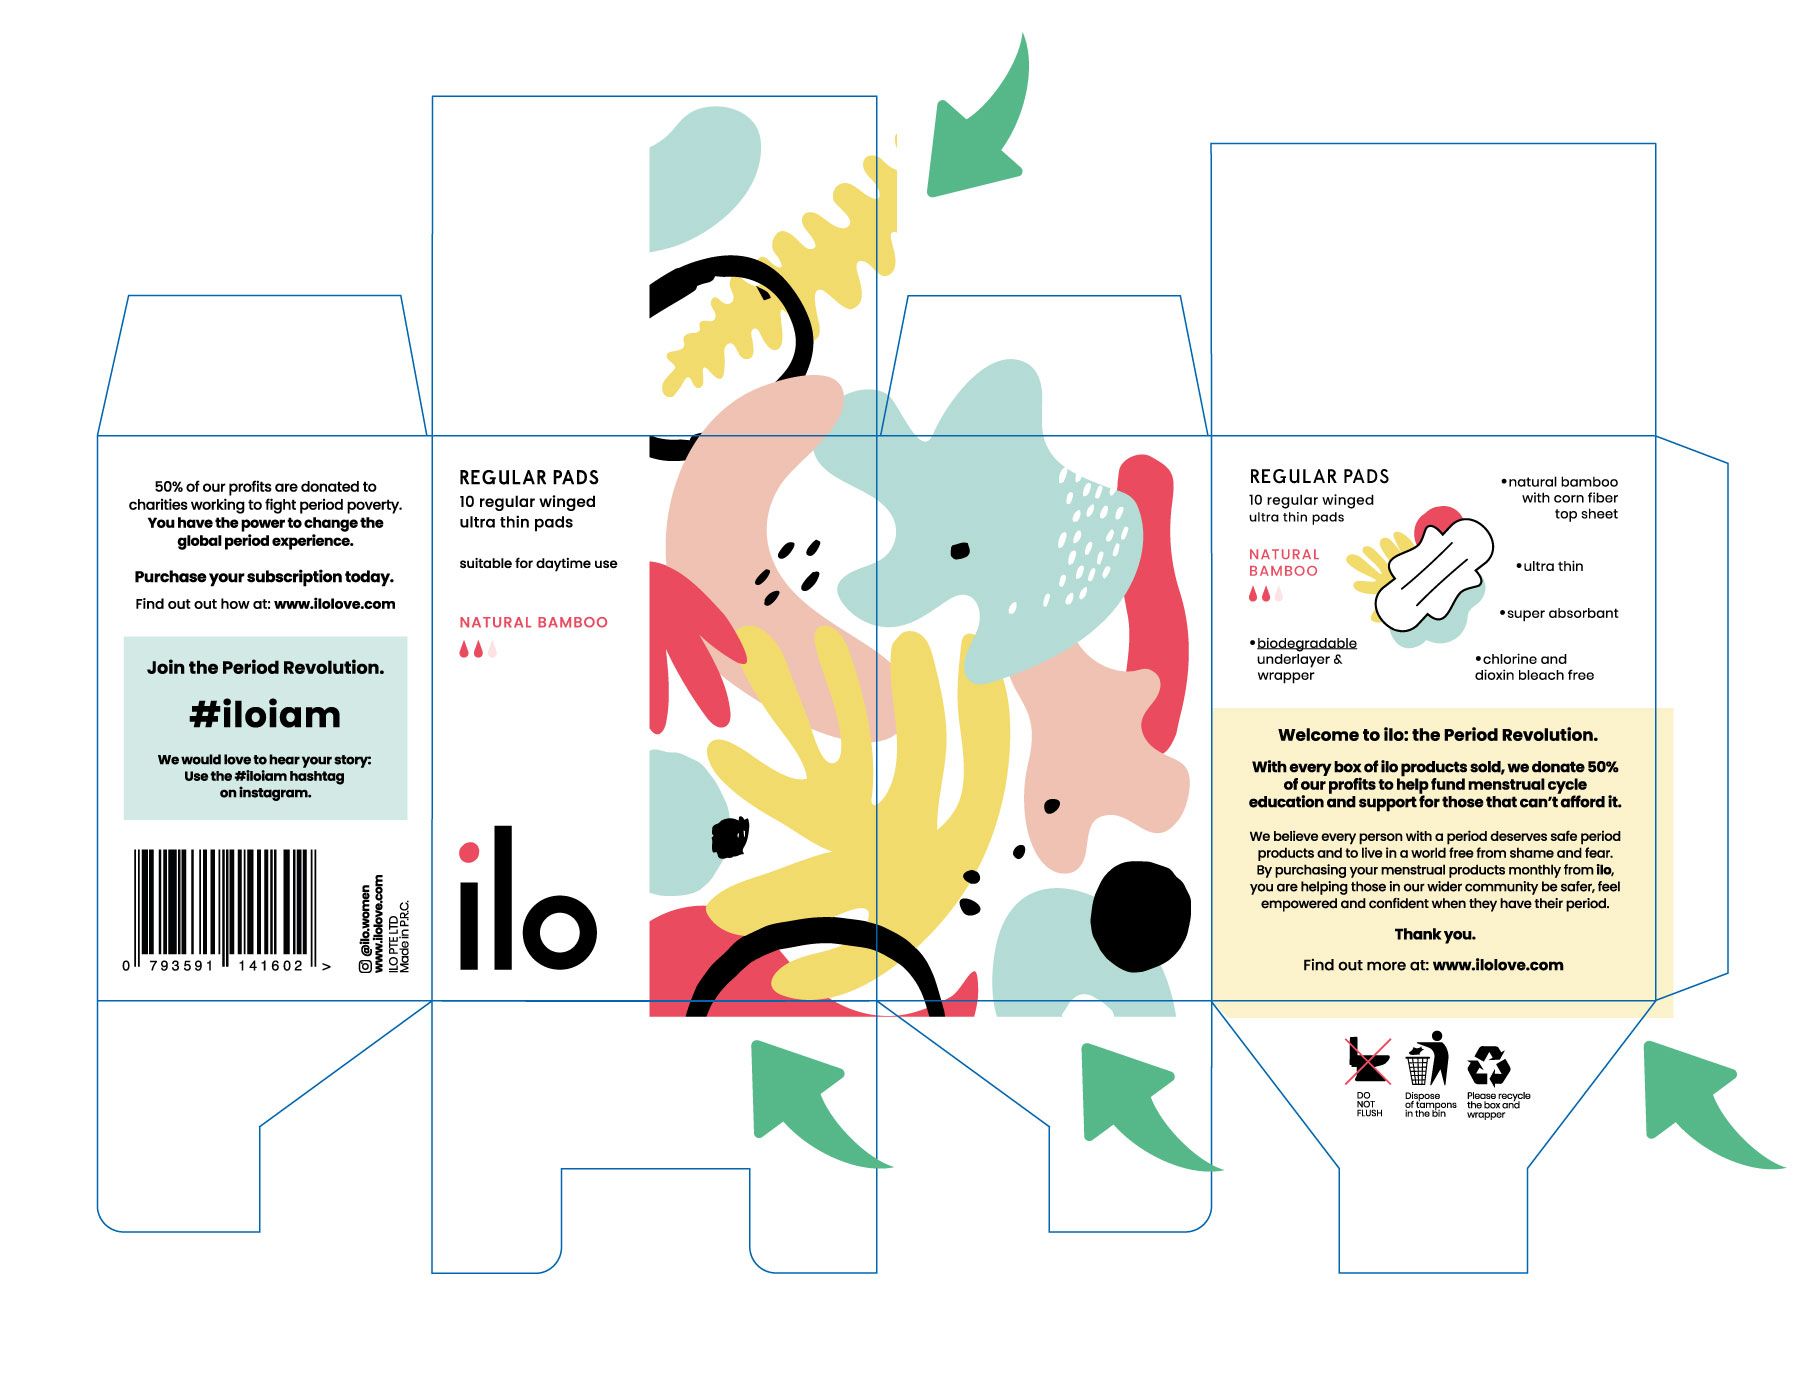
The arrows in the photo indicate the areas that have bleeds.
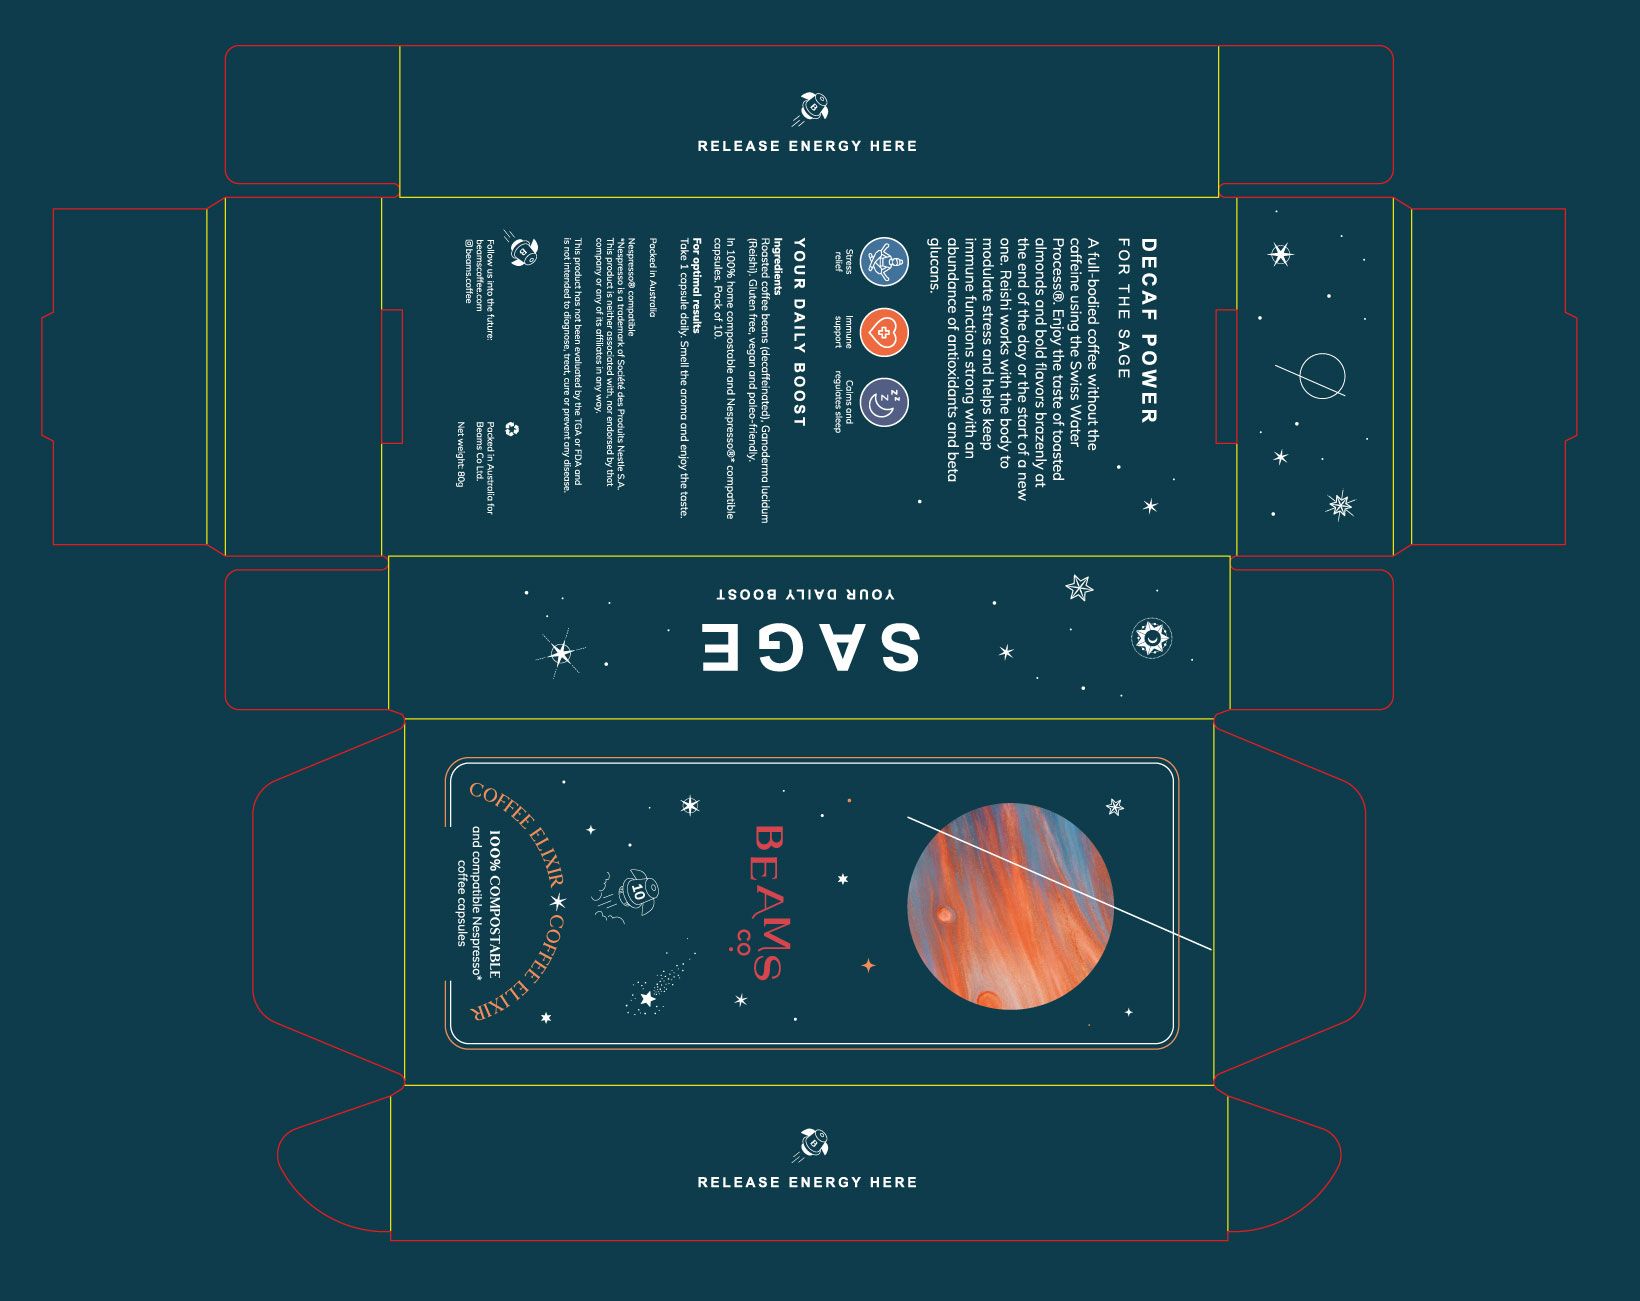
Simply cover the entire dieline with the color(s) of your box. You don't need to create bleeds in the shape of your dieline.
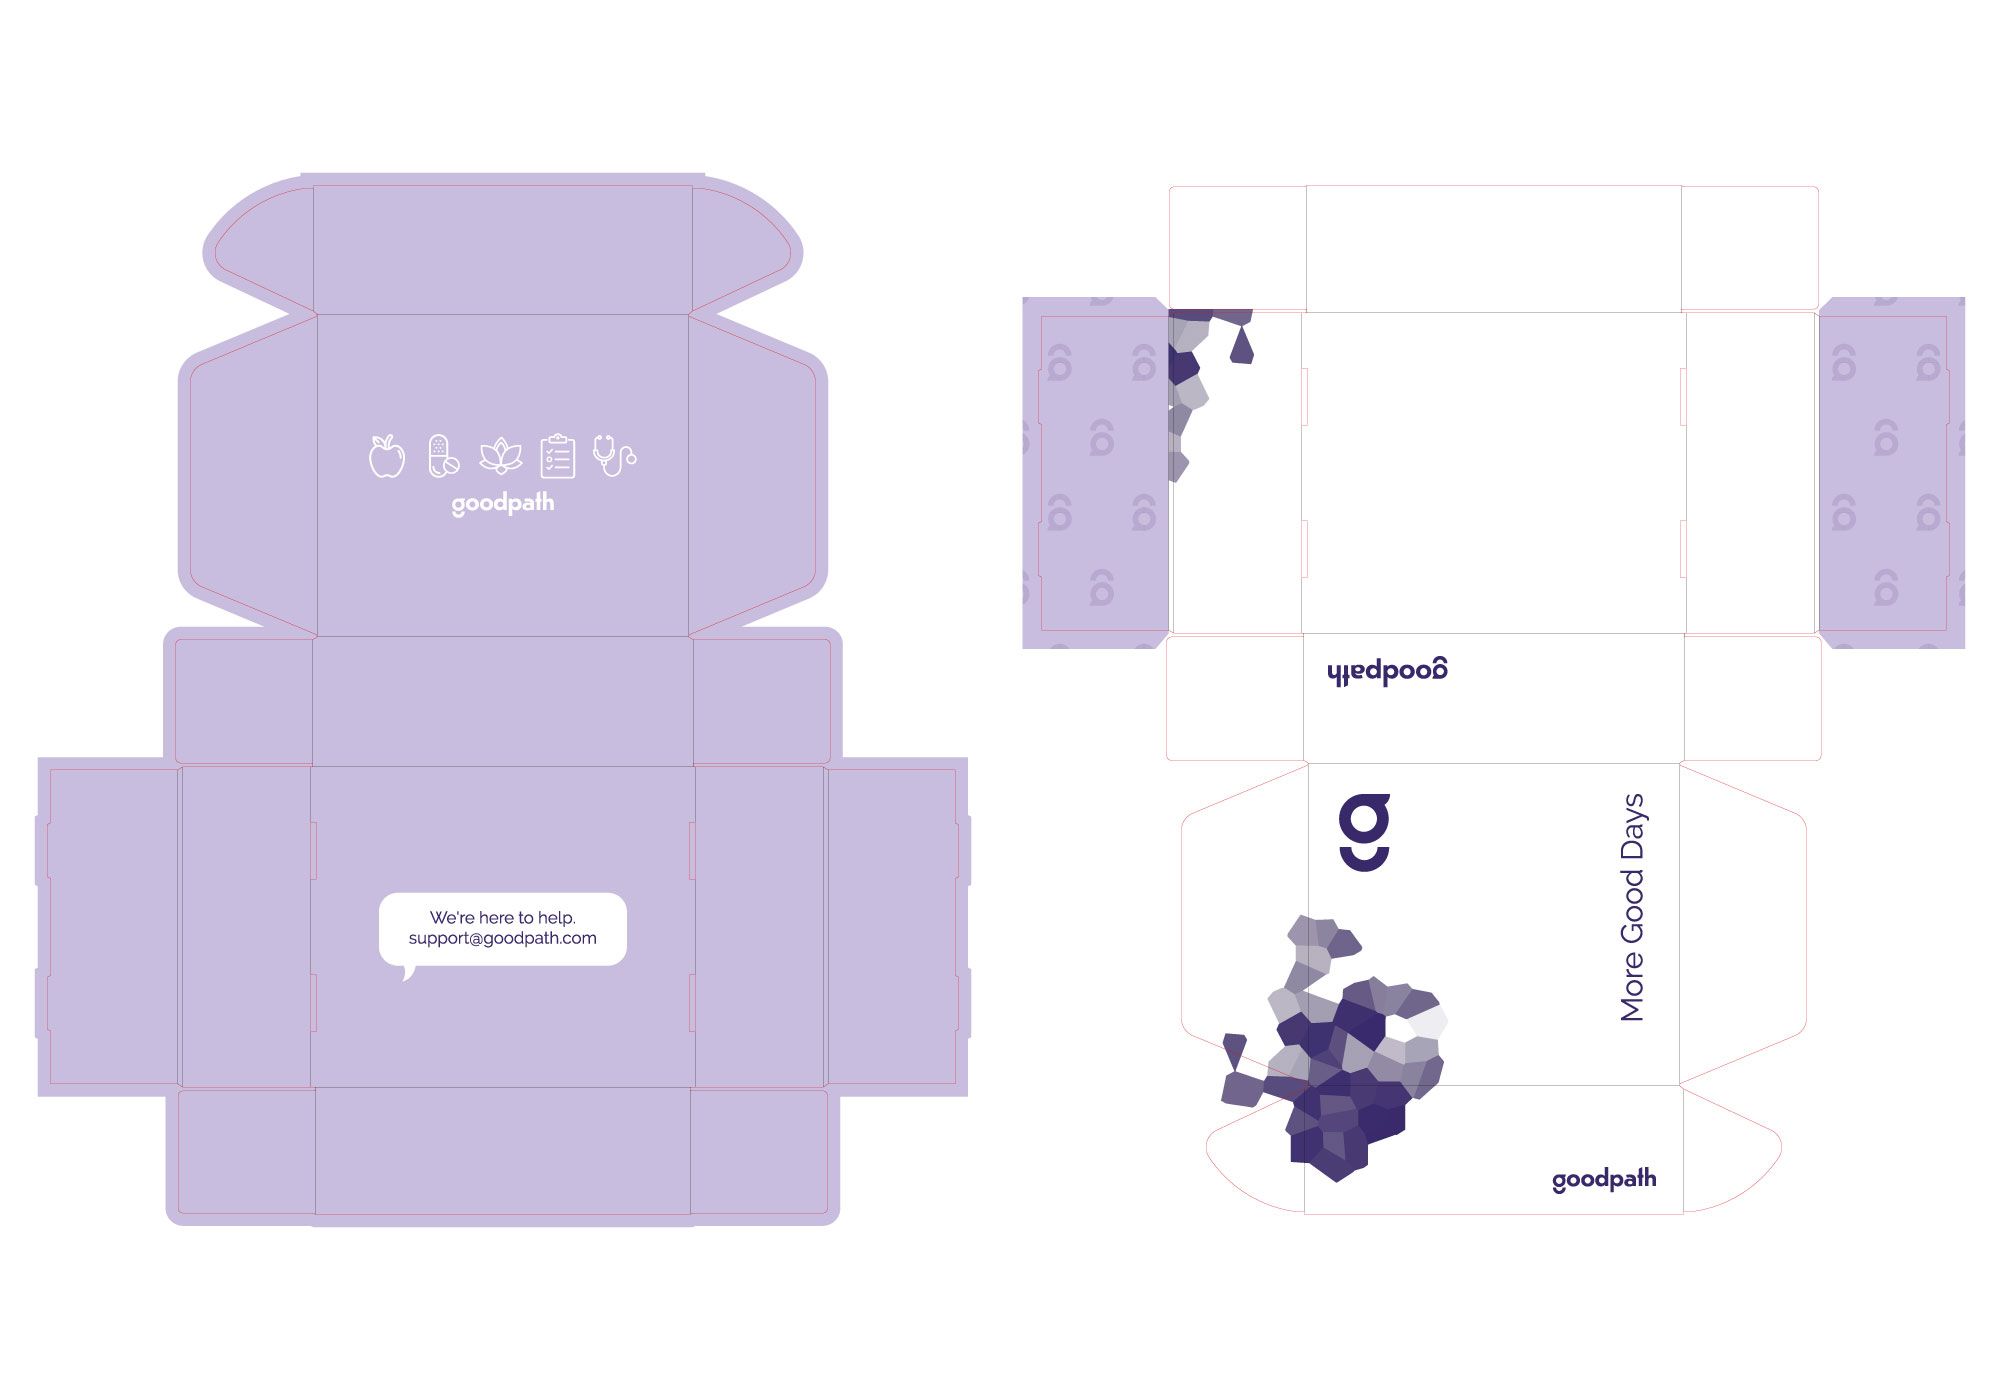
Here's another example where bleeds have been taken into account. You'll see that in areas where there are colors or artwork at the edge of a cut line, the design extends beyond the dieline.
Production Misalignment Example
It's common for paper to shift slightly when it's printed or being cut - even 1 millimeter. Misalignment is much less obvious and practically not noticeable when there aren't any designs or artwork at the edge of a cut or fold line.
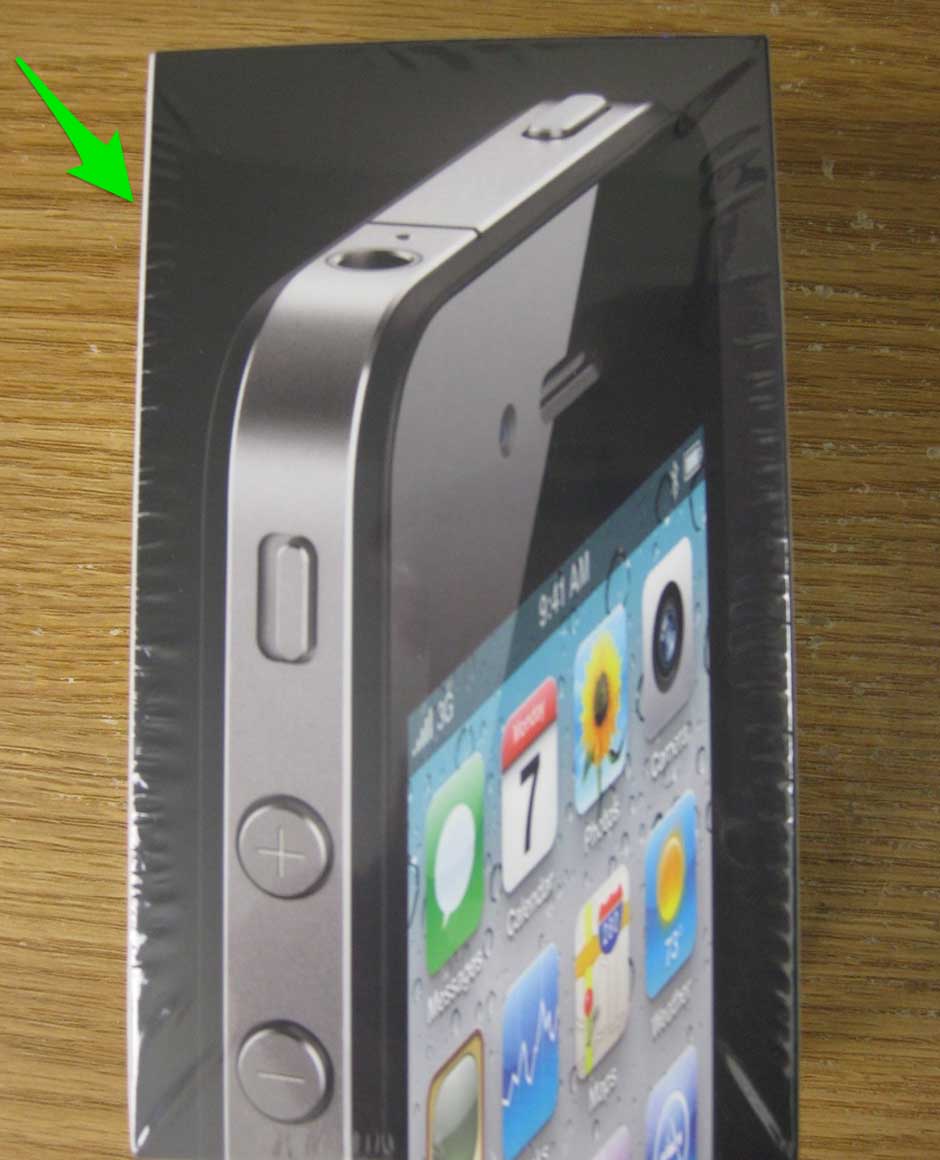
Even Apple has experienced the risk of having different colors at the edge of a fold line. In one of Apple's original rigid box packaging for their iPhones, the top lid of the box is black, and the sides of the box is white. Due to slight misalignment, you can see that this caused a shift in their artwork, which was right at the edge of the fold line. The result is an small yet obvious empty white line on the left side of the box.
Multiple Colors at the Edge
Take a look at the colorful dieline design here. Let's assume the paper were to shift 1mm downwards. This would effectively lead to a domino effect:
- The yellow side of the box will 'bleed' into the light blue base of the box.
- The light blue will 'bleed' into the pink side
- The pink side will 'bleed' into the white portion of the lid
- And the colorful patterns will 'bleed' into the front yellow panel
If you have a design like this where there's print on both sides of your box, it becomes even trickier to maintain this alignment. For this reason, we usually recommend limiting the number of sides of the box that have artwork right to the edge of a cut or fold line.
