How to Design on a Paper Bag Dieline
Follow this step-by-step guide and learn to add your designs to paper bag dieline templates with Adobe Illustrator. This guide walks you through what you should keep in mind as you add your design elements to the dieline template.
Step by Step Guide
1. Getting started
To get started with your paper bag dieline template, begin by making sure your document is in CMYK color mode, the color system used for printing. This can be done by going to File > Document Color Mode > CMYK Mode.
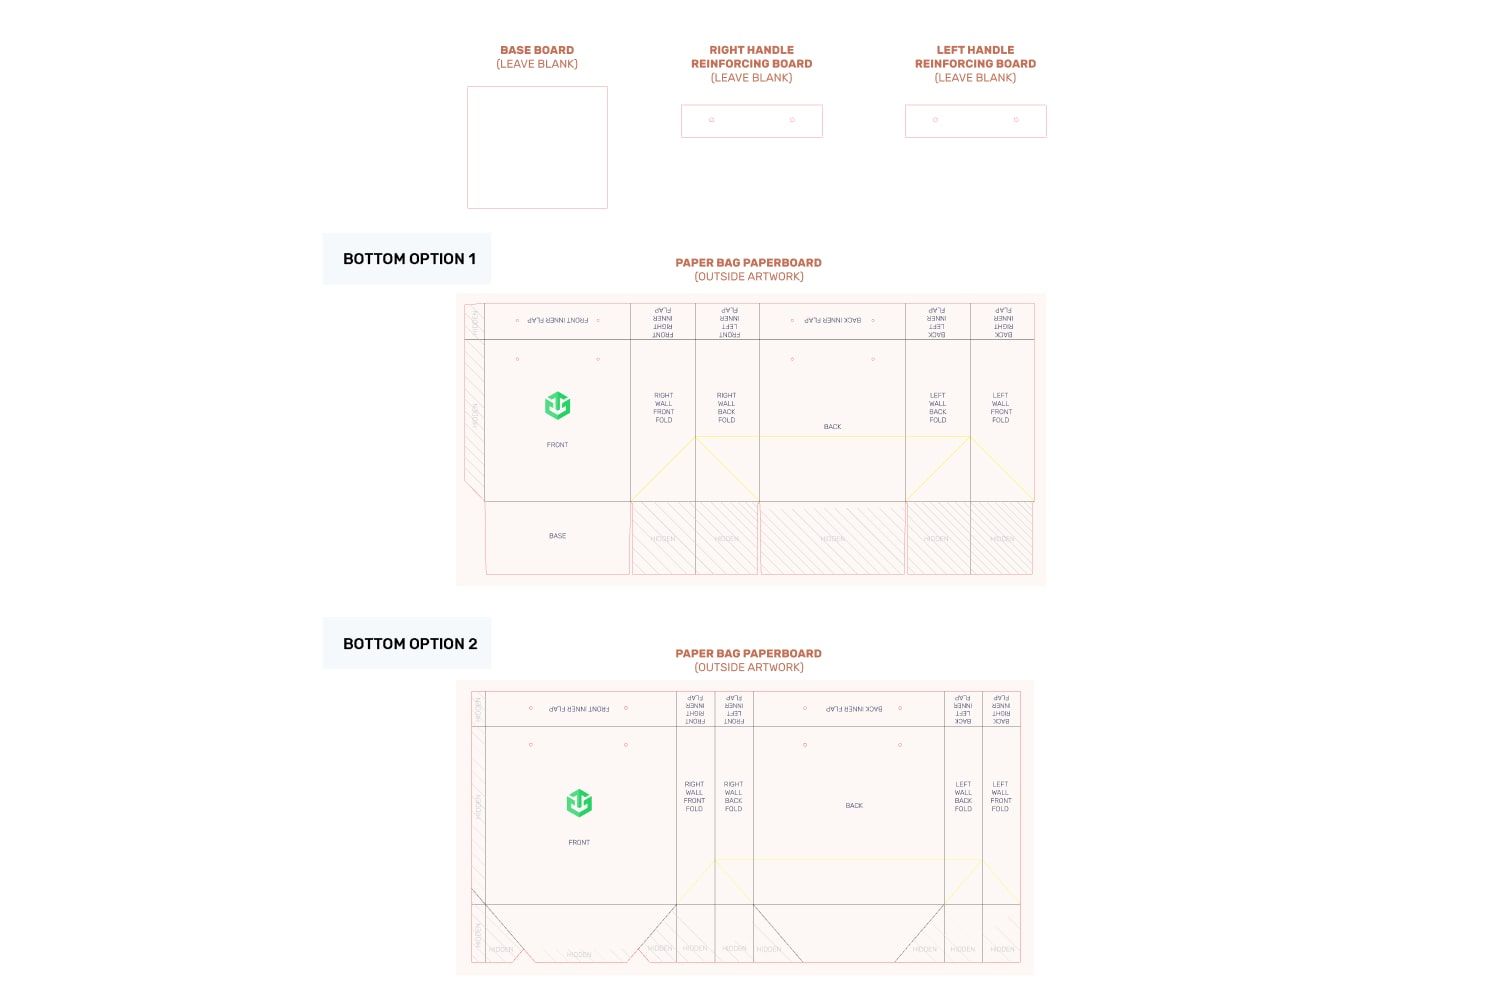
When designing make sure to reference the Paper Bag Orientation Guide to ensure that you are placing elements in the correct location and orientation. Remember to account for bleeds when adding your designs.
Do note that there are two styles of bottoms. Make sure to follow the orientation guide for your respective style.

2. Bag Design
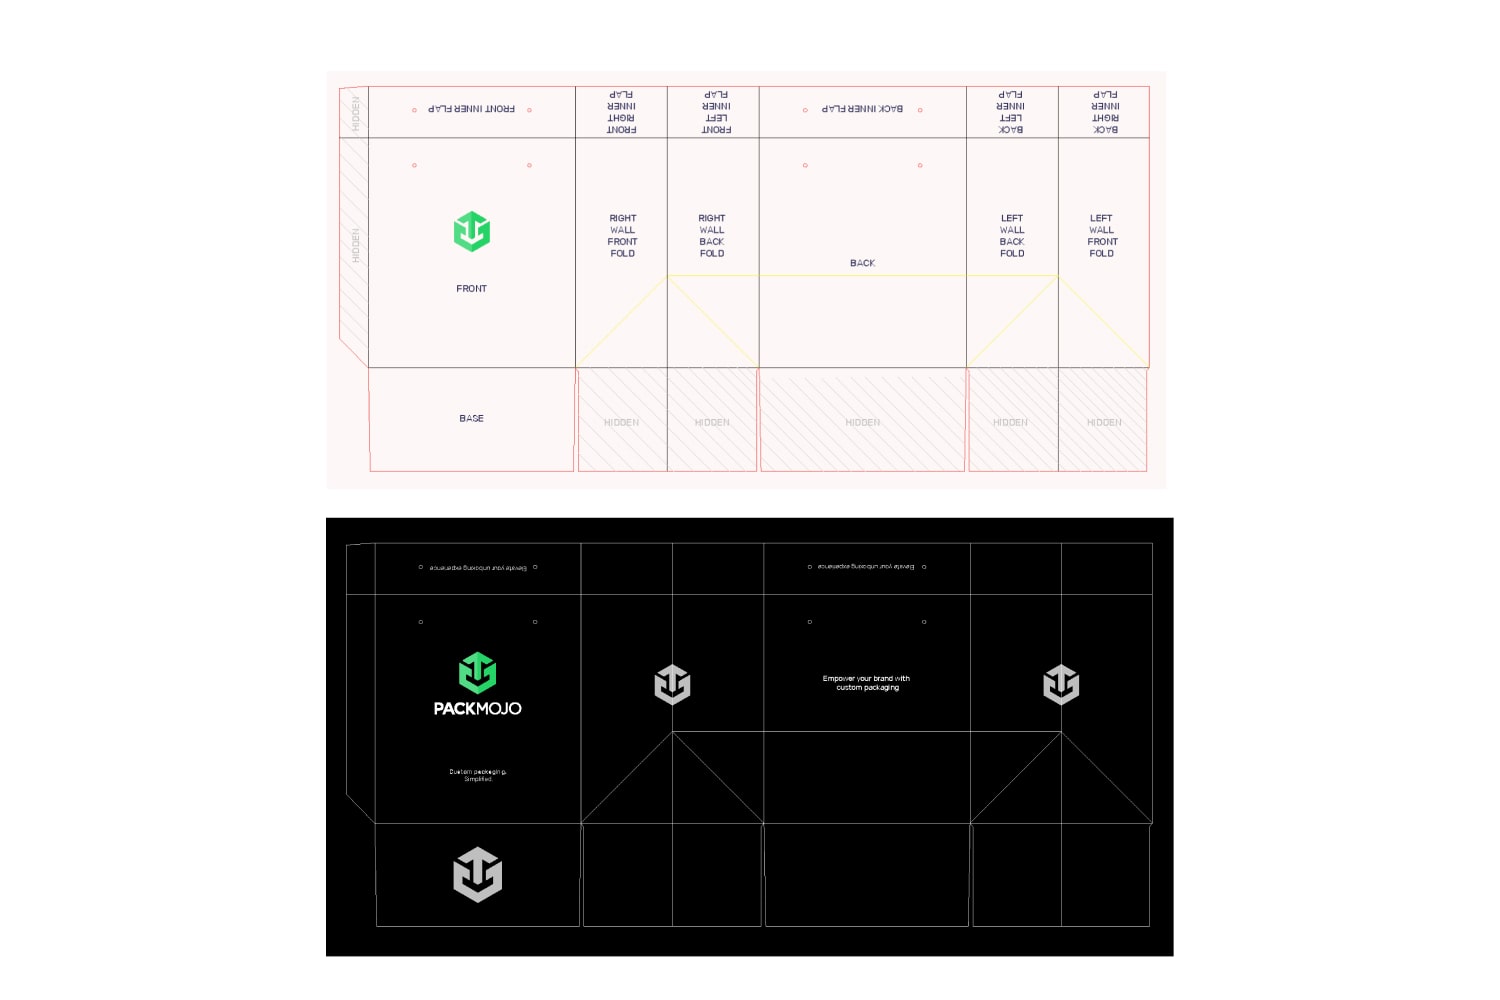
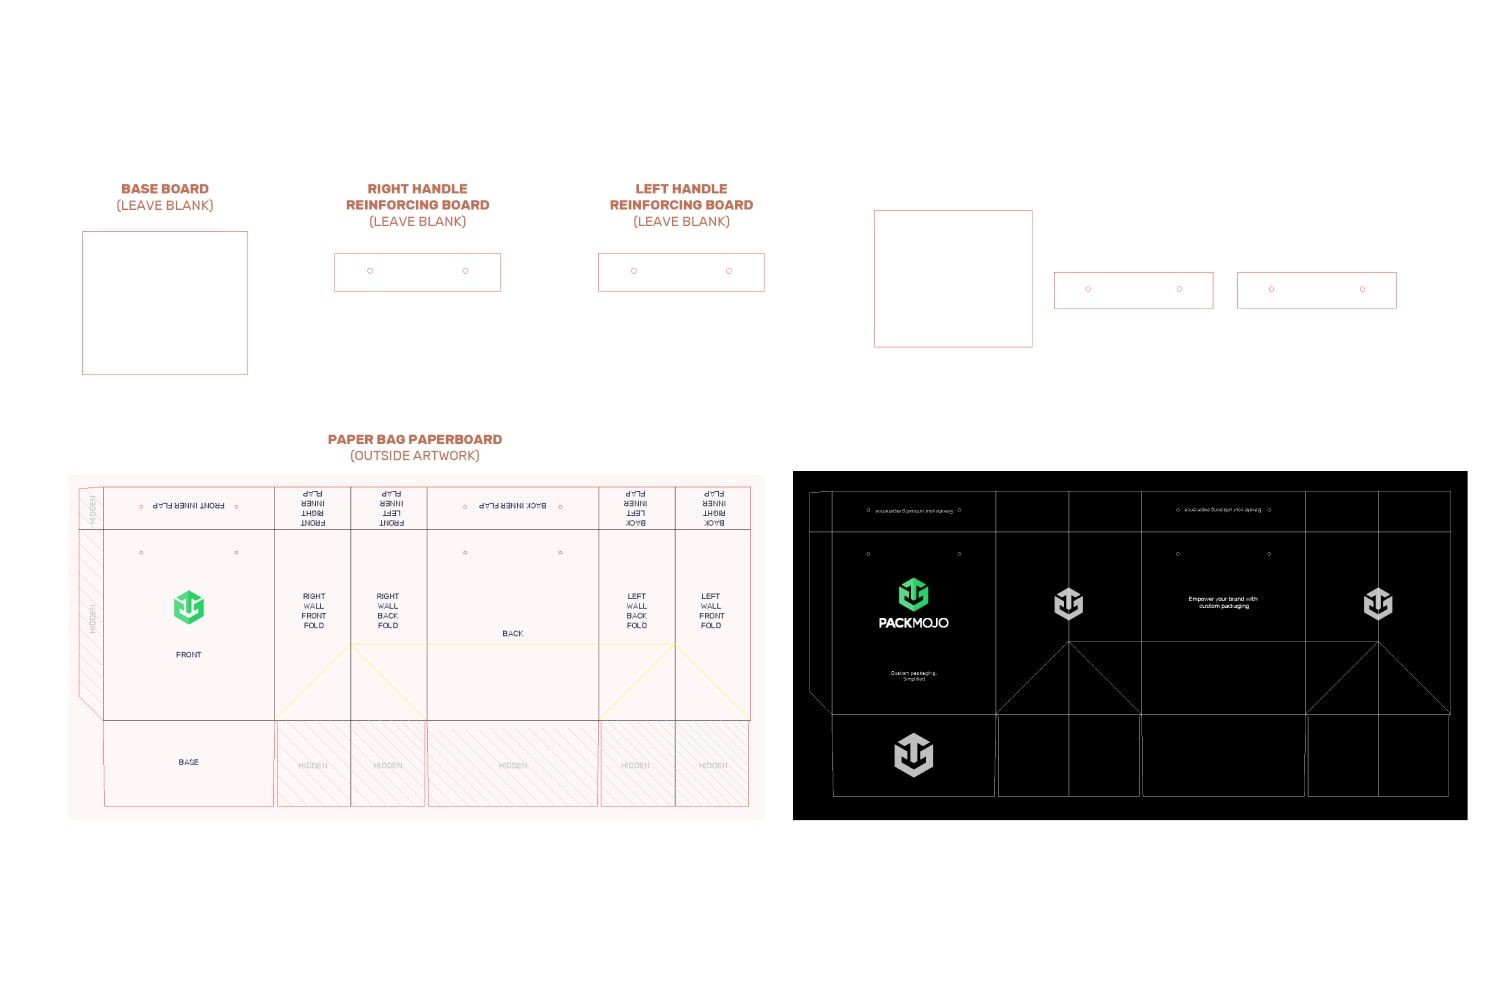
For paper bags, we will only be adding designs to the exterior. Designs on the front, back and all side walls should remain in the same orientation. Designs that will be on the inner flap that gets folded along the top should all be inverted. For bottom style 1, designs on the base should also stay in the same orientation.
Do note that due to the assembly of bottom style 2, some areas will be hidden so we would recommend that you avoid putting important details here.

3. Finishing up
When you're done designing, double check it with the dieline orientation guide to make sure that everything is in the correct location and orientation.
To learn more about adding logos, vectorizing text or embedding images on dielines in Adobe Illustrator, head to our dieline design tips page.

