How to Design on a Display Box Dieline
Follow this step-by-step guide and learn to add your designs to display box dieline templates with Adobe Illustrator. This guide walks you through what you should keep in mind as you add your design elements to the dieline template.
Step by Step Guide
1. Getting started
To get started with your rigid box dieline template, begin by making sure your document is in CMYK color mode, the color system used for printing. This can be done by going to File > Document Color Mode > CMYK Mode.
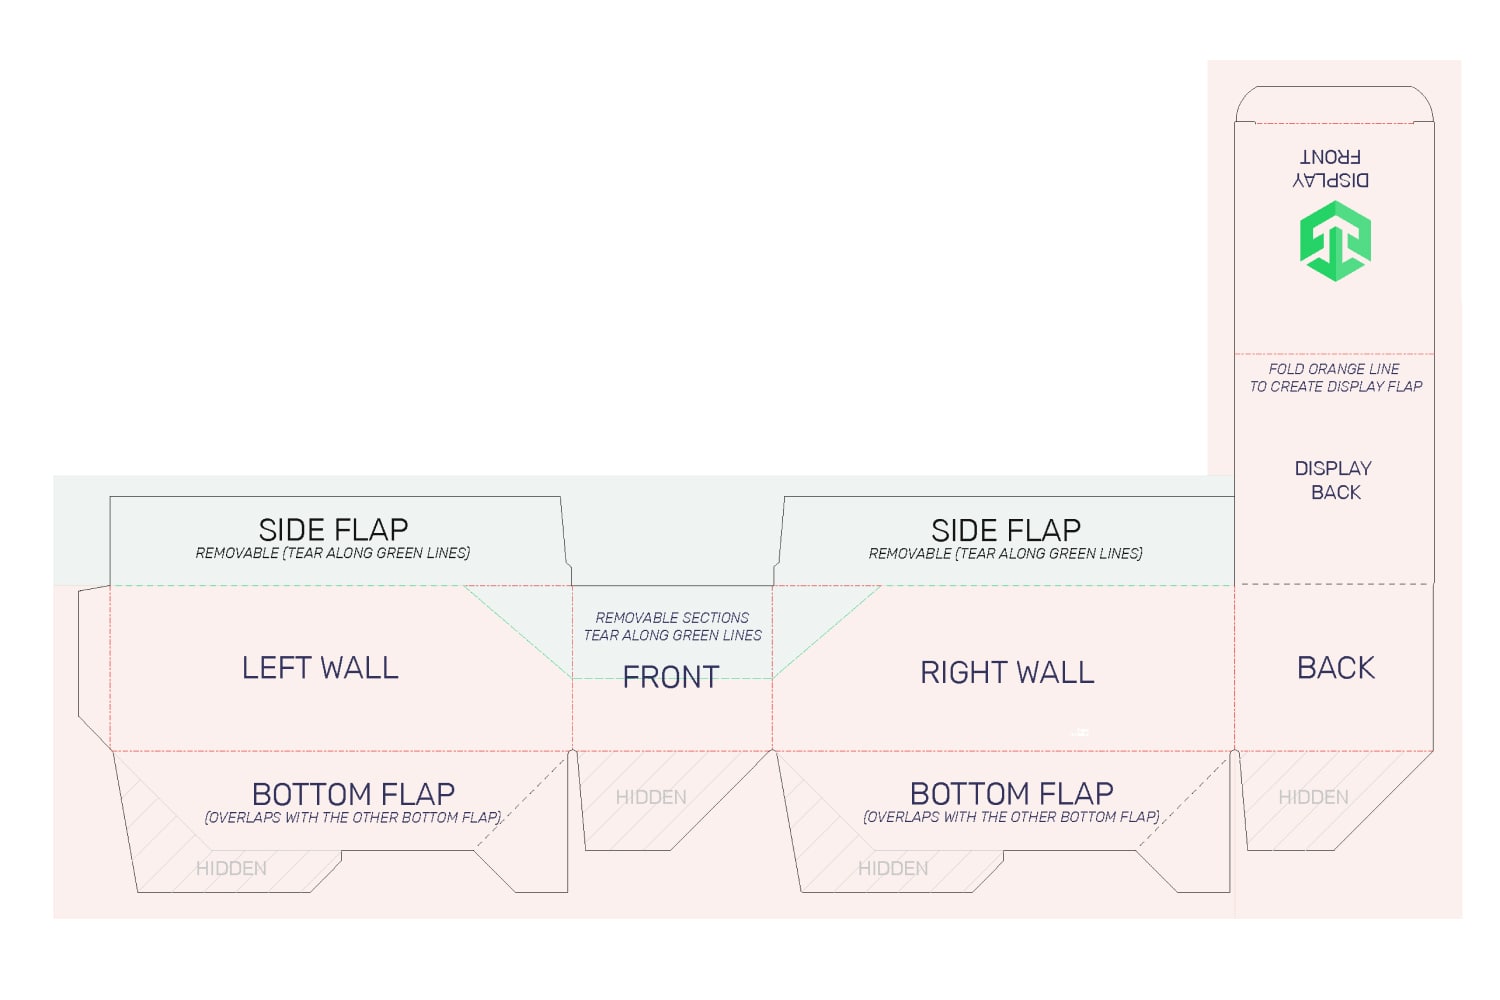
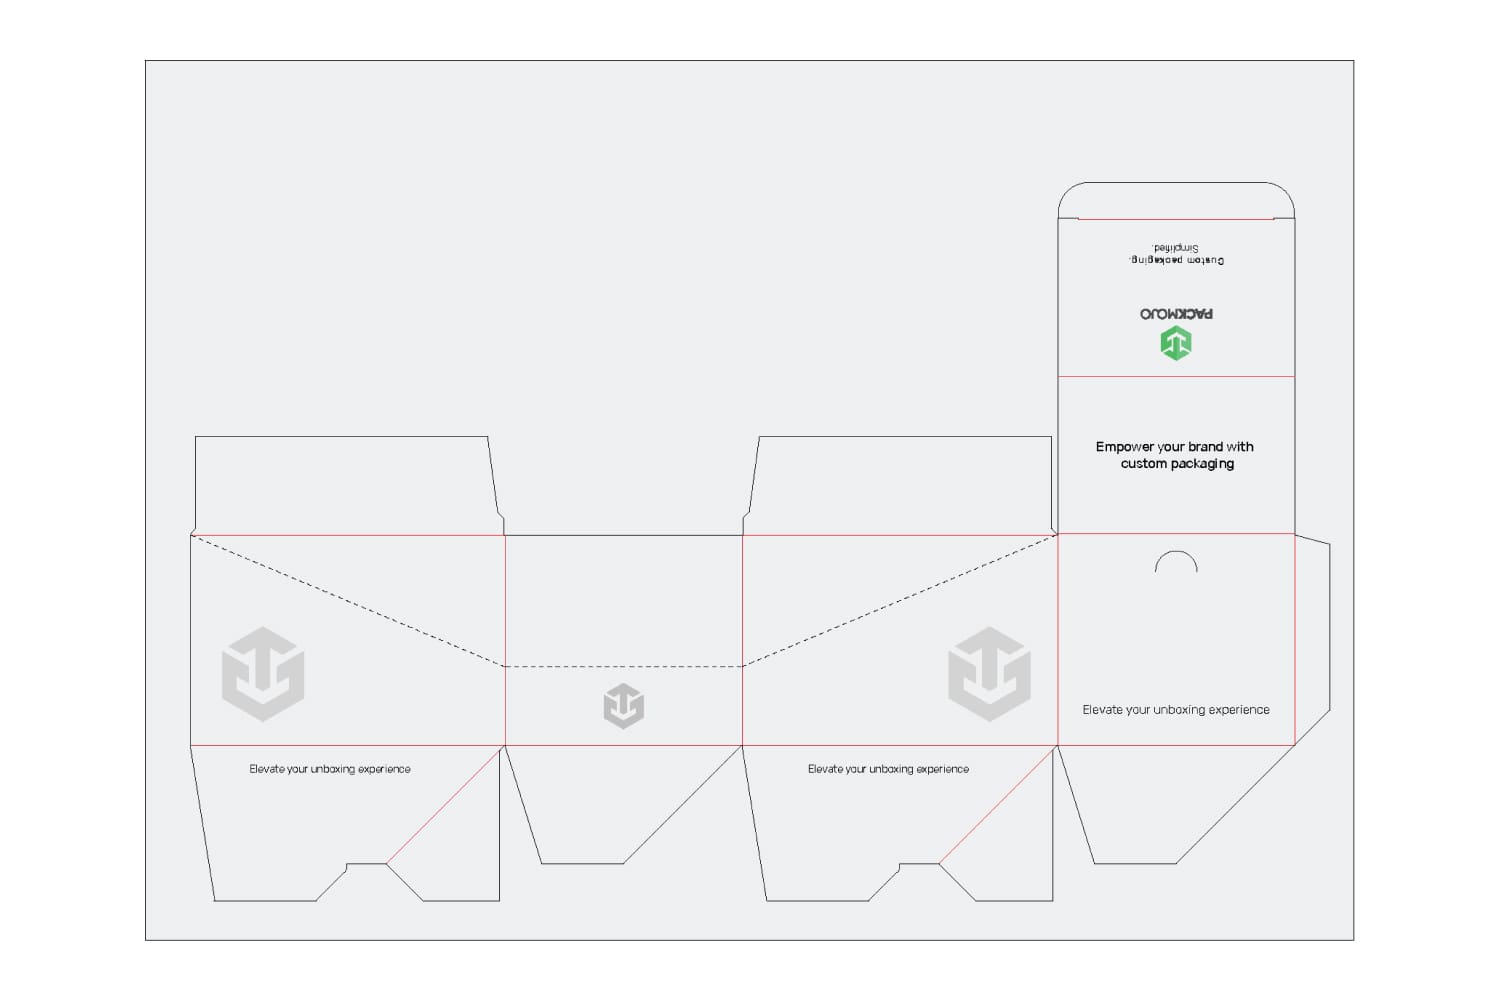
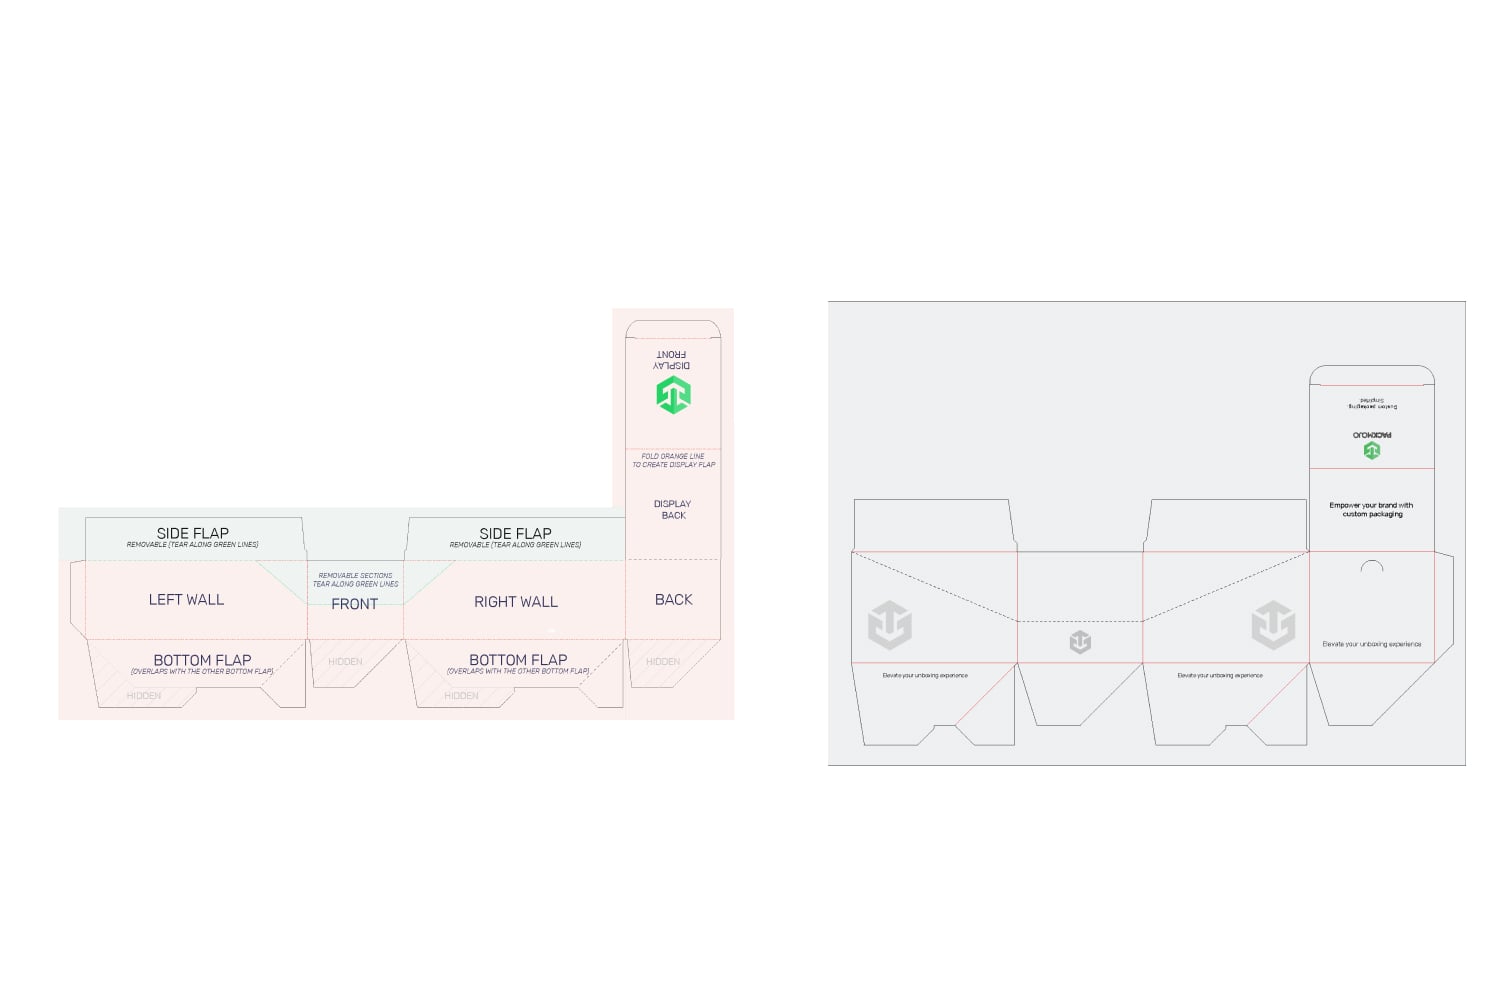
When designing make sure to reference the Display Box Orientation Guide to ensure that you are placing elements in the correct location and orientation. Remember to account for bleeds when adding your designs.

2. Adding Elements
Generally, designs on all panels will stay in the same orientation. As an exception, for the top part of the lid seen here as display front, designs should be inverted. This is because when you transform your box, the lid will be folded in half to create a display flap, thus inverting your design.

Top of the Lid
To ensure that your designs translate well to display units, make sure to put your designs on either the display front or back and not in the middle of the lid where the fold line is.
Bottom of the Box
Our display boxes use an auto bottom lock. Therefore, for the bottom flaps, there are sections that will be hidden and overlapping. To avoid covering important details, you may want to refrain from putting designs in the corners as they will be hidden. Instead, put the details towards the center or, even better, on the main parts of the box such as the side walls.
Side Walls & Front Walls
For display boxes without dust flaps, areas above the perforated line on the side walls and front walls will be removed when you transform your box into a display unit. Thus, make sure to keep the designs you want on your final display away from this area. Keep logos and texts away from the perforated line on the front of the box. Ideally, if there are any logos and text, you want to keep it on the front wall, in between the bottom edge and the perforated line. If you opt to transform your box into a display unit, do note that the side flaps will be removed as well.
3. Finishing up
When you're done designing, double check it with the dieline orientation guide to make sure that everything is in the correct location and orientation.
To learn more about adding logos, vectorizing text or embedding images on dielines in Adobe Illustrator, head to our dieline design tips page.

