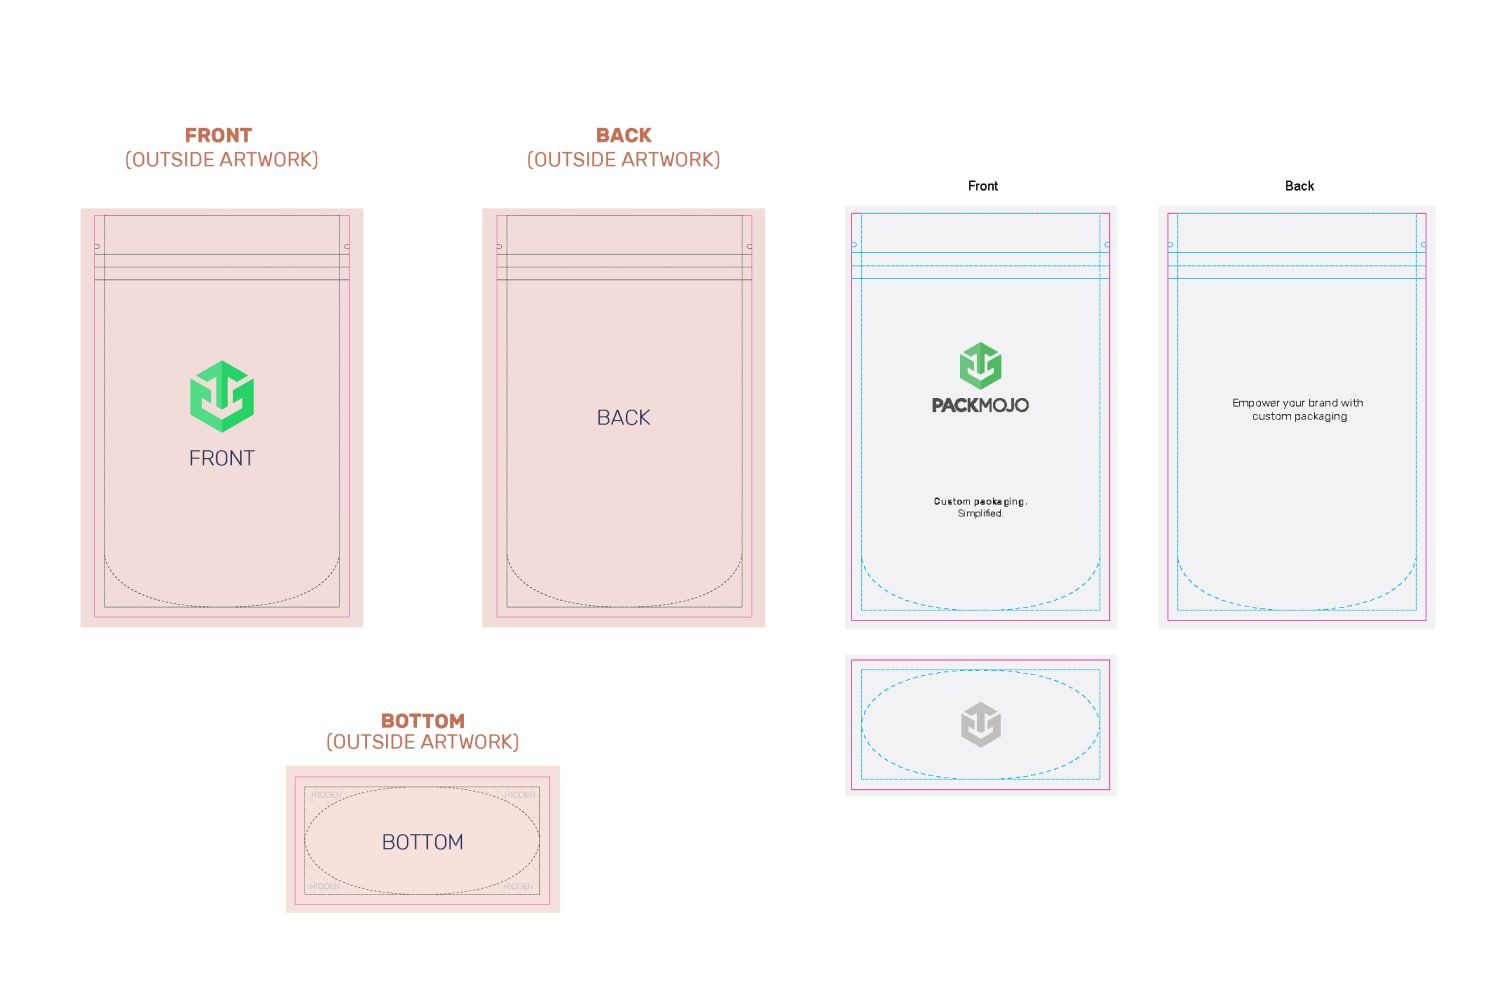
How to Design on a Custom Pouch Dieline
Follow this step-by-step guide and learn to add your designs to a custom pouch dieline template with Adobe Illustrator. This guide walks you through what you should keep in mind as you add your design elements to the dieline template.
Step by Step Guide
1. Getting started
To get started with your custom pouch dieline template, begin by making sure your document is in CMYK color mode, the color system used for printing. This can be done by going to File > Document Color Mode > CMYK Mode.
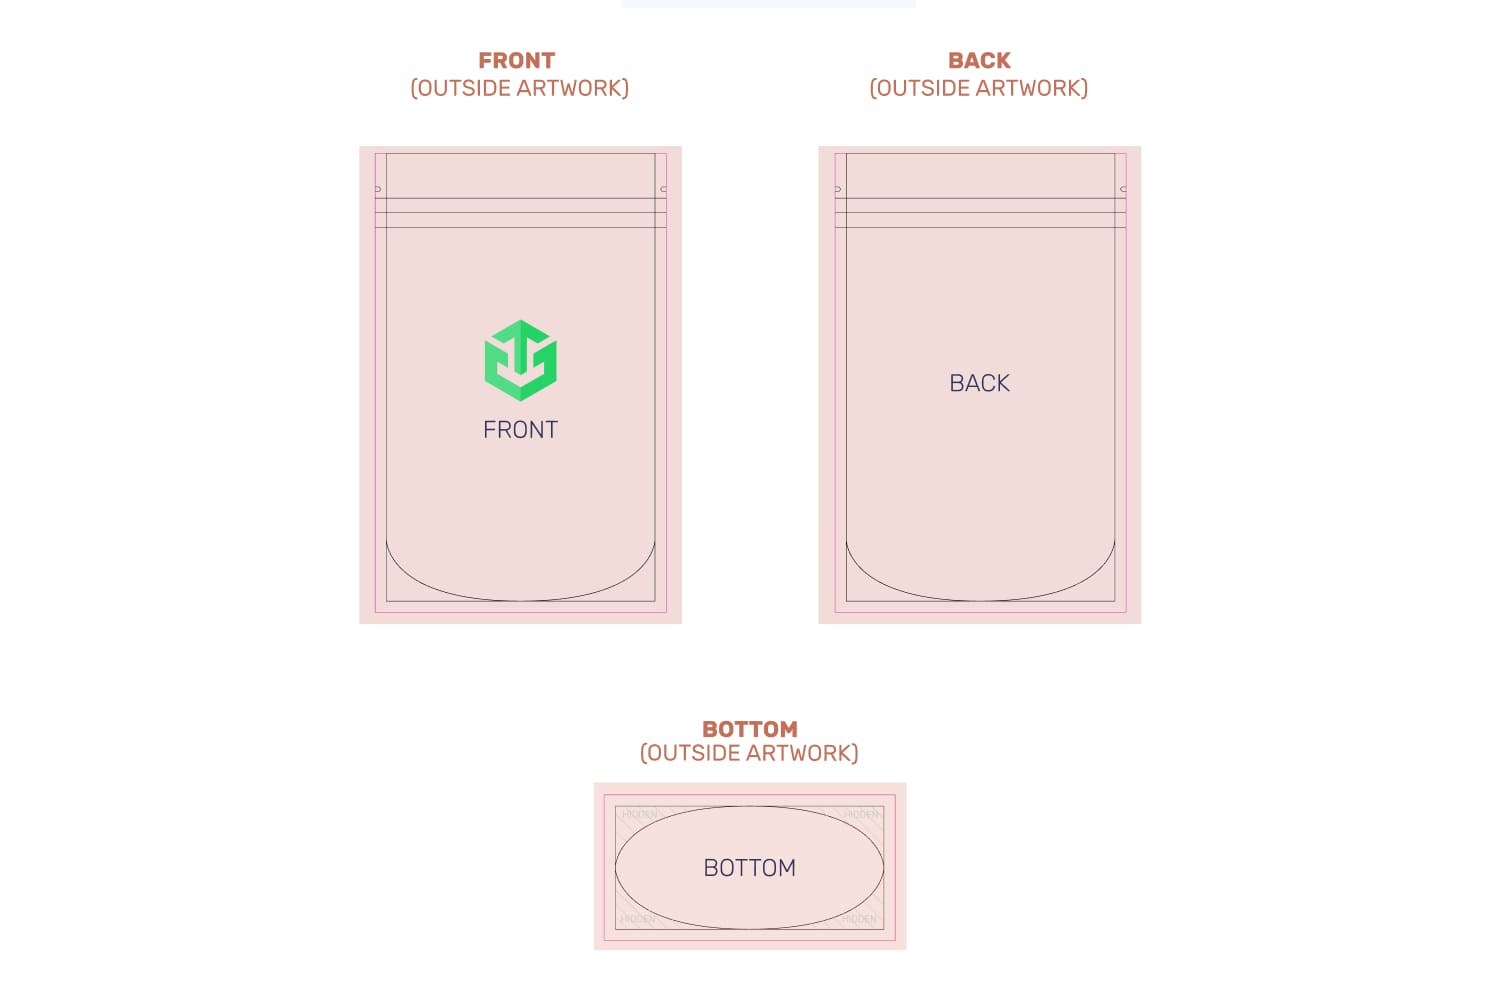
When designing make sure to reference the Custom Pouch Orientation Guide to ensure that you are placing elements in the correct location and orientation. Remember to account for bleeds when adding your designs.
2. Front
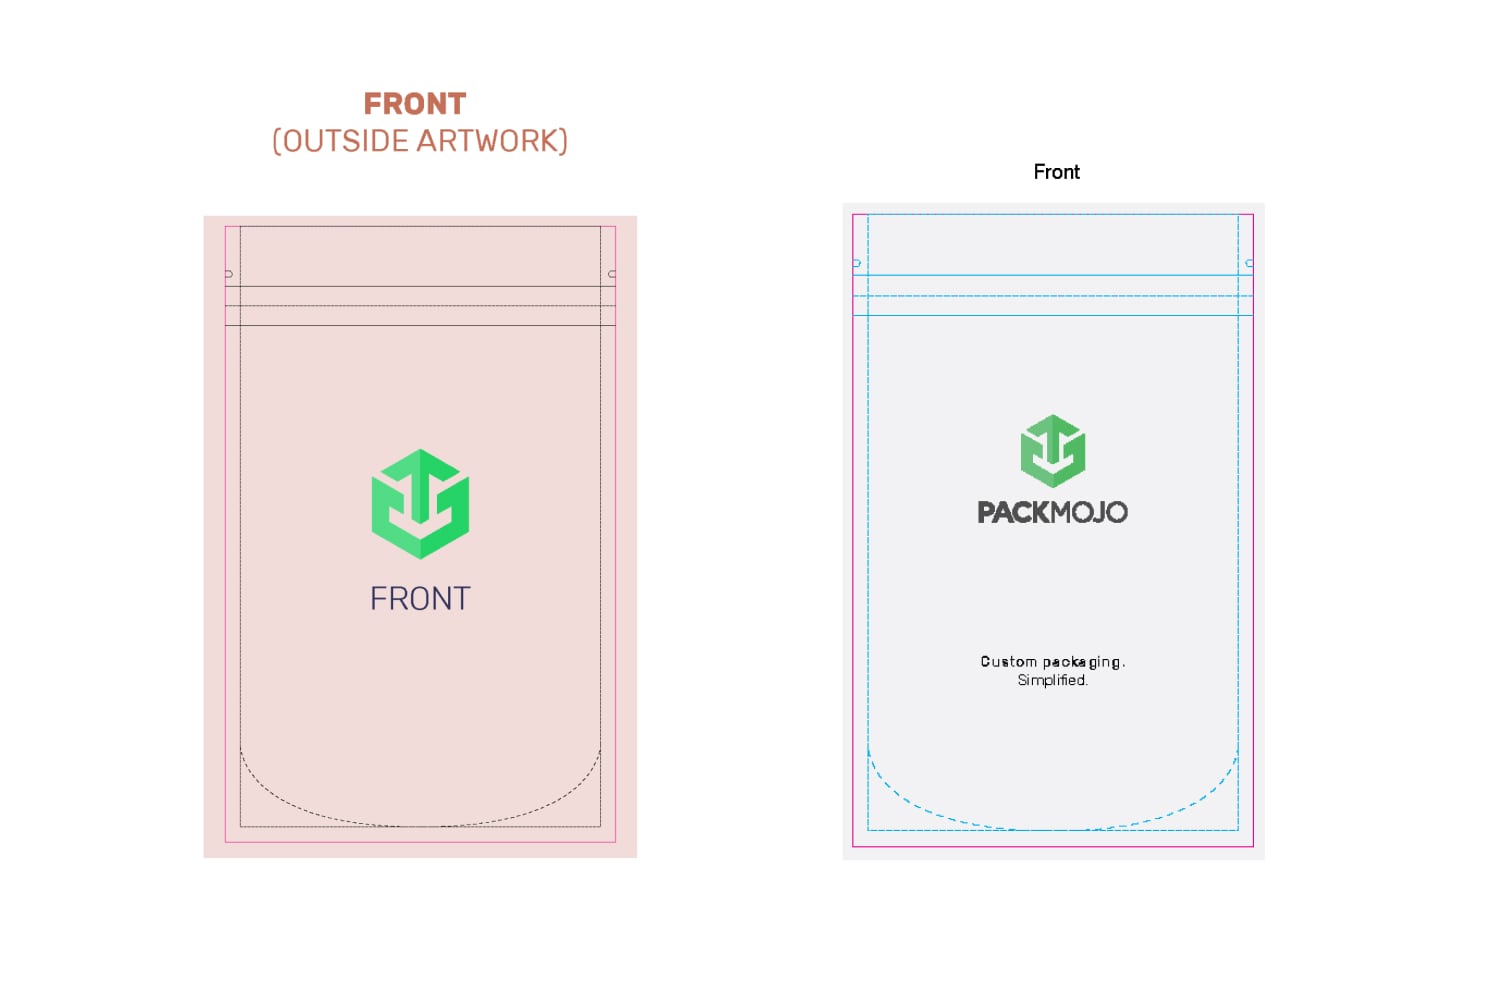
For the front, all designs will remain in the same orientation.
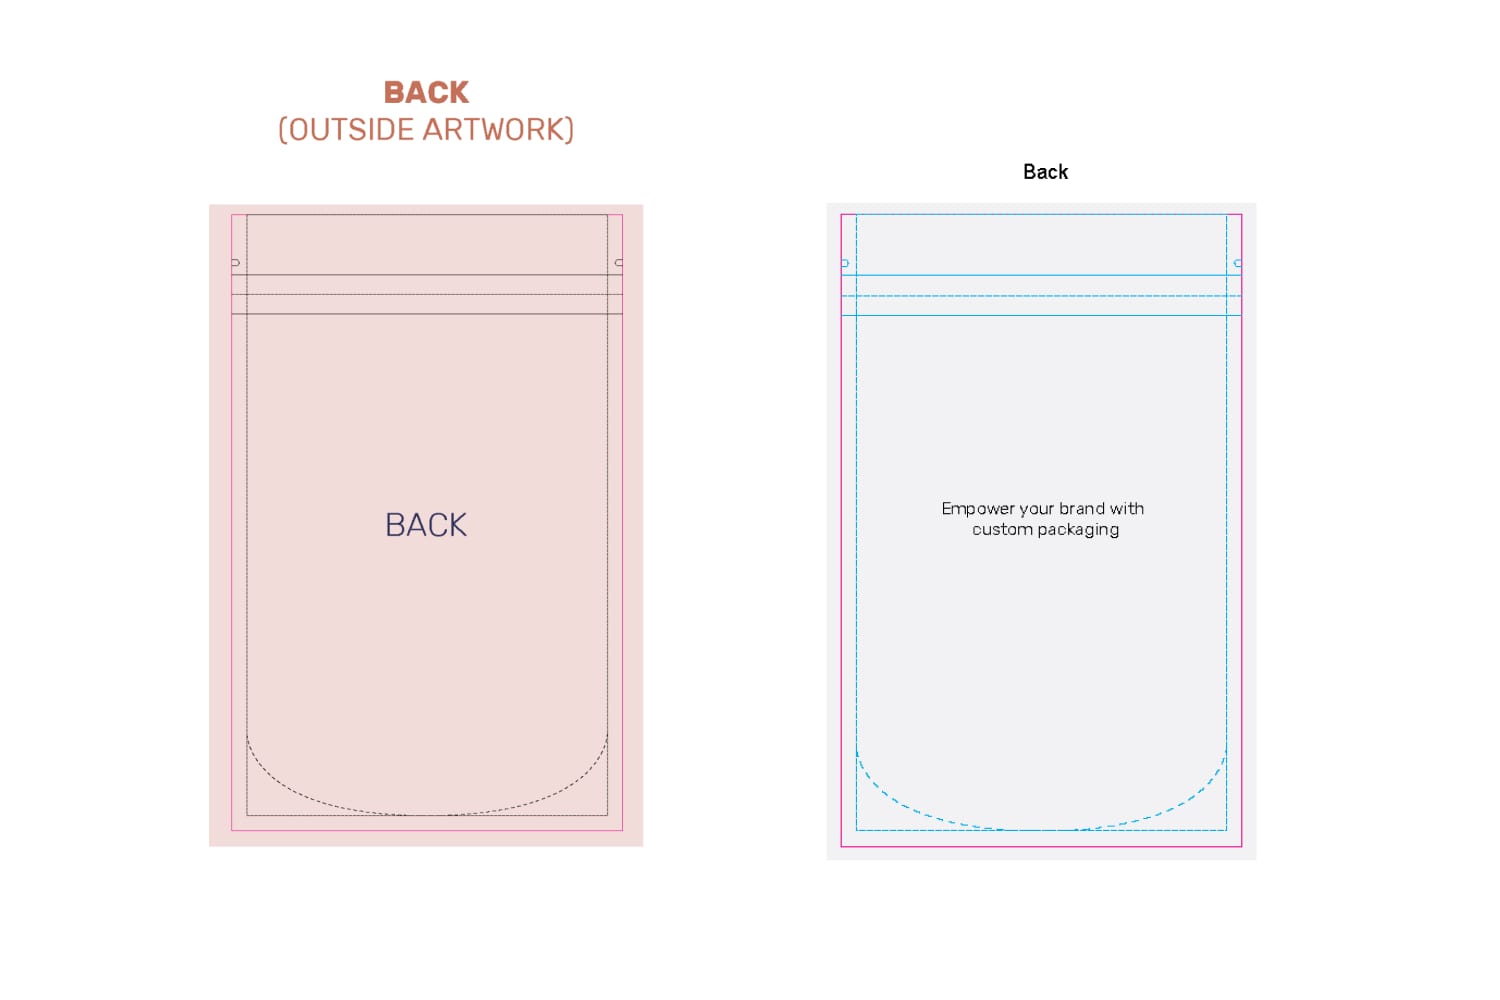
3. Back
For designs on the back, all designs will also remain in the same orientation.
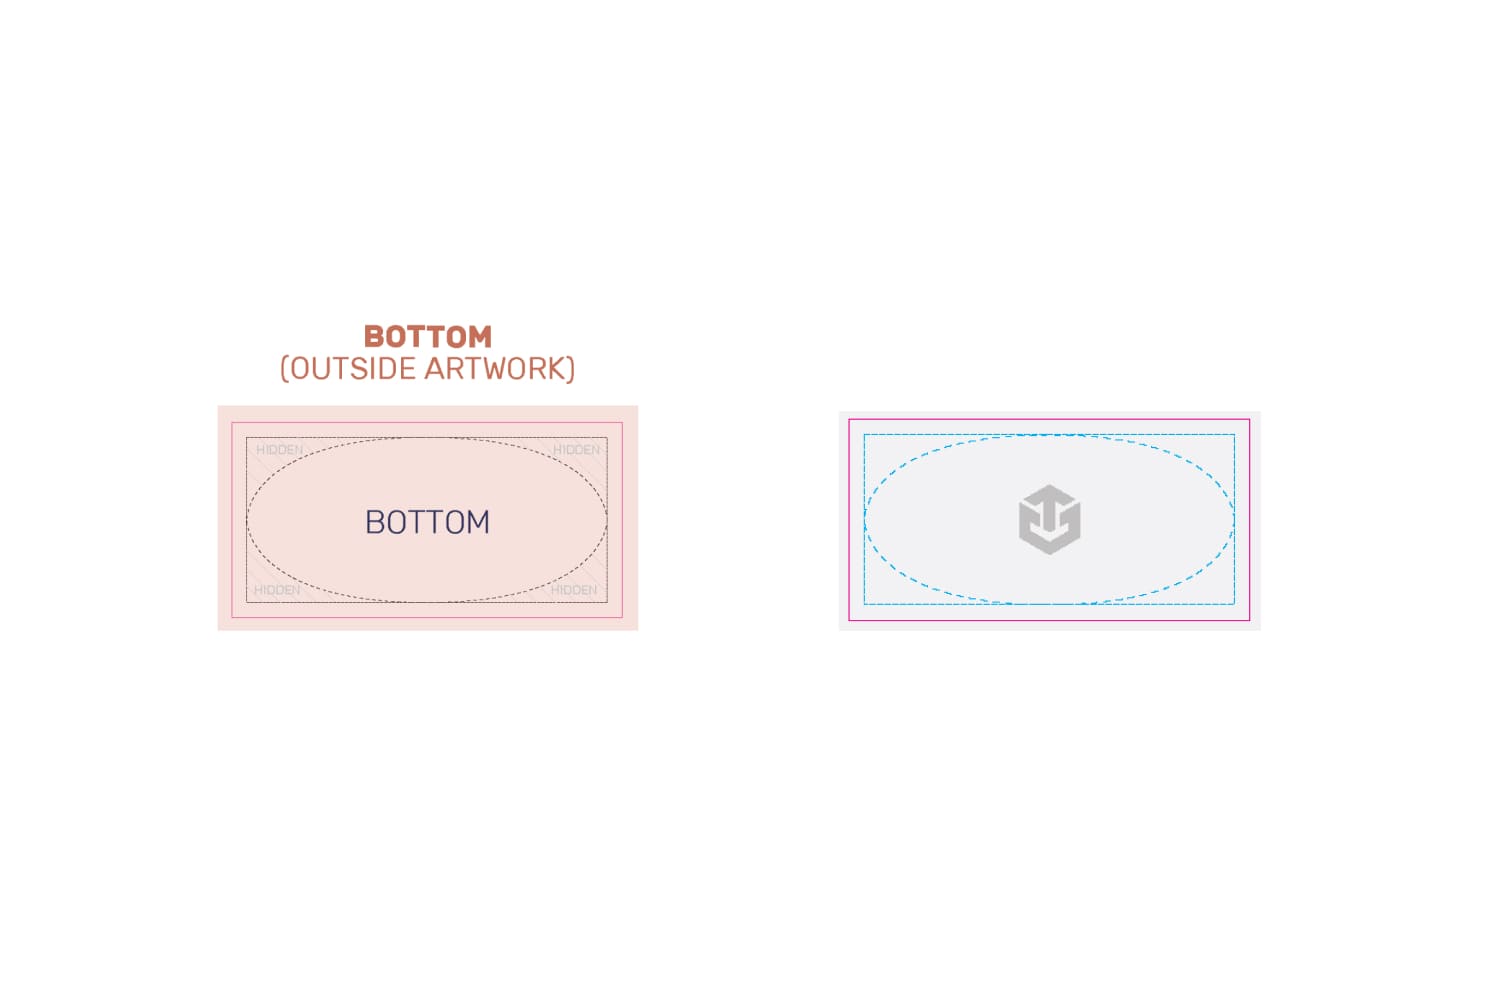
4. Bottom
For the bottom, designs will remain in the same orientation. Do note that designs on the corners will not be visible after assembly.
5. Finishing up
When you're done designing, double check it with the dieline orientation guide to make sure that everything is in the correct location and orientation.
To learn more about adding logos, vectorizing text or embedding images on dielines in Adobe Illustraor, head to our dieline design tips page.
