How to Design on a Packaging Dieline with Canva
Most dieline templates require Adobe Illustrator to edit and add designs to. However, if you do not have access to Adobe Illustrator, you can consider using Canva Pro to add designs to a dieline template.
Canva Pro is a more economical alternative to Illustrator and has many other uses, making it a software you may already subscribe to. Do note that the free version of Canva will not be sufficient for adding dieline designs and formatting them correctly for production. Therefore, to use this alternative method, you will have to use Canva Pro.
Another option could be to use Figma for dieline design. But ultimately, Adobe Illustrator would be the best tool to use.
Step by Step Guide
1. Getting started
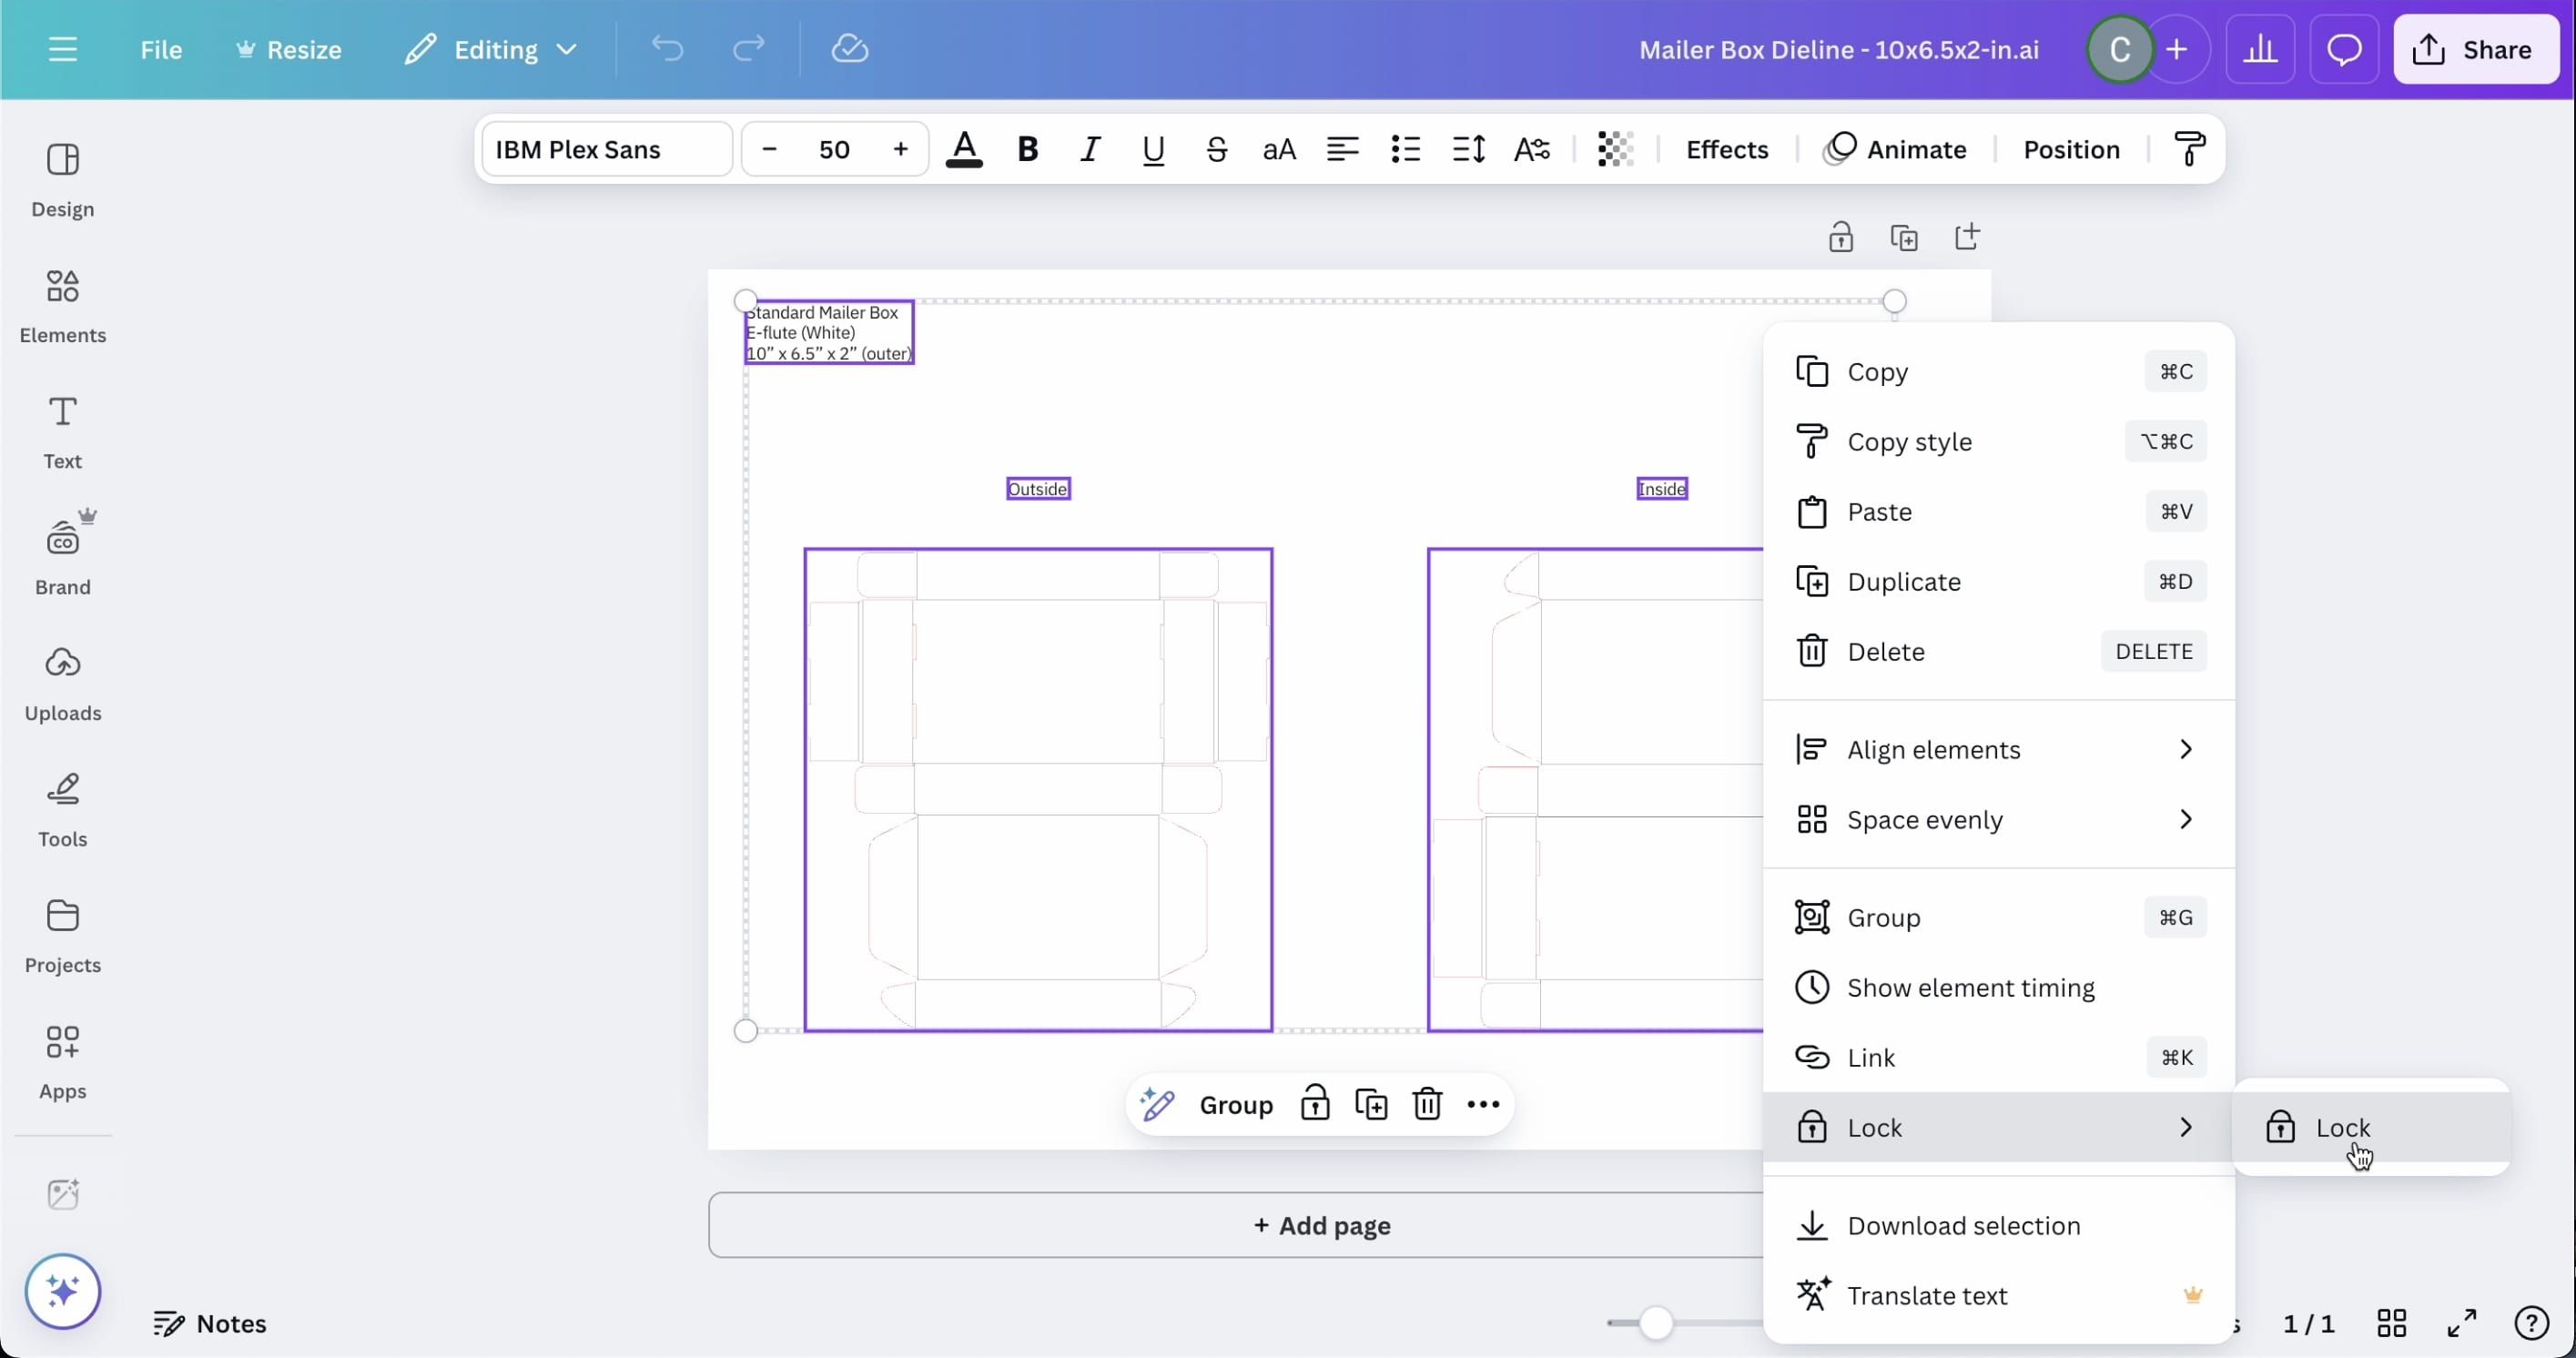
Begin by uploading the provided dieline onto Canva. Once open, you’ll be able to add your designs to the dieline template. To help make the design process easier, begin by locking the dieline outlines in place by right-clicking them and selecting “Lock”.
2. Adding Elements
When designing your dieline on Canva, make sure to follow the general guidelines for dieline design to the best of your abilities. Make sure that all designs bleed over the dieline outlines and use vectors wherever possible.
Use the appropriate dieline design guide (found in step 2 of this page) to help navigate which panel is for which side of your box. Then, begin adding your background colors and any design elements to your dieline.
For any fonts you use for text elements, note down the font names and provide them to us alongside your final dieline. If you do choose to add any image files to your design, please also send us a copy of the images.
3. Uploading Logos
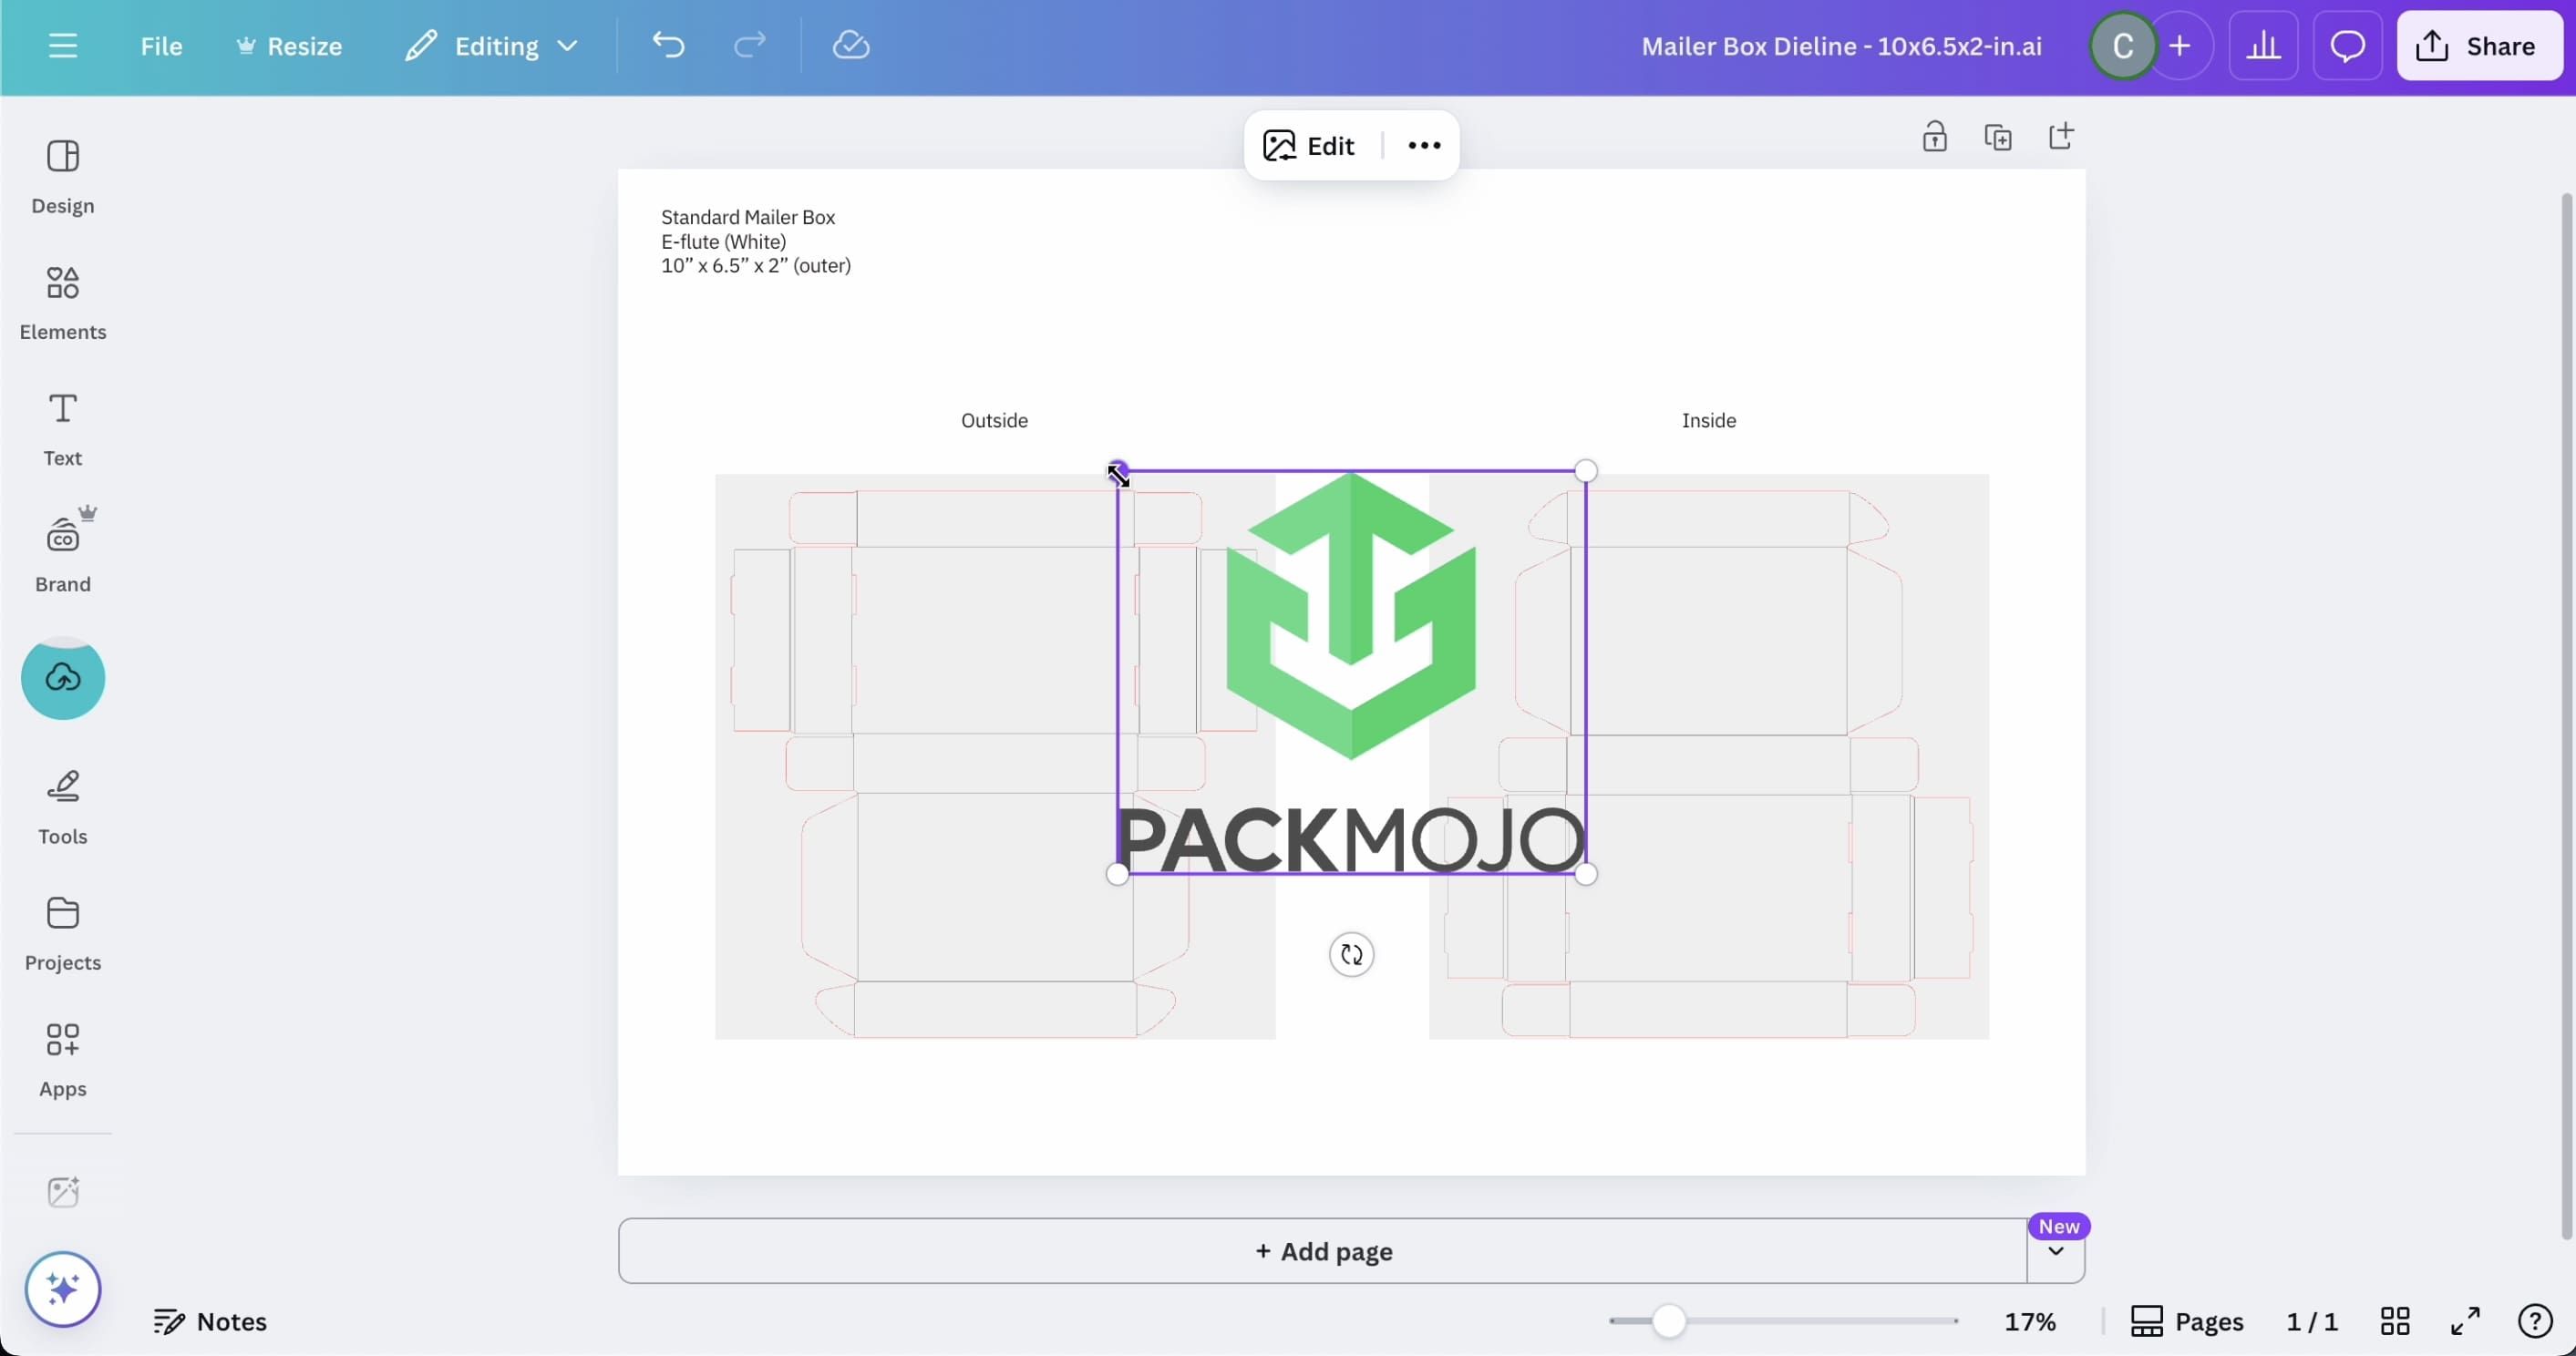
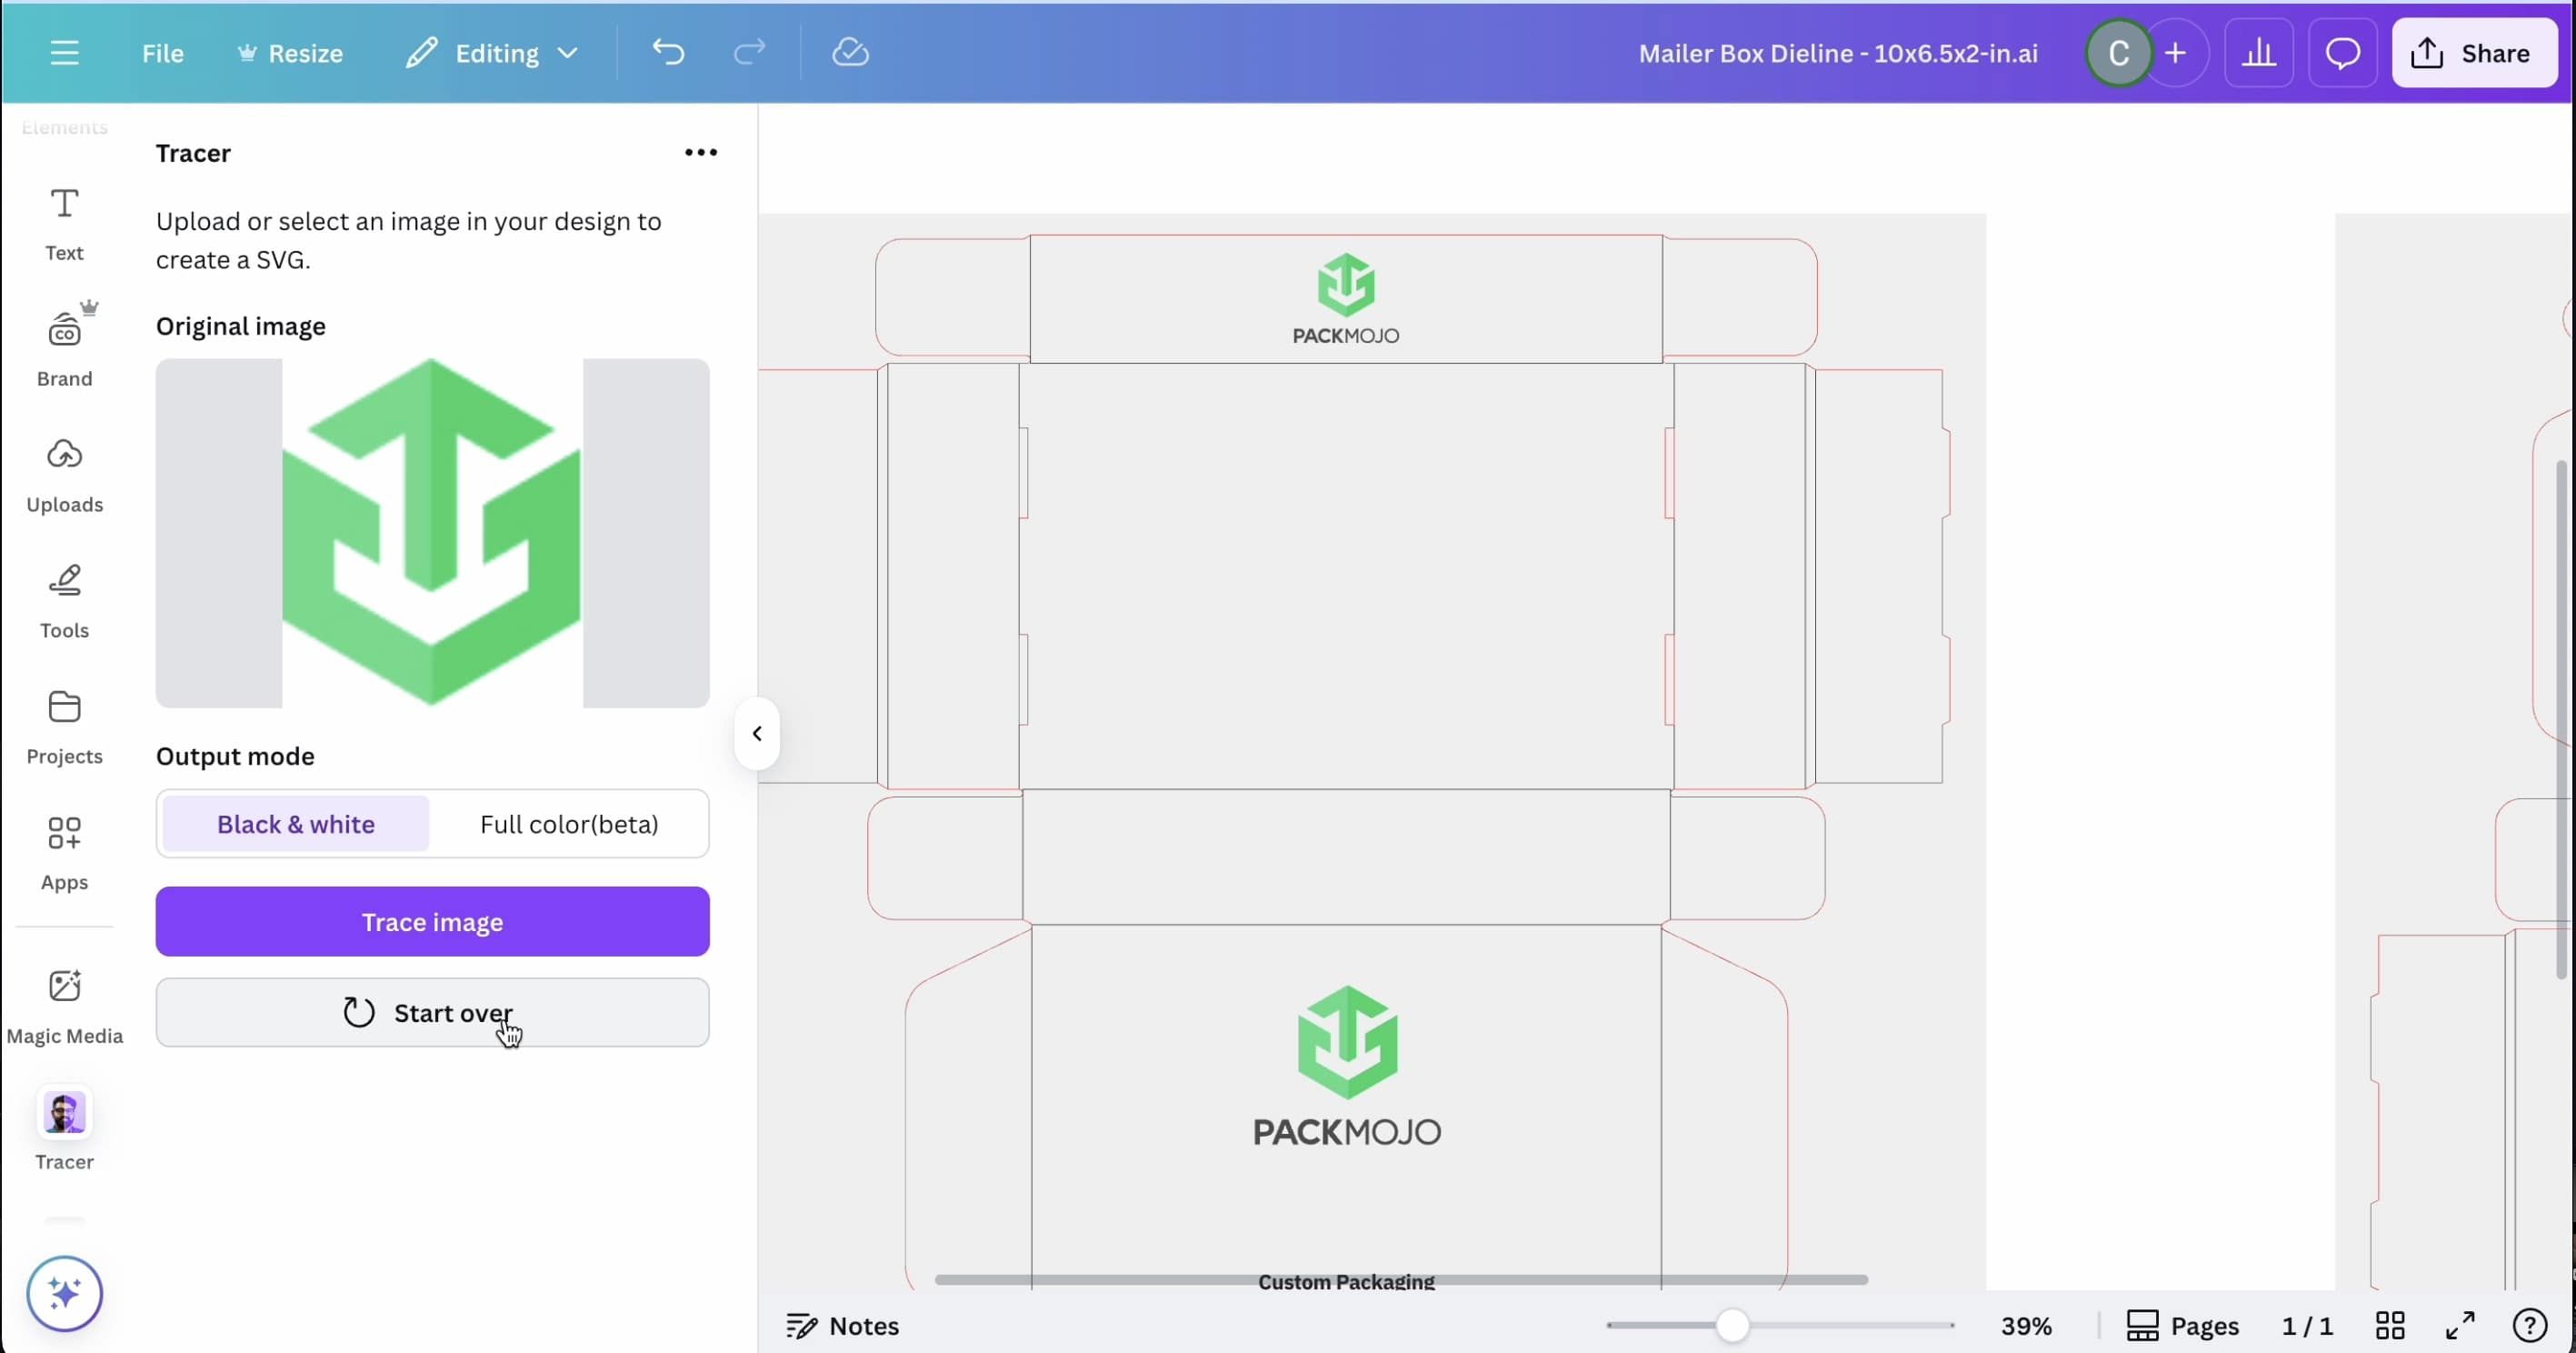
Generally, we recommend that you upload visual elements as vectors where possible. Therefore, if your logo is not a SVG file, we recommend that you use Canva’s vectorize app to do this. You can find this app by going to “Apps” on the left side bar and searching for “Tracer”. This app allows you to upload images and turn them into vectors. From there, upload an image file of your logo, and that should add your logo as a vector to the dieline design file.
To change the color of the vector, go to edit your image and select the color duotone. From there, you can edit the color of your logo.
4. Aligning Elements
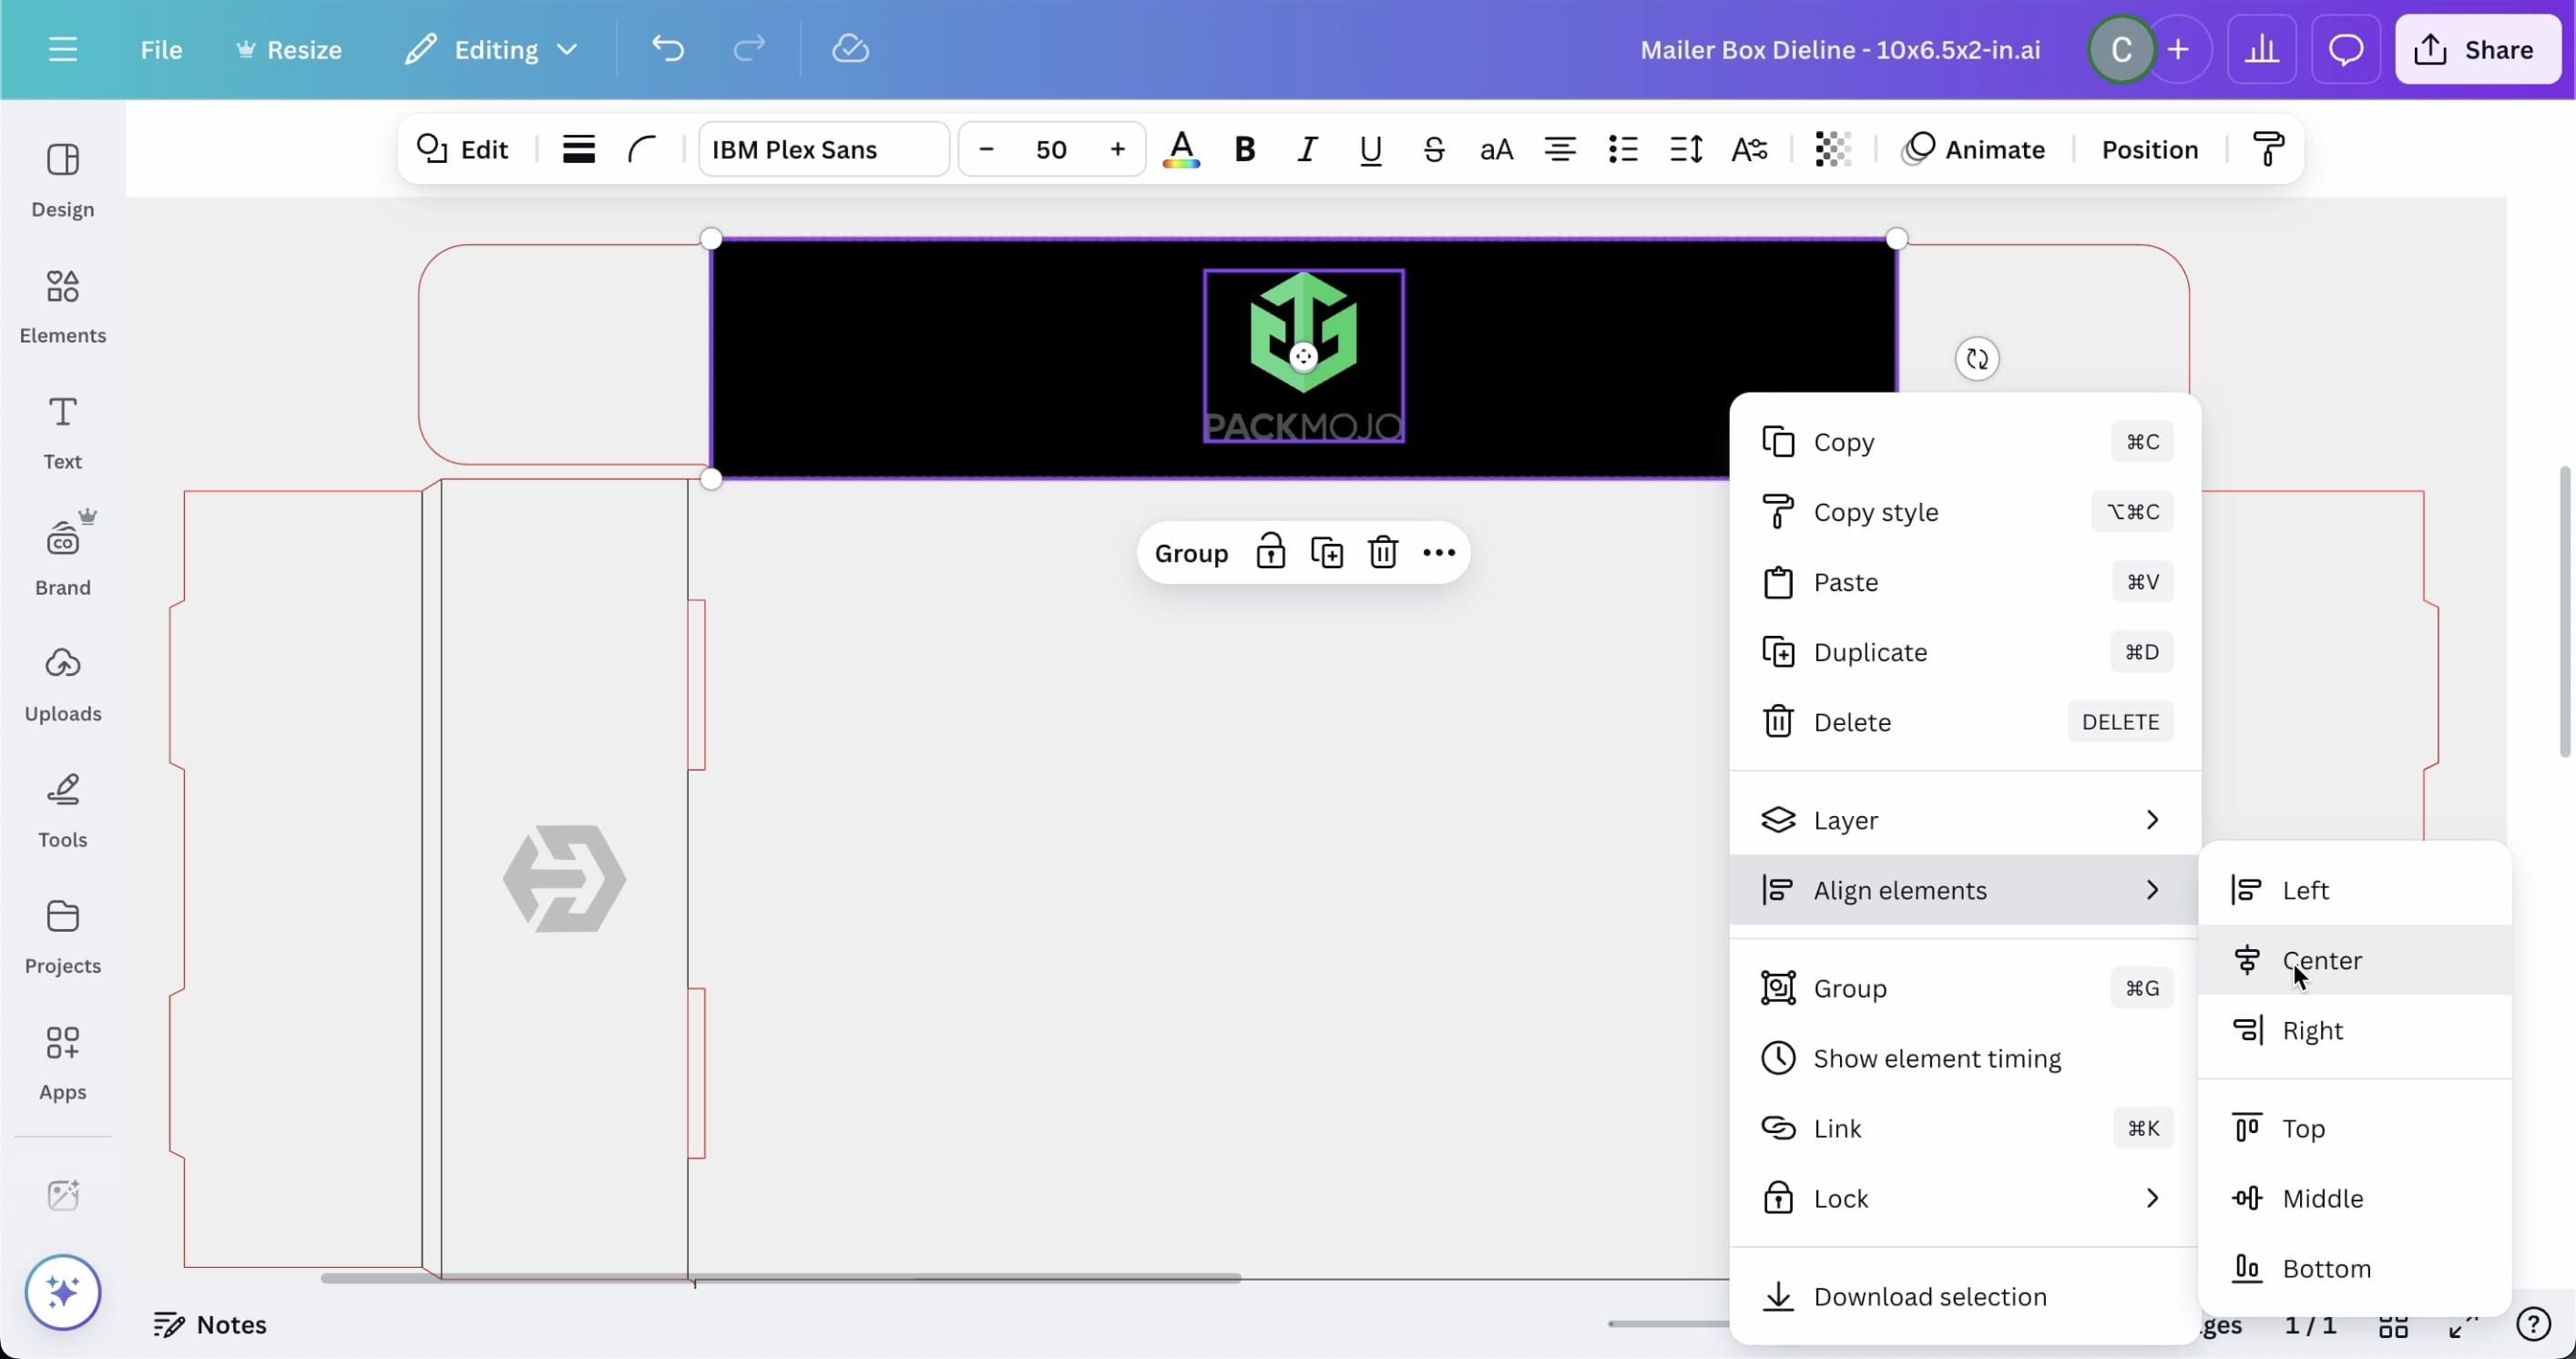
A limitation of using Canva is that you’re unable to center elements exactly using the dieline outlines. However, you can work around this by creating a rectangle to the exact size of the desired panel and centering your elements to that shape. Just make sure to delete the shape once you’re done
5. Enhancements & Add-ons
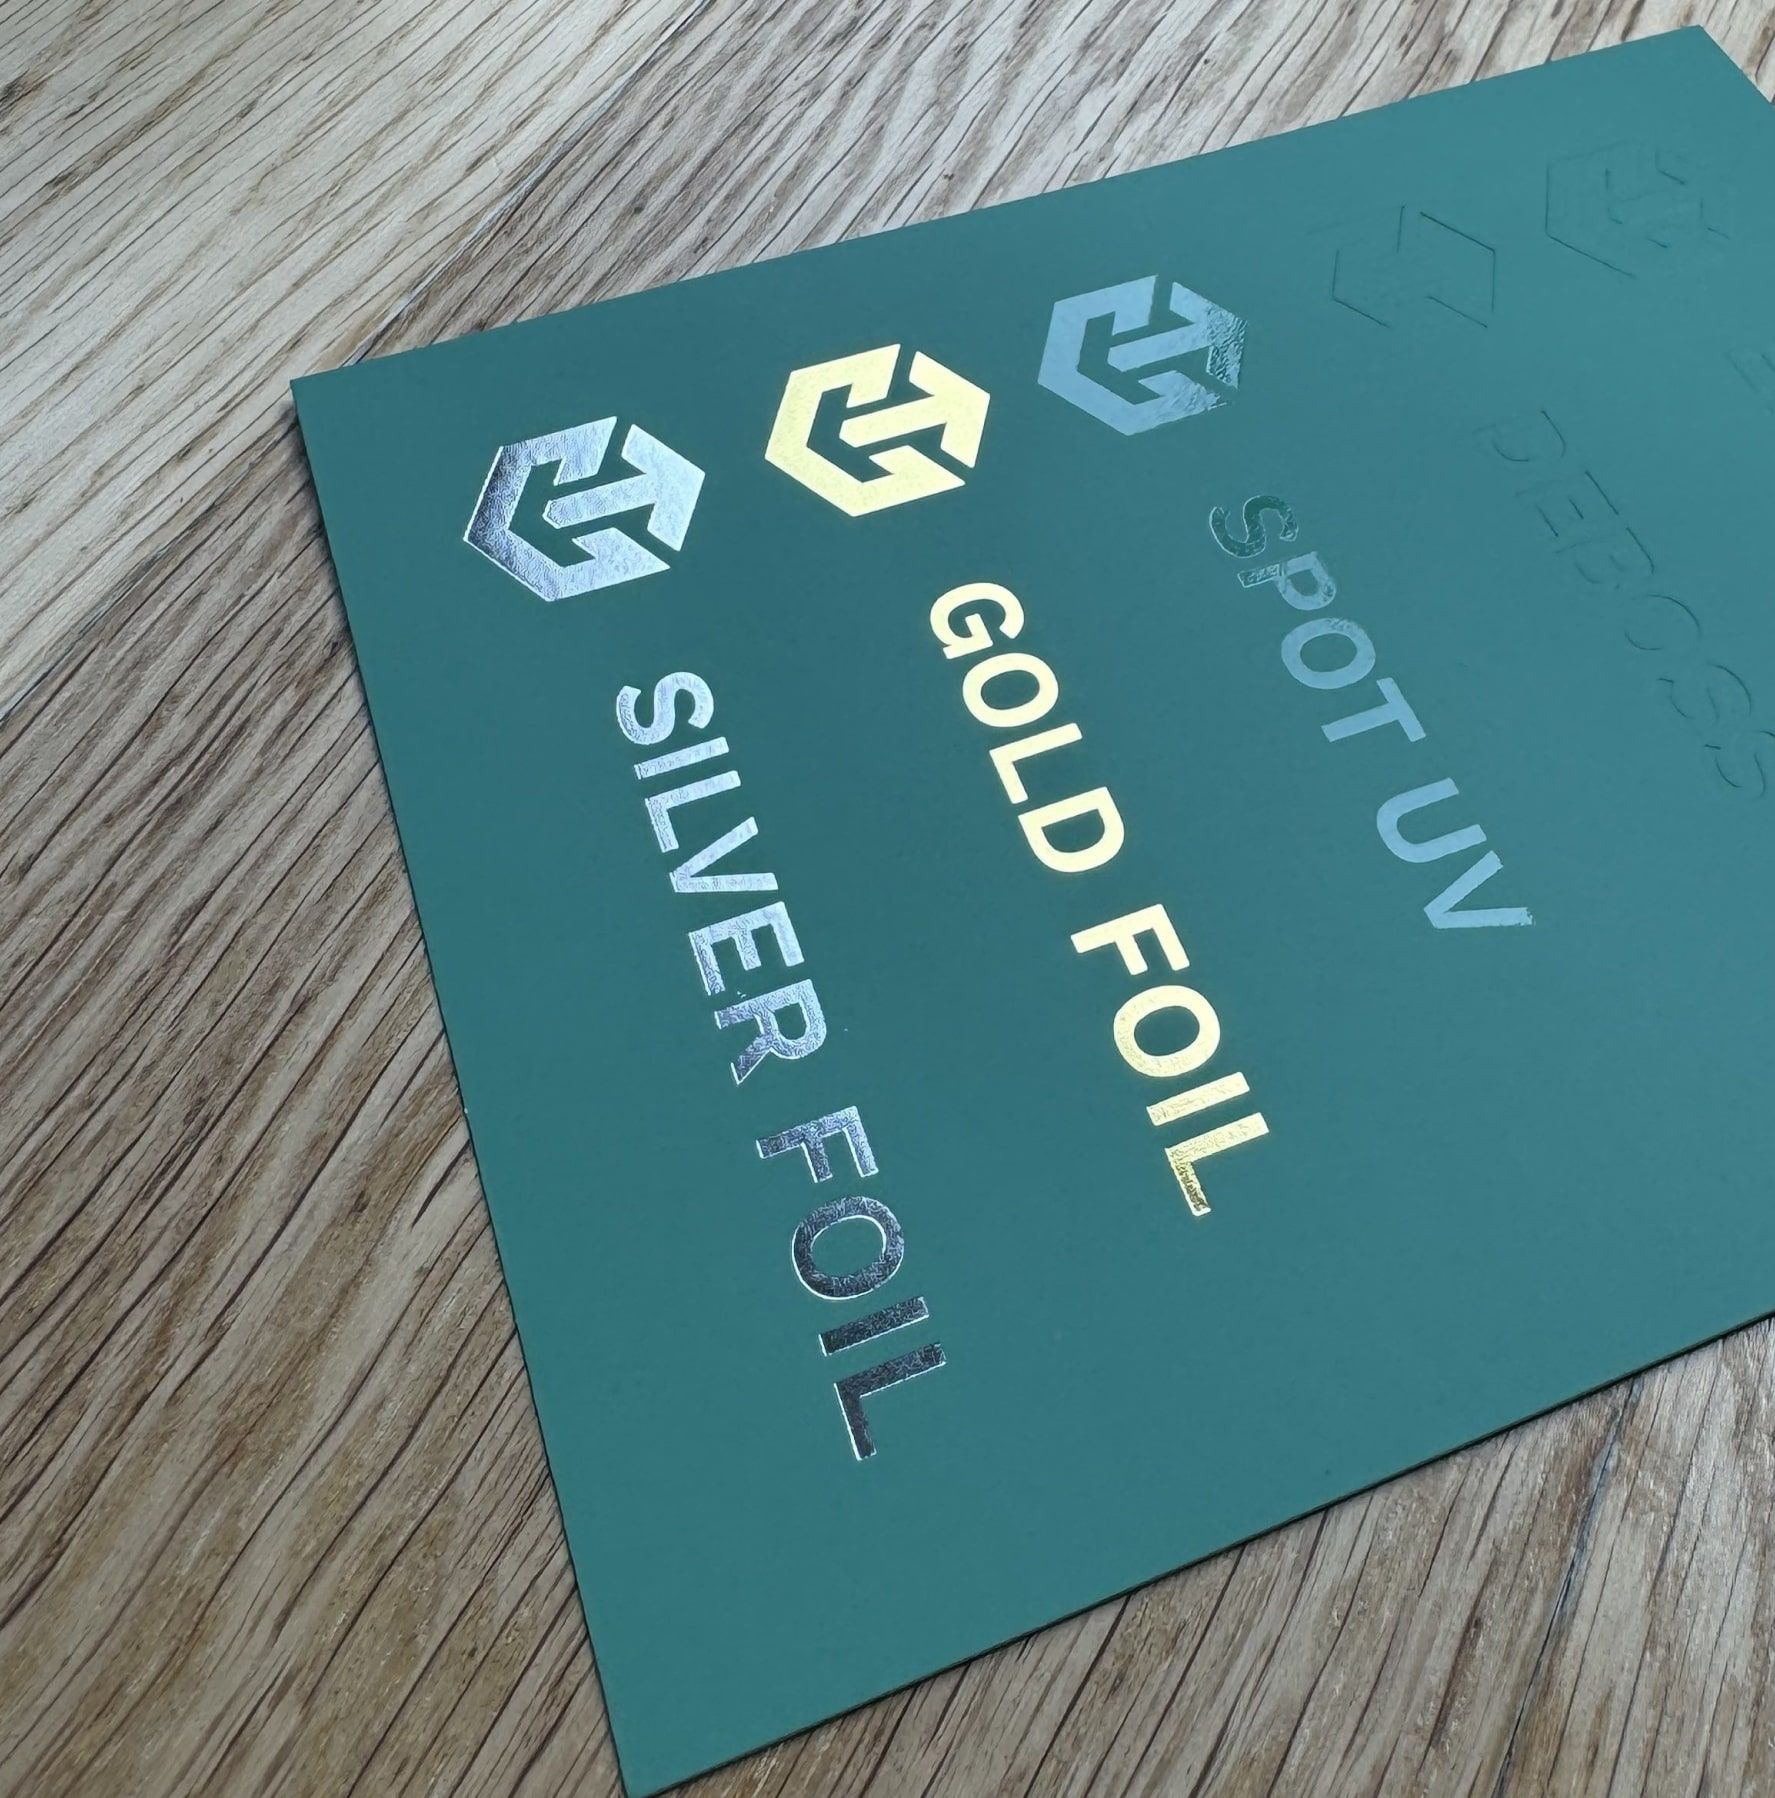
Since Canva doesn’t allow you to create an additional layer, you will have to provide details to us separately if you plan to have add-ons, such as foil stamping or embossing. If you plan to have these add-ons, make sure to clearly communicate to us which areas you want these add-ons to be applied to when providing us with your final dieline.
6. Exporting
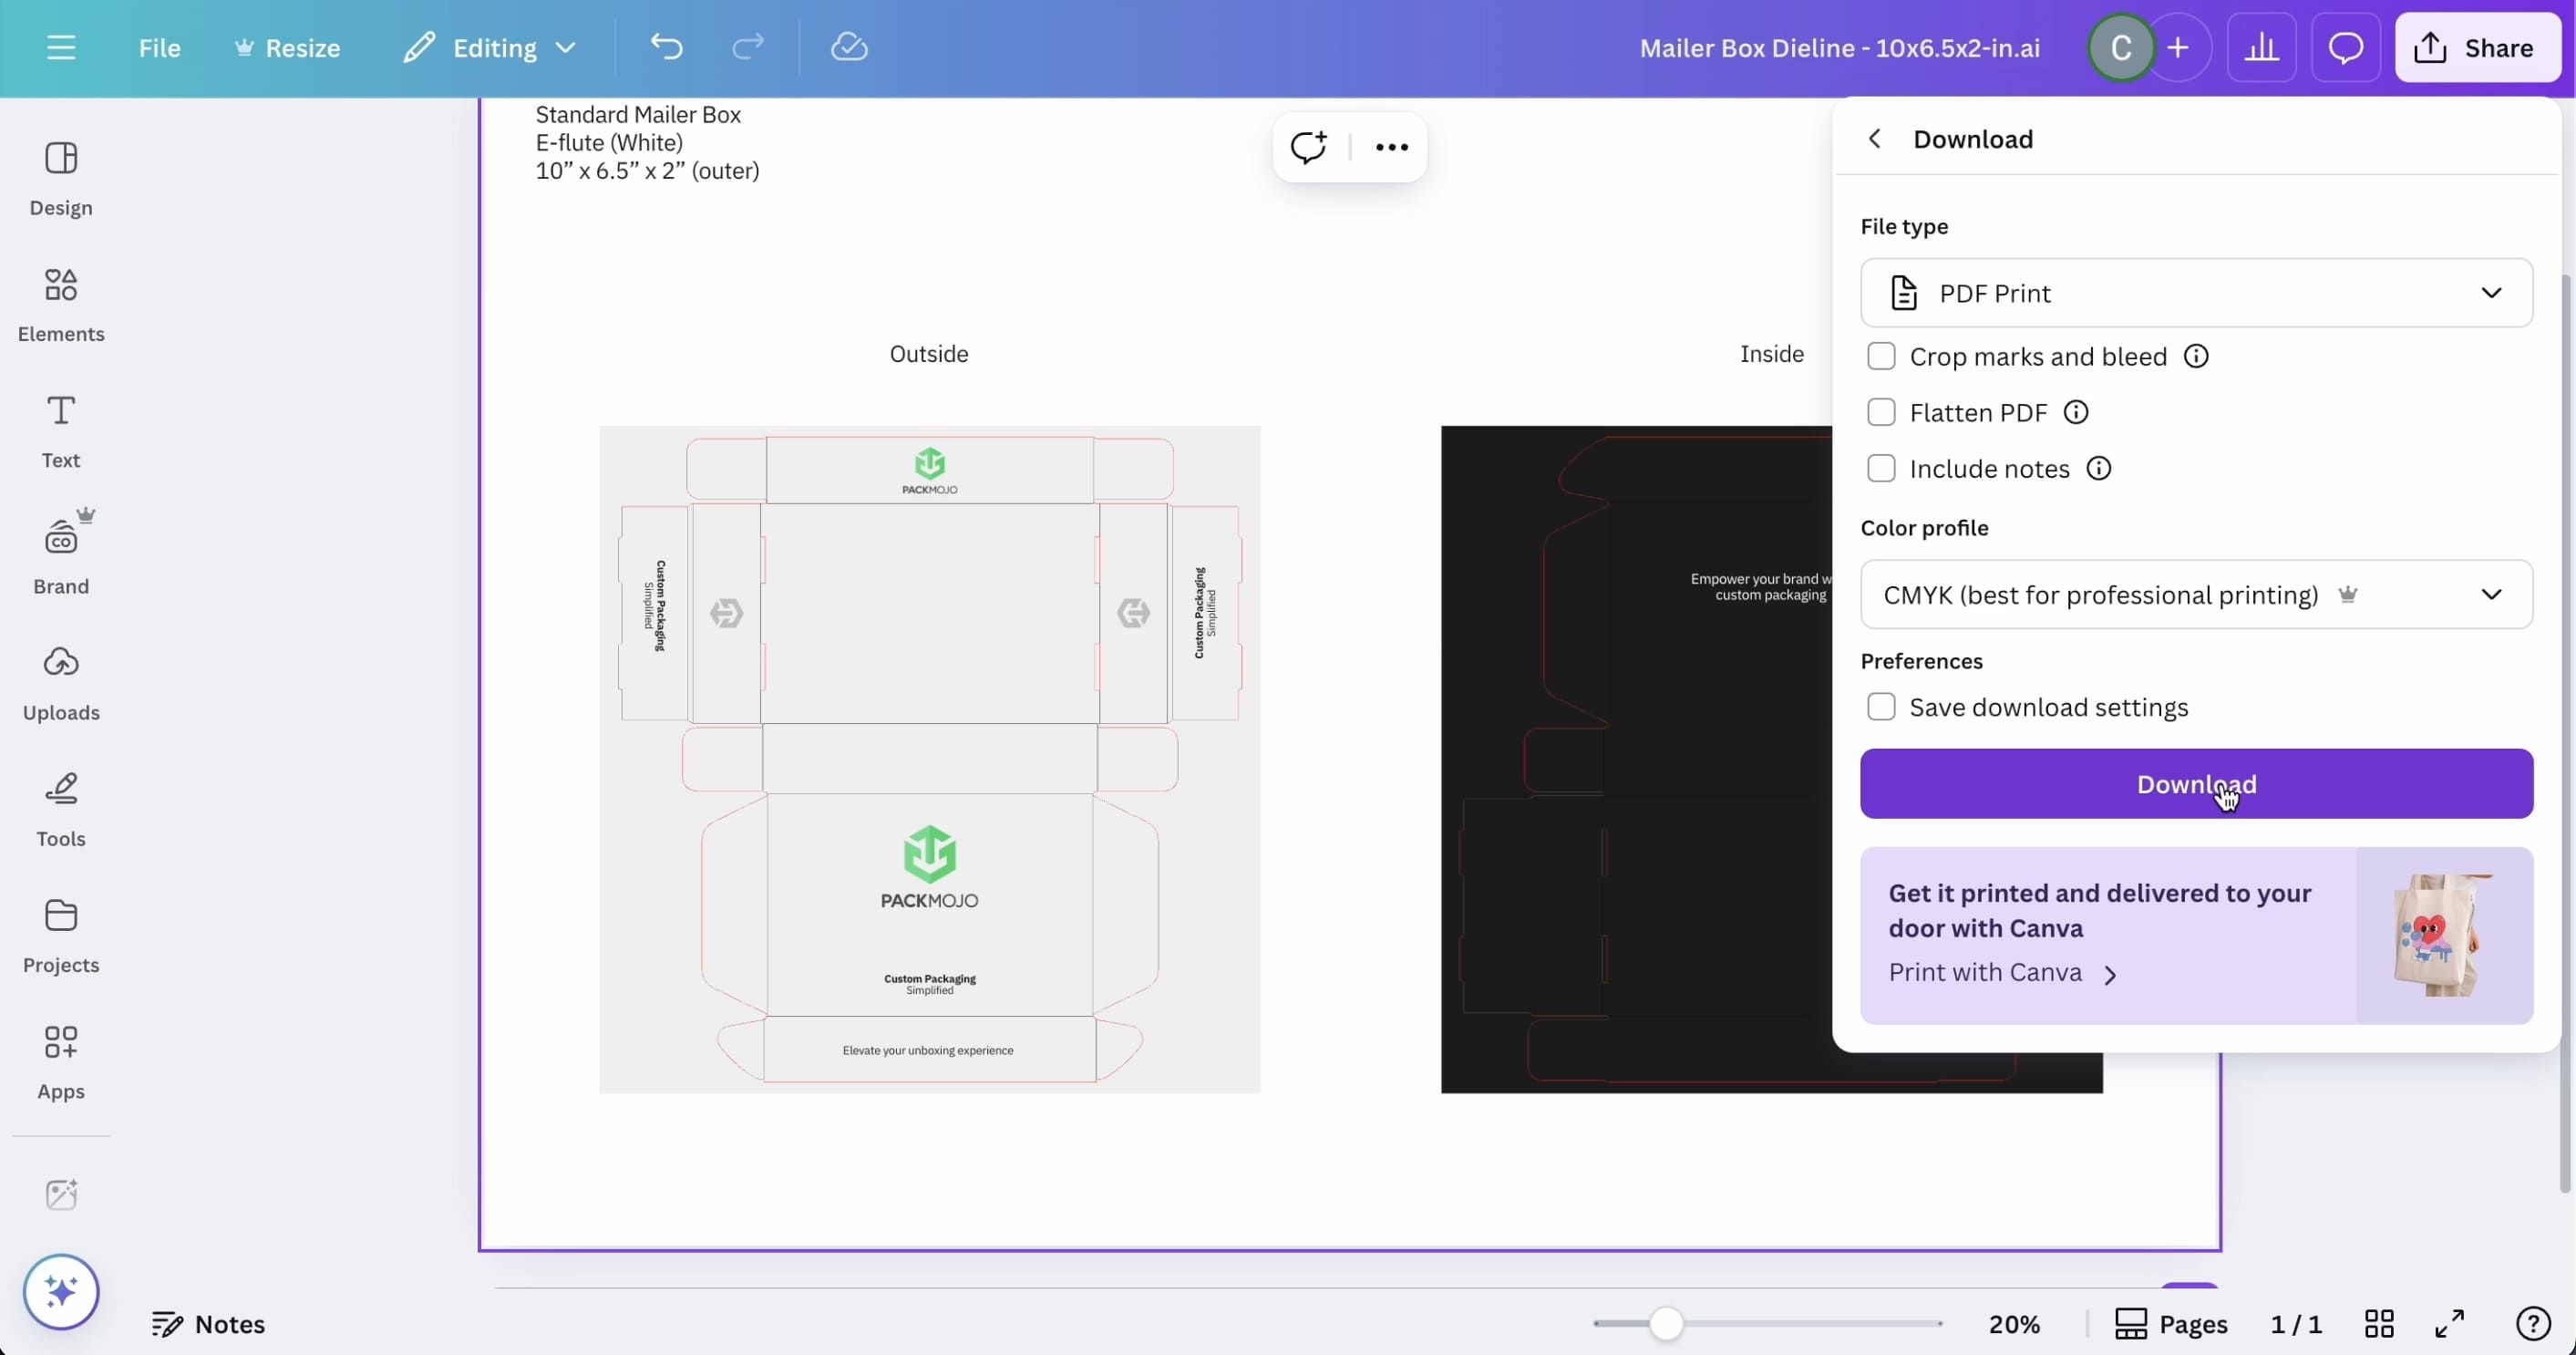
Once you’re done designing, export your dieline design file by going to “Share” in the top right corner and selecting “Download”. Make sure that “Flatten PDF” remains unchecked. From there, make sure that the selected file choice is “PDF Print” and change the color profile to CMYK. This step is crucial for exporting dielines and is only available for Canva Pro users. Exporting files in the wrong color profile will result in inaccurate colors and, therefore, cause issues during production. Click here to read more about different color systems.
Although Adobe Illustrator is the preferred dieline editing software, we understand that it is not the most accessible. Therefore, even though it has its limitations, Canva Pro can be an alternative platform used for adding your designs to dielines when necessary.
