Designing your packaging might seem like an arduous task - time-consuming, the need to be technologically forward, and not to mention all the designing skills and creativity you’ll need to make packaging that is appealing. Before you pick up a ‘Designing For Dummies’ book or enroll in a graphic design course, know that the rise of user-friendly design platforms and ‘minimal effort’ tools have made it extremely easy to design just about anything (sans the added reading and learning).
Canva is one such tool that has made a huge impact on the designing world. Anyone can get designing by just registering a free account on the platform. While some might say that Canva is more for designing marketing and branding material, it can be used to design your packaging as well!
Note: Having said that, it is important to mention that using Adobe Illustrator to design on a packaging dieline would be the most ideal and preferred method. Using a tool like Adobe Illustrator will make it easy to work with just about any packaging supplier as that is typically their tool of choice. It also allows you to create vectorized text, shapes and patterns for the highest quality print, all of which can be separated into layers for easy navigation.
If you are using Adobe Illustrator, check out our packaging design checklist to help you tick off all the key steps while designing your packaging. But if you don't have access to Adobe Illustrator or a designer who can lend you a hand, follow the guide below to design packaging panel by panel or watch this video to learn how to design a box using Canva Pro to directly design on a dieline template:
What is Canva?
Canva is a graphic design platform that allows you to create designs and documents by simply adding and dropping images, shapes, patterns, and text. It comes with over a thousand free templates for various uses, ranging from presentations to social media posts. The best part about Canva is that you don’t need to have any prior design knowledge or artistic abilities to use it. Whether you are an eCommerce shop or a brick and mortar store, Canva can help align your packaging design with the rest of your brand - free of cost.
How do I design my packaging in Canva?
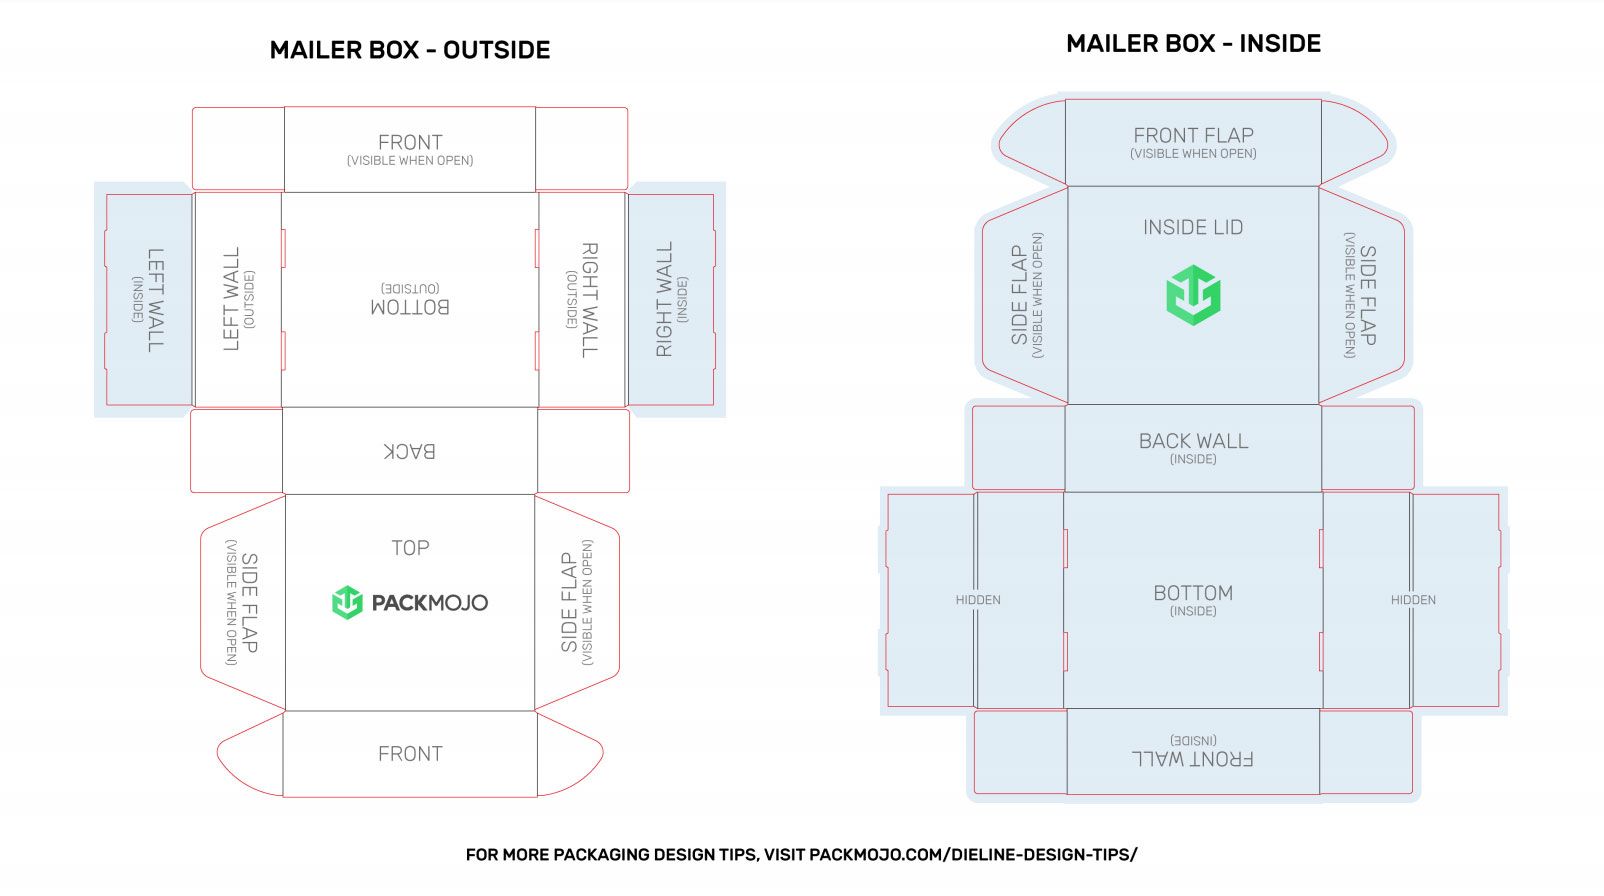
For most users, you can simply open up a dieline template using Adobe Illustrator and start placing your artwork directly on the dieline itself. To achieve the same outcome in Canva, you'll effectively be creating a single image for each panel of your packaging dieline (e.g. the front of the box, the lid of the box, the left side of the box, etc.).
Get access to different orientation guidelines for packaging dielines here.
Step 1 - Determine your box size
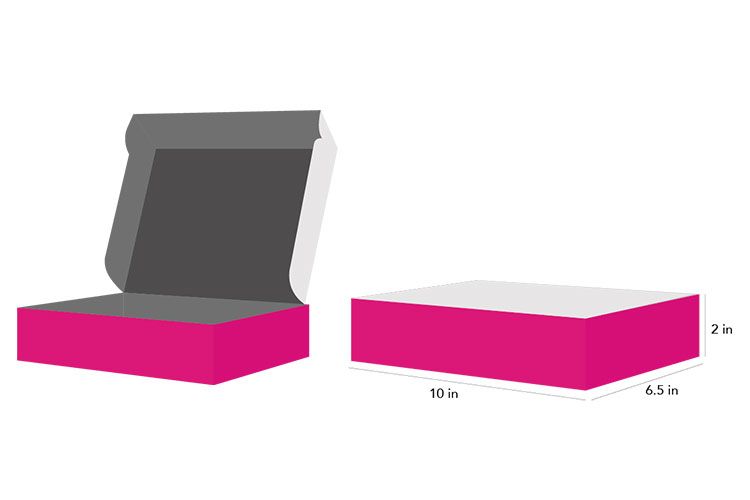
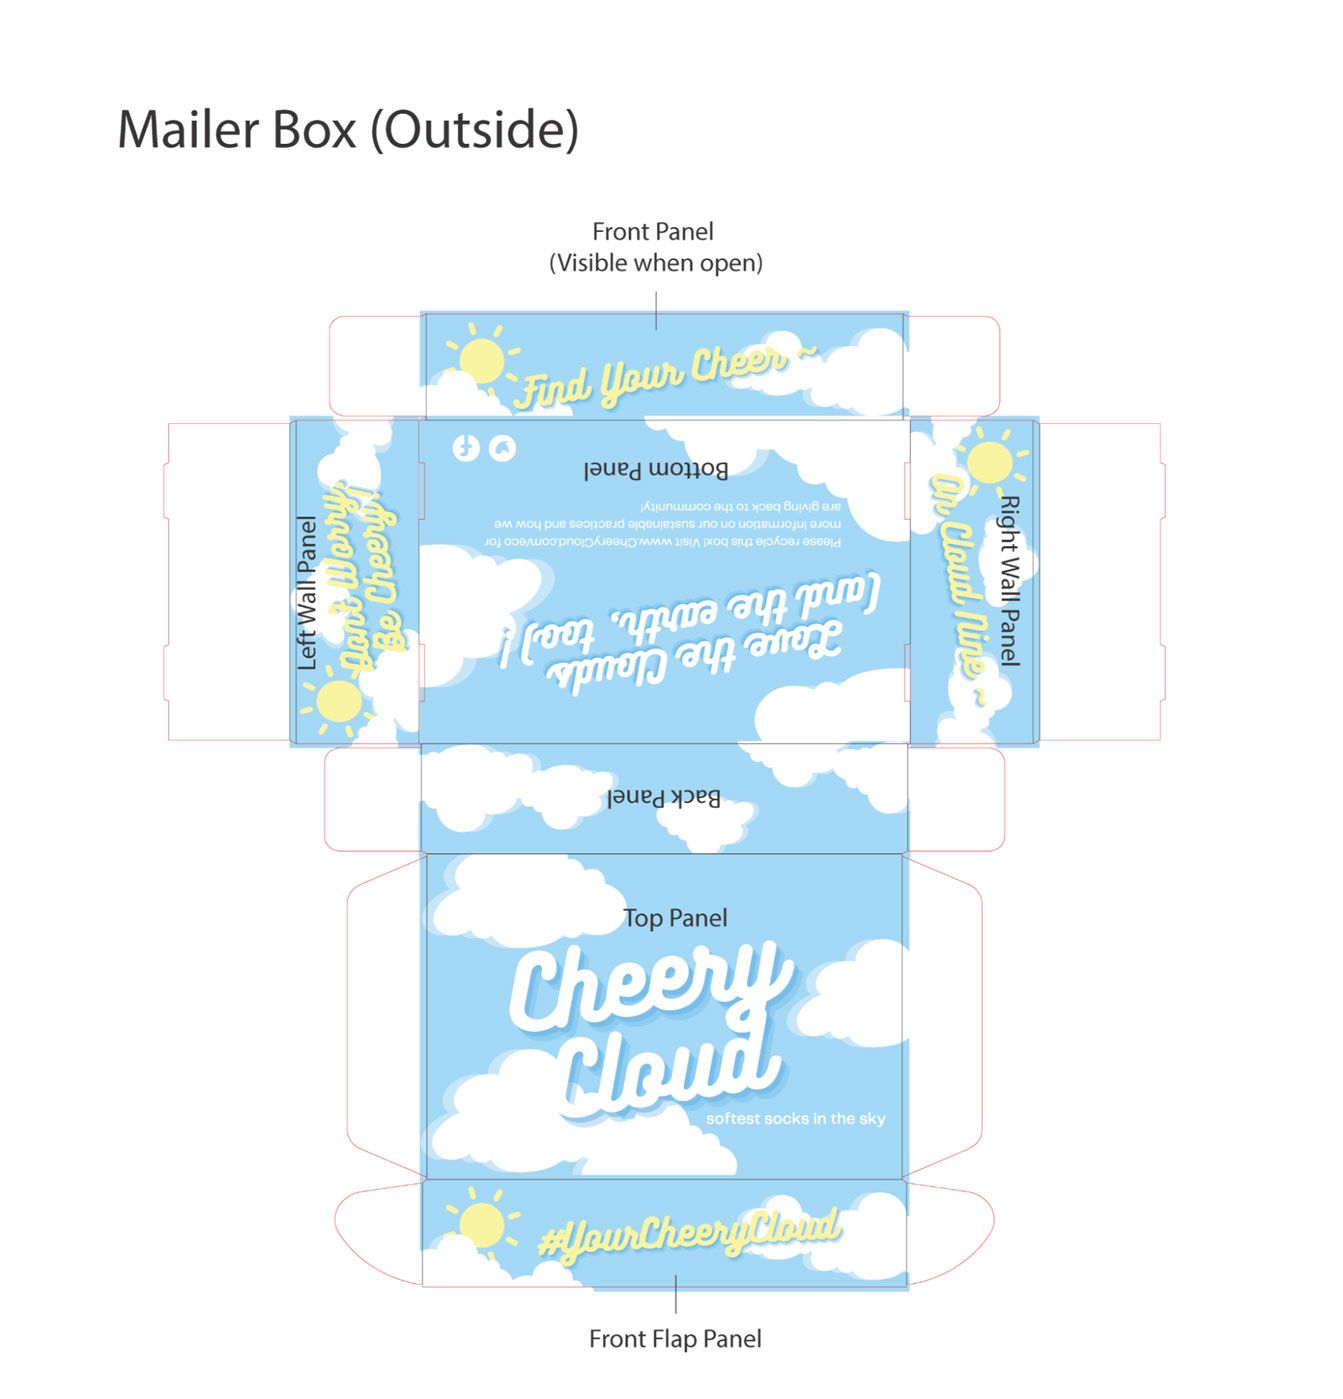
Start off by deciding the type of box you want and the dimensions of your box. This is the most important step as you would then need to figure out what the size of each panel of your box would be. As an example, the box below is a mailer box with dimensions of 10" (L) x 6.5" (W) x 2" (H).
It is also important to understand the basic theme of your packaging, your color scheme with color codes, and whether you want it to be designed on the inside, the outside, or both. Having this will give a good overview on what you need to be designing.
Step 2 - Determine the panel sizes
From the mailer box image above, you can tell that when laid flat, the front panel of the box would be 10" x 2", the side panel would be 6.5" x 2", and the lid would be 10" x 6.5".
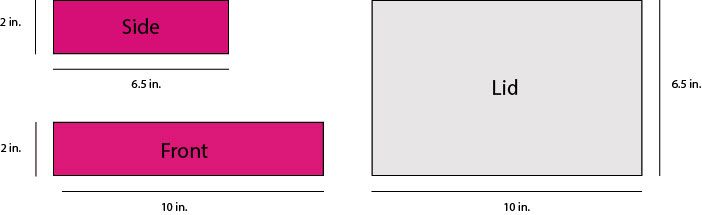
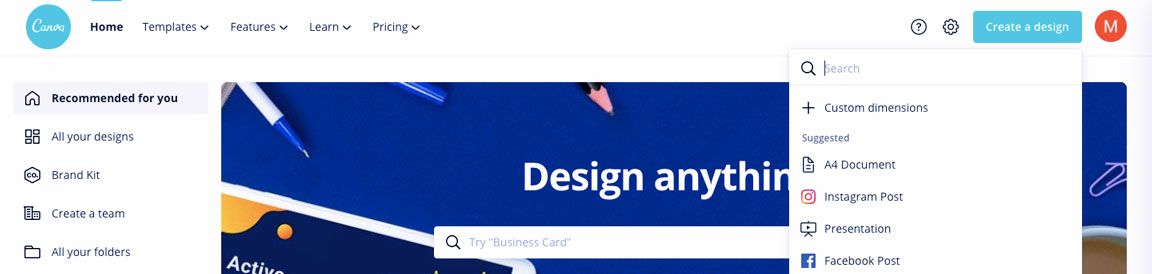
Let's start by designing the front panel of the box, which is 10" x 2". In Canva, click on 'Create a design' and then click on 'Custom dimensions'.
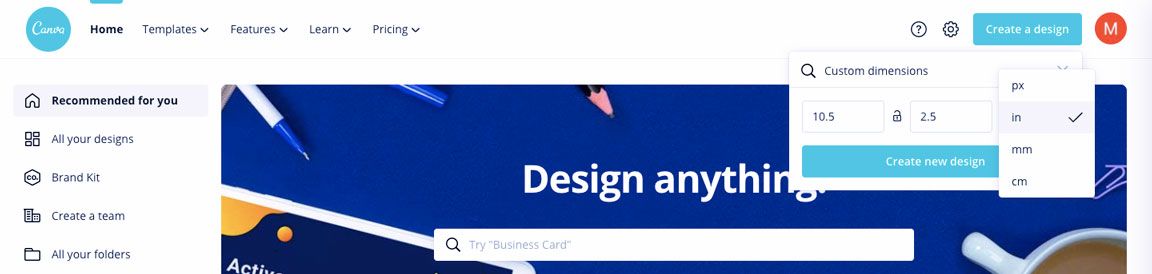
Next, input the dimensions and be sure to set the units to inches (or cm) instead of pixels. Note that in order to account for bleeds in printing, we would suggest adding 0.5" to each side of your panel to account for any shifts in paper/movement during production. In our example, we would set the dimensions in Canva to 10.5" x 2.5". Having a slightly larger canvas size will also allow us to make any adjustments later on instead of having a canvas size too small.
Step 3 - Design on each panel
Now it's time to start designing!
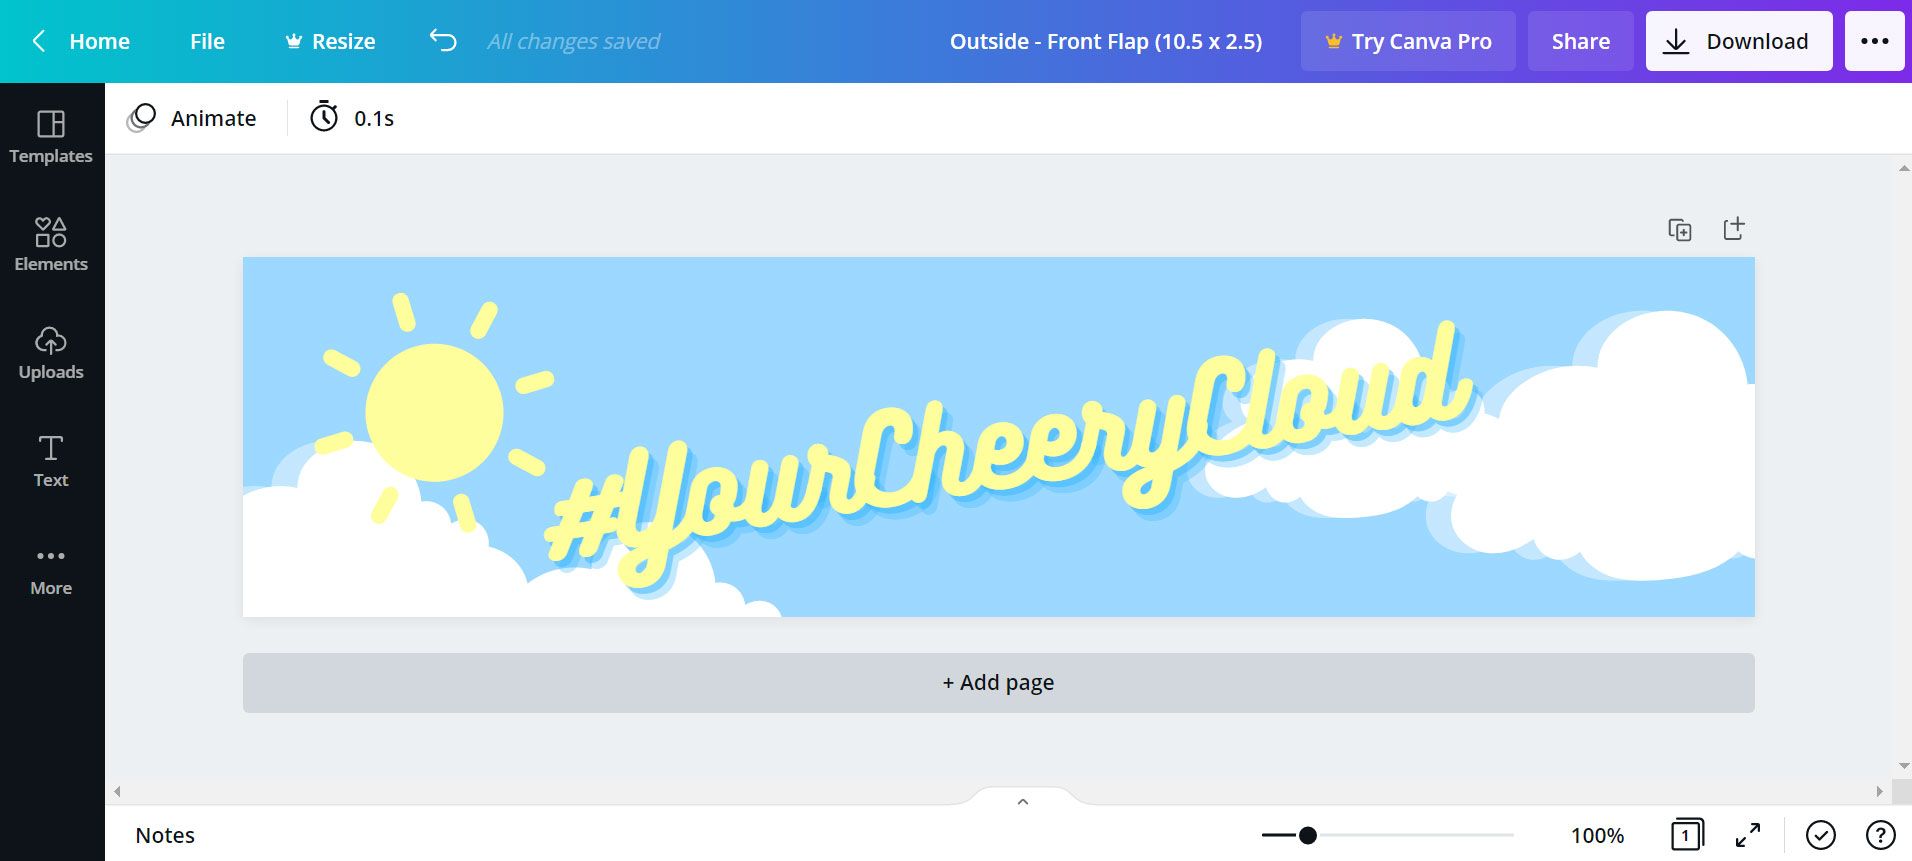
Front Flap Panel Example
Add your logo, images, patterns, and text your panel. When uploading images, you want to make sure that your images are high-resolution. Check out Canva's guidelines on image resolution here for best practice tips.
The image below is an example of a completed design for one panel, but don't worry, we'll break down the steps below!
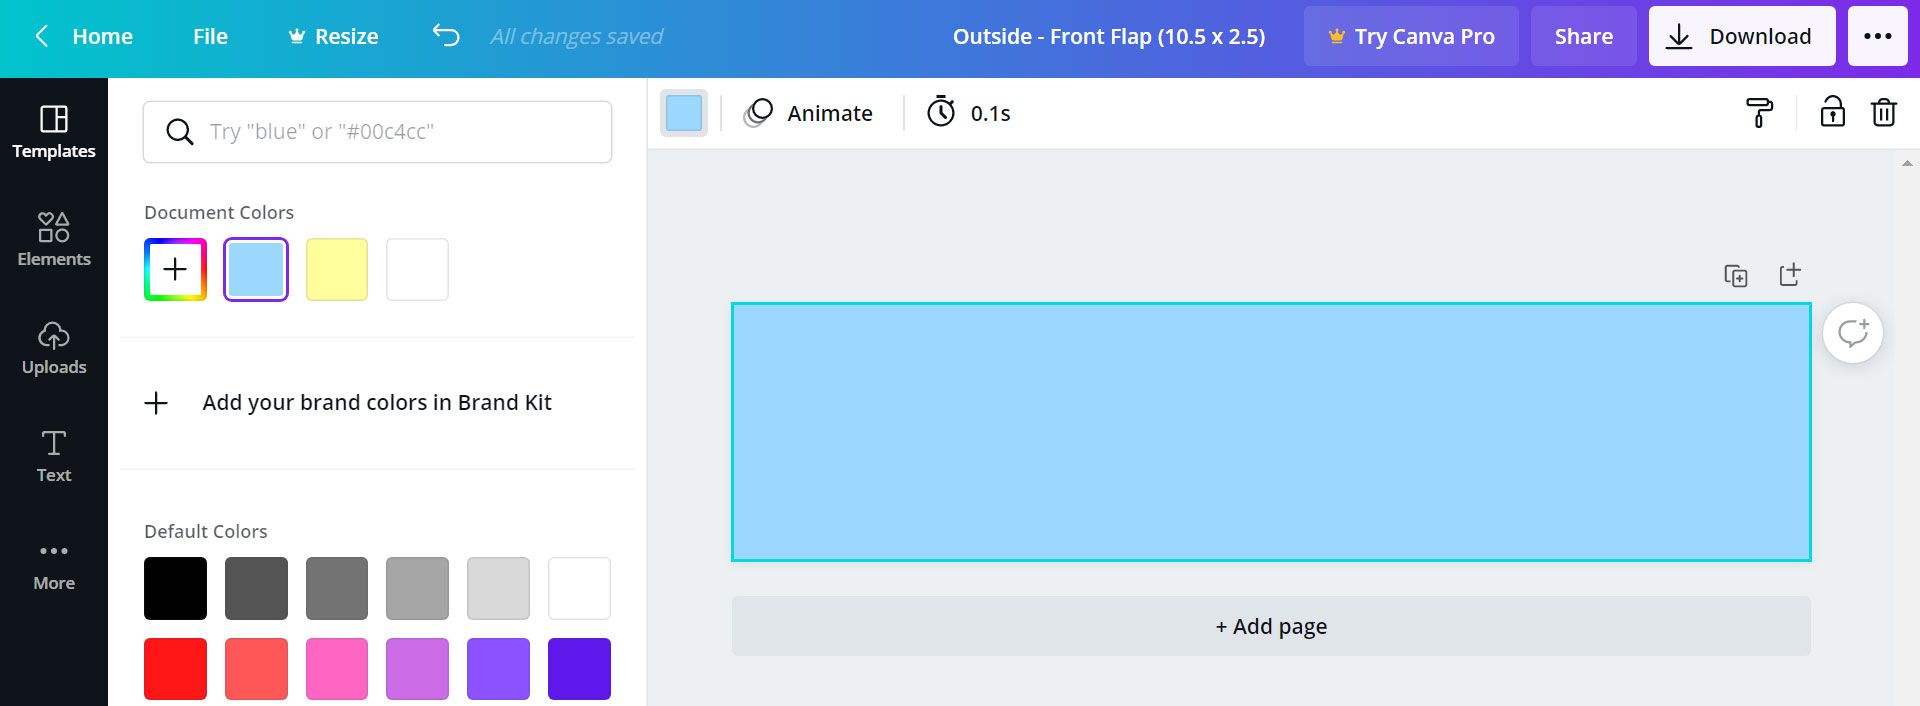
Step 3a - Choose a canvas color
For this design, start by clicking the canvas and choose a color on the top left. You may choose default colors or add a new color.
Step 3b - Upload elements to your canvas
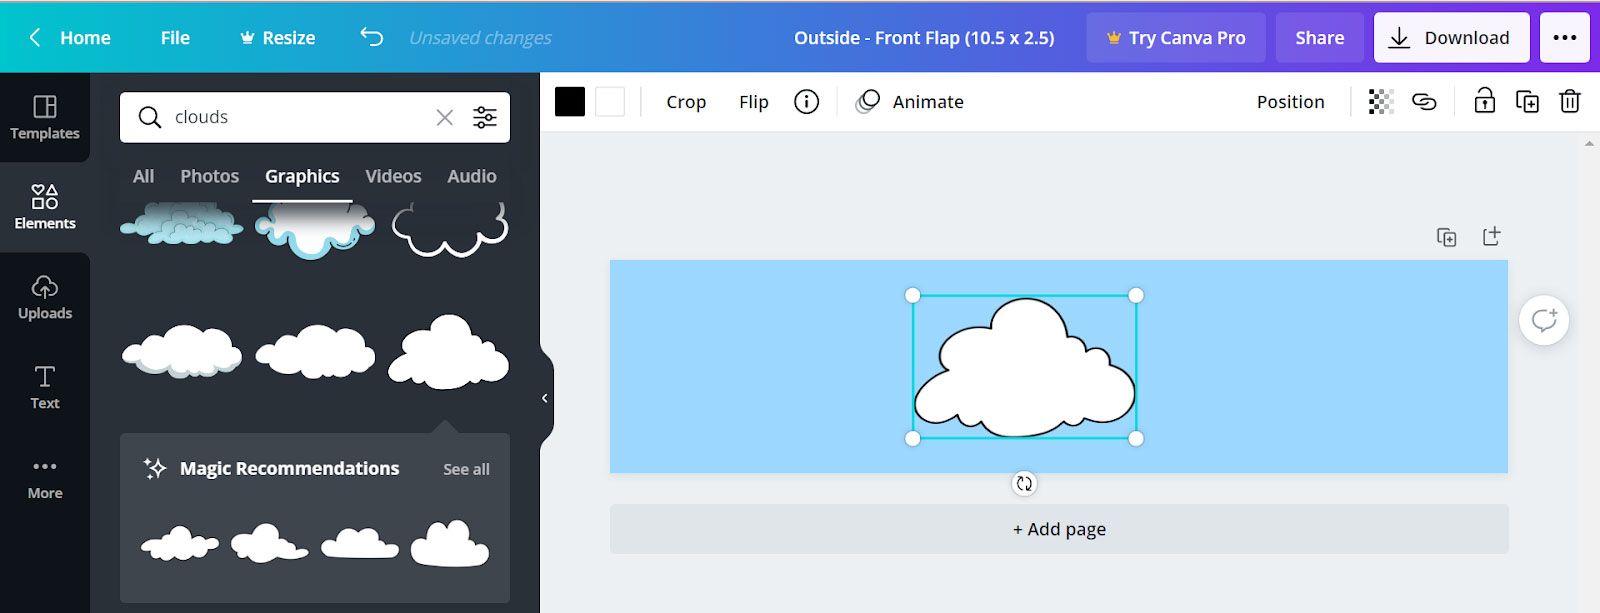
Next, click on 'Elements' and type in an element that you're looking for. You can sort them by photos or graphics. Note that some elements are only available without watermarks if you have Canva Pro.
Once you've selected your element, you can adjust the colors of the element (whether the border color or fill color) on the top left. In our example, we'll be changing the black outline in the cloud to a white outline.
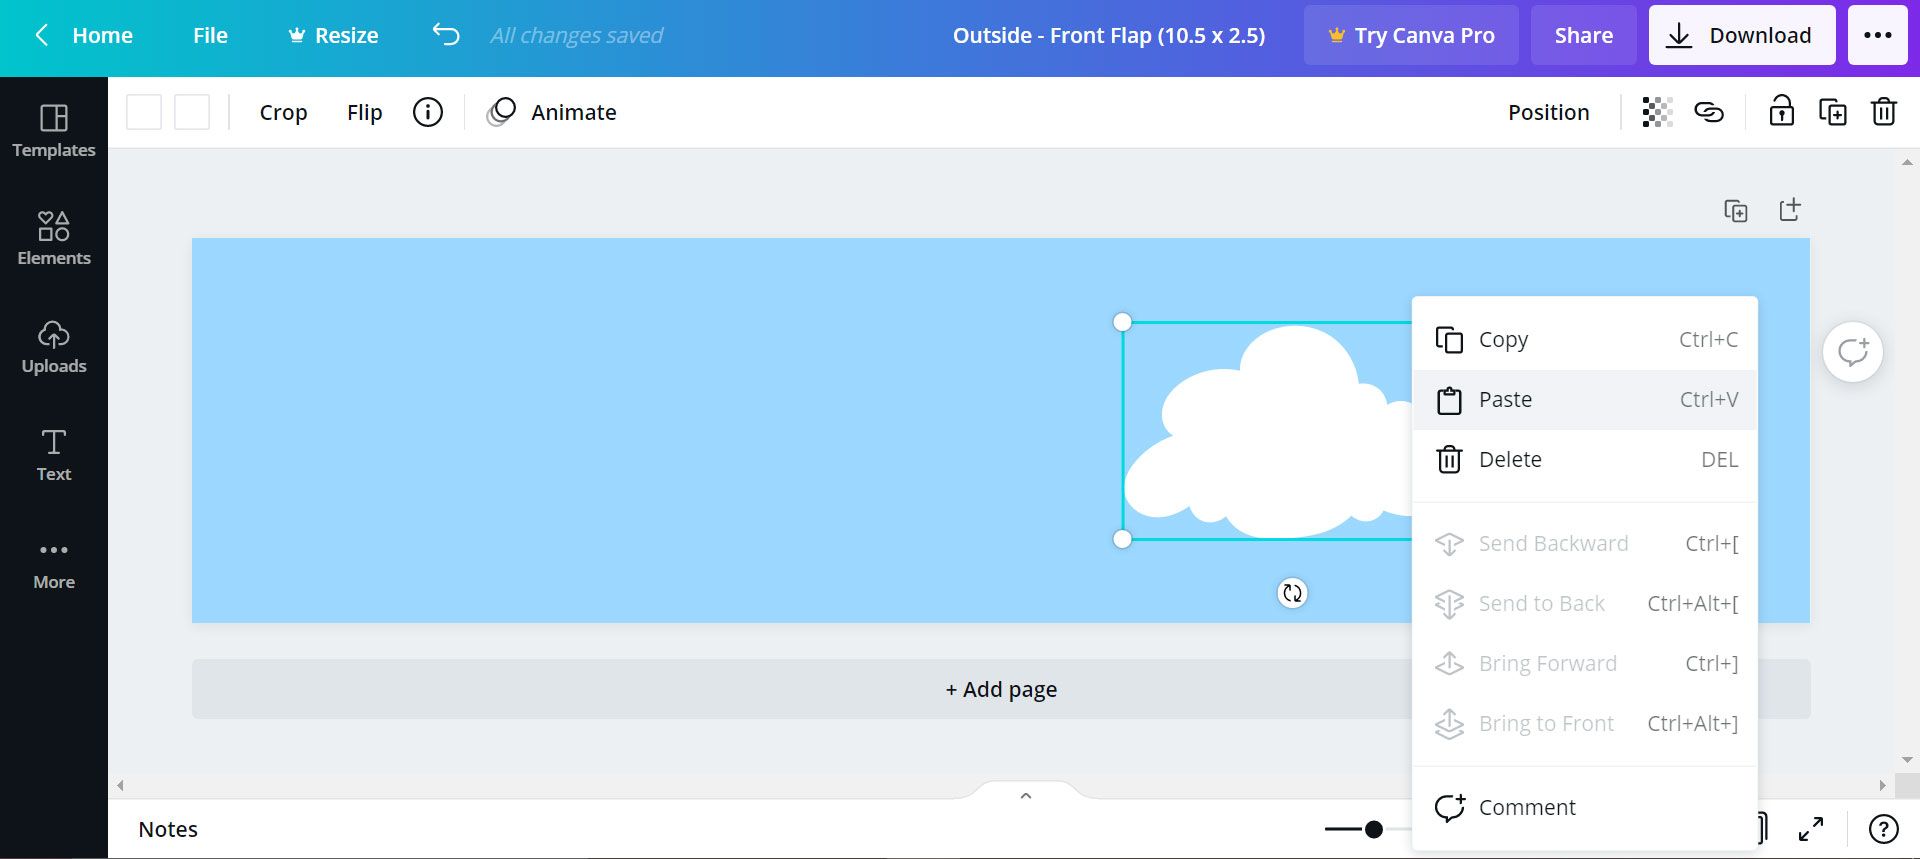
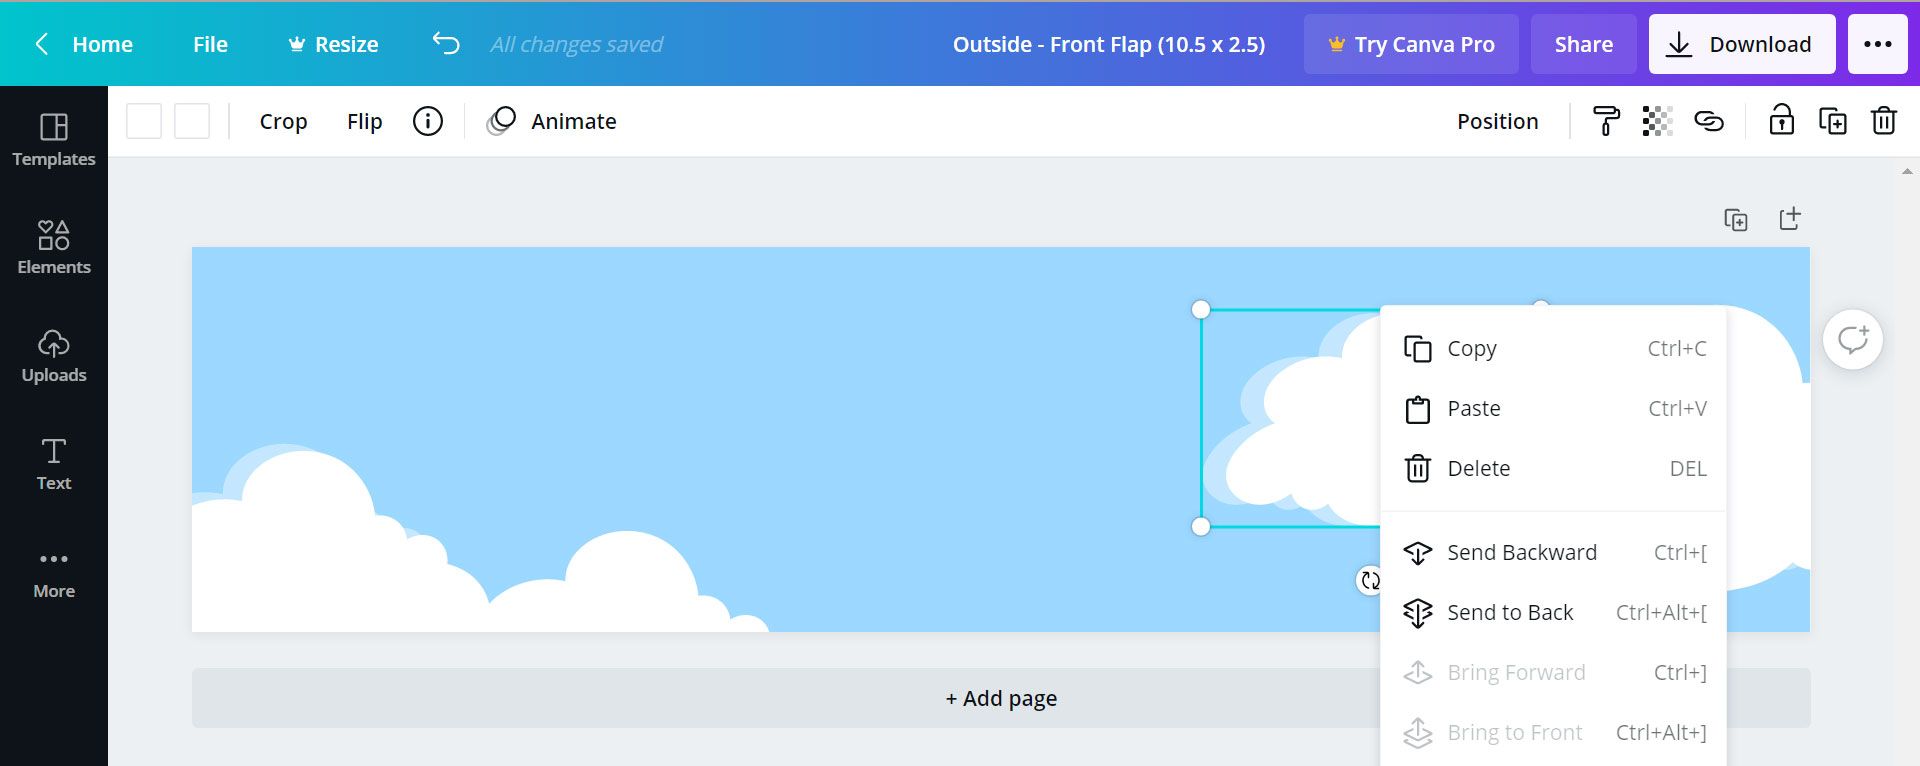
To make our clouds pop a bit more, we'll add a 3D effect. To do so, copy and paste the cloud, and position the pasted element slightly askew from the first element.
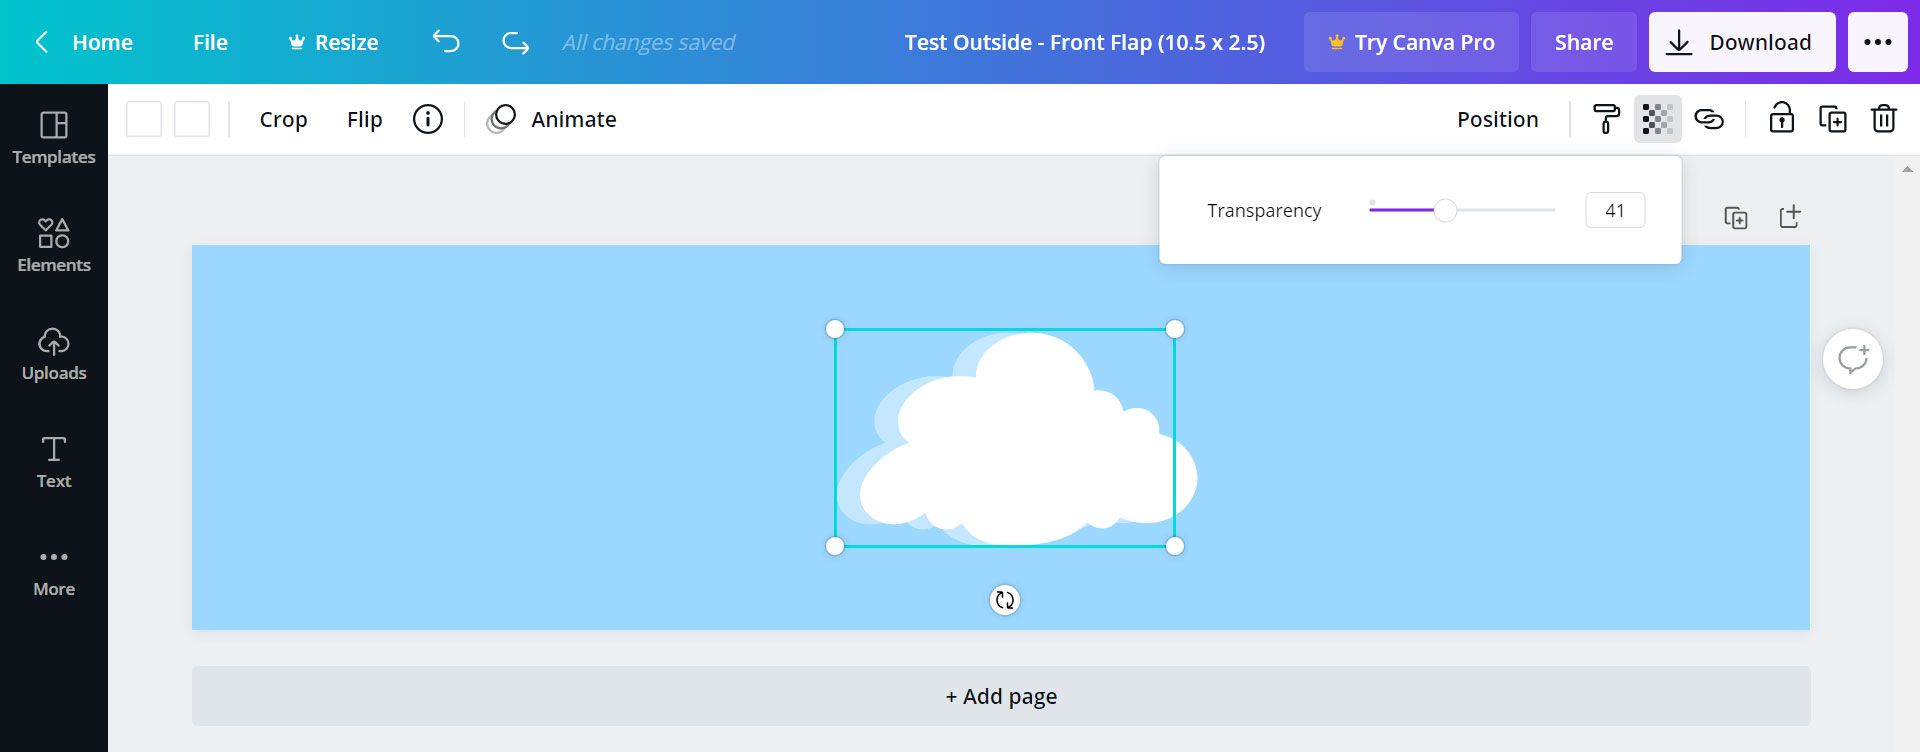
Click on the transparency symbol on the top right and type or drag the white circle to the desired transparency number.
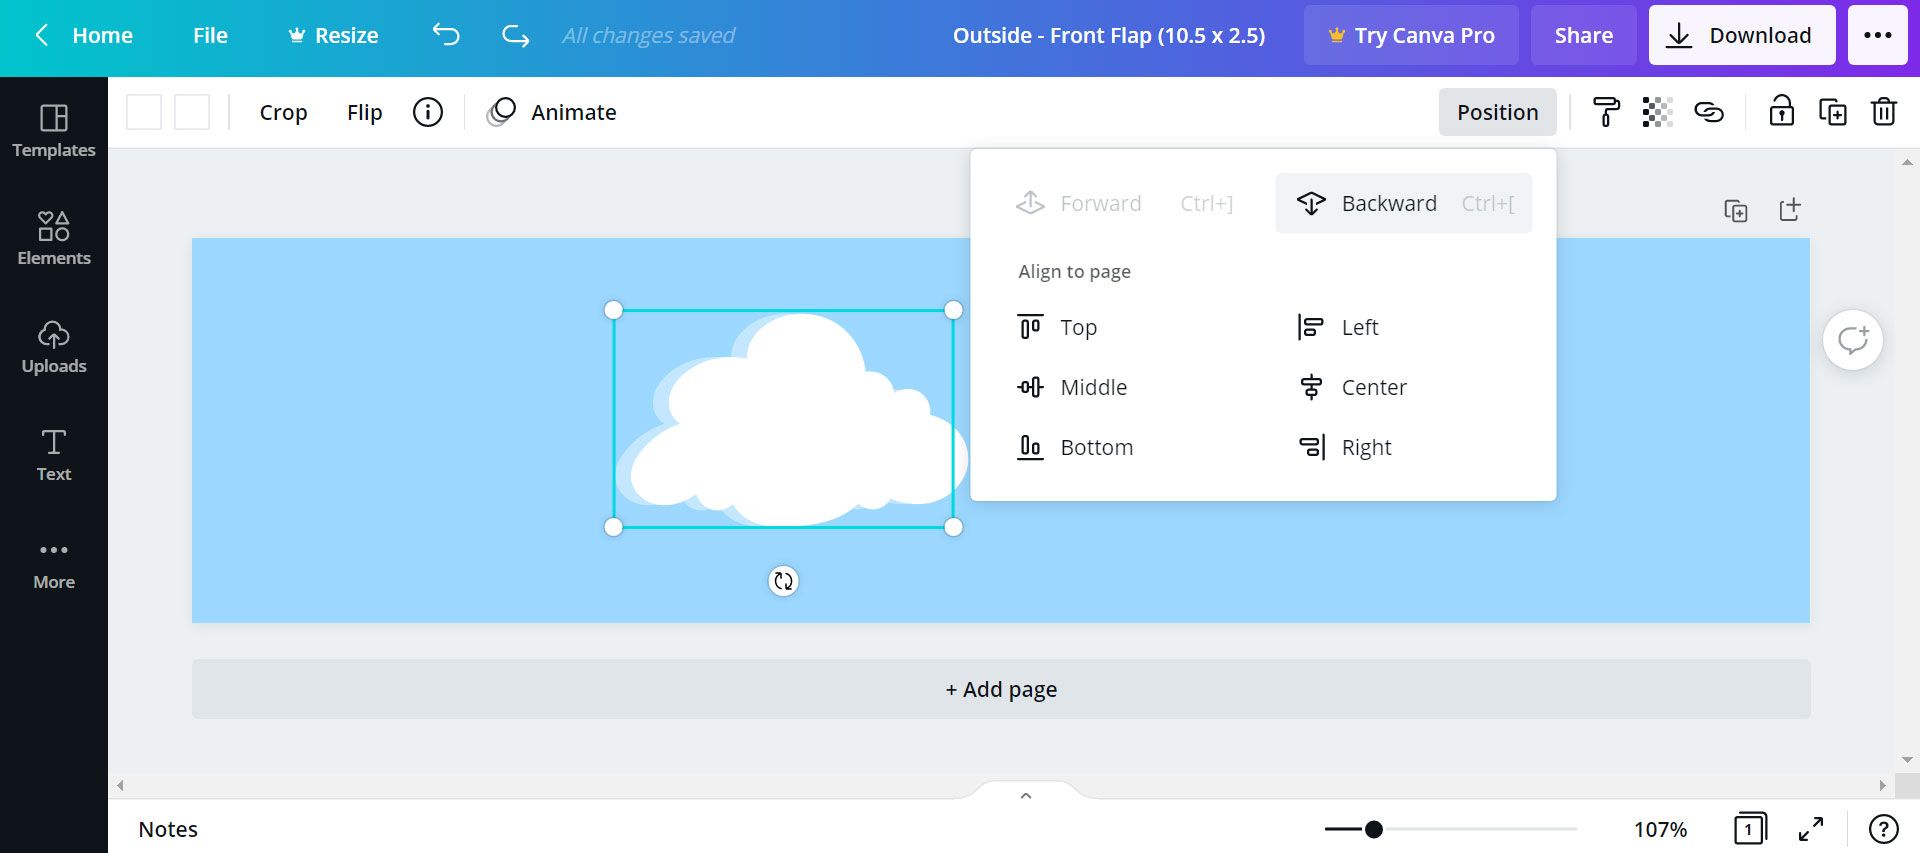
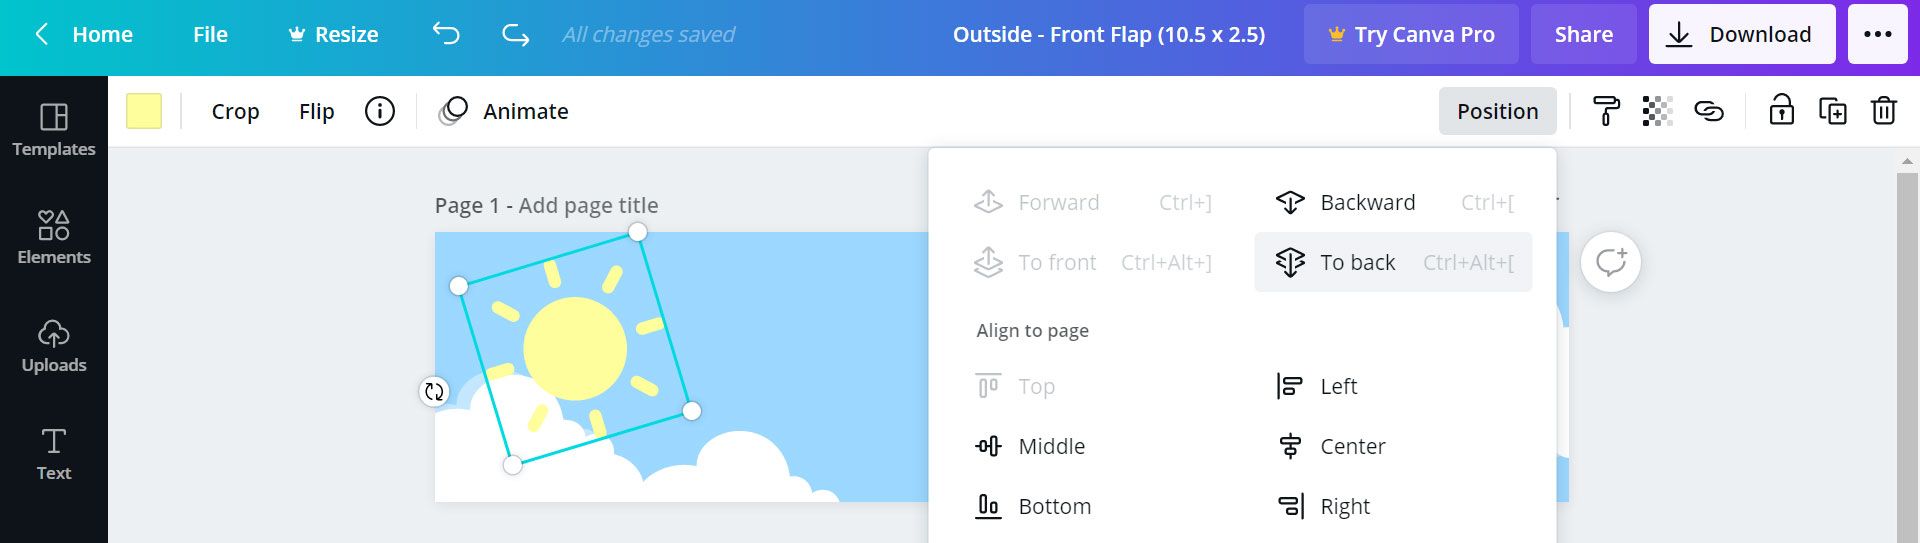
Let's now reposition this semi-transparent cloud behind the main cloud. Select the semi-transparent cloud, Click on ‘Position’ and click on ‘To back’.
Select both of these clouds and click 'Group' to group these elements together.

Then copy and paste throughout the canvas to the position you'd like.
Repeat this process, add as many elements as you'd like, reposition and resize as you please. In the example here, we'll add a 'sun' element to give it a bit of extra color.
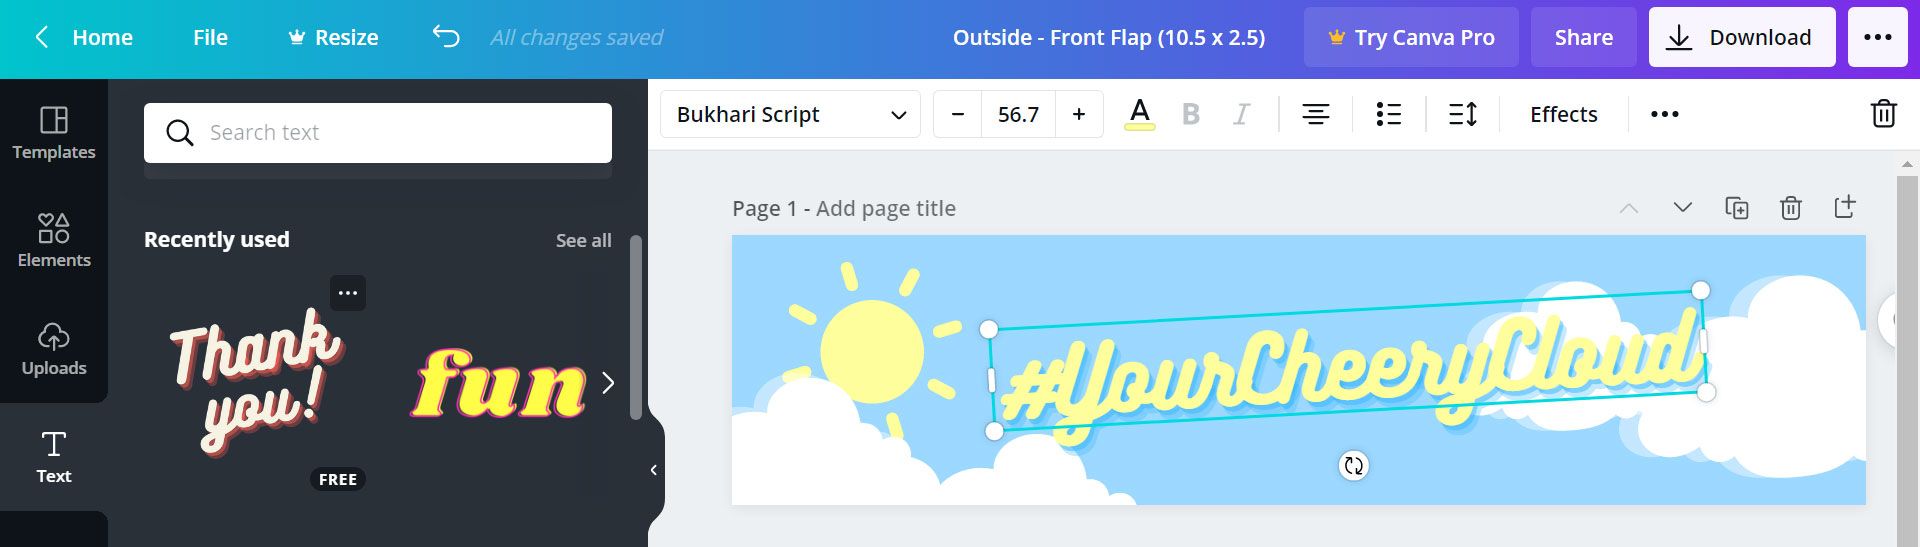
Step 3c - Add text to your canvas
To add text, click ‘Text’ on the left choose a font you'd like, and type the text you want to appear. You can also change fonts, the font size, and colors on the top left.
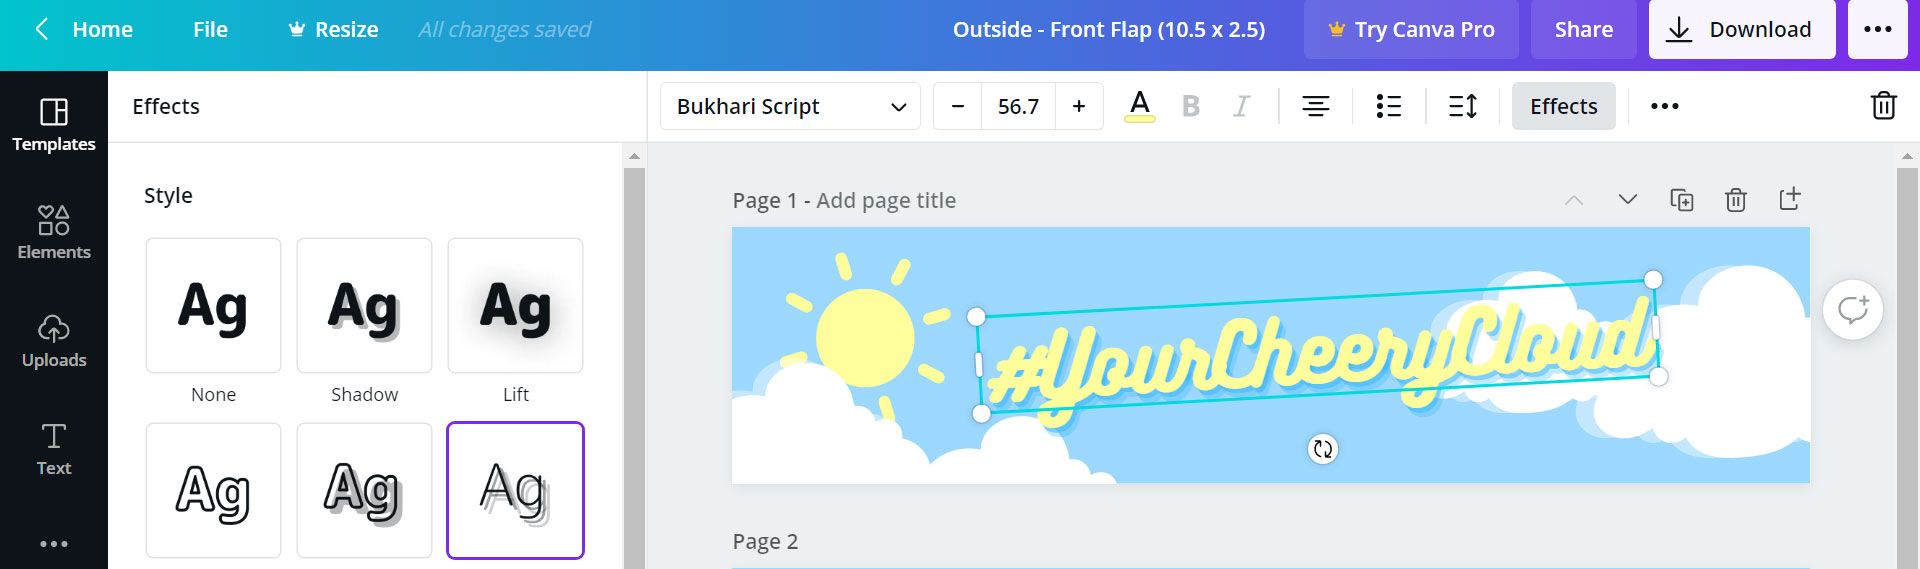
For more text effects, click on ‘Effects’ on the top right.
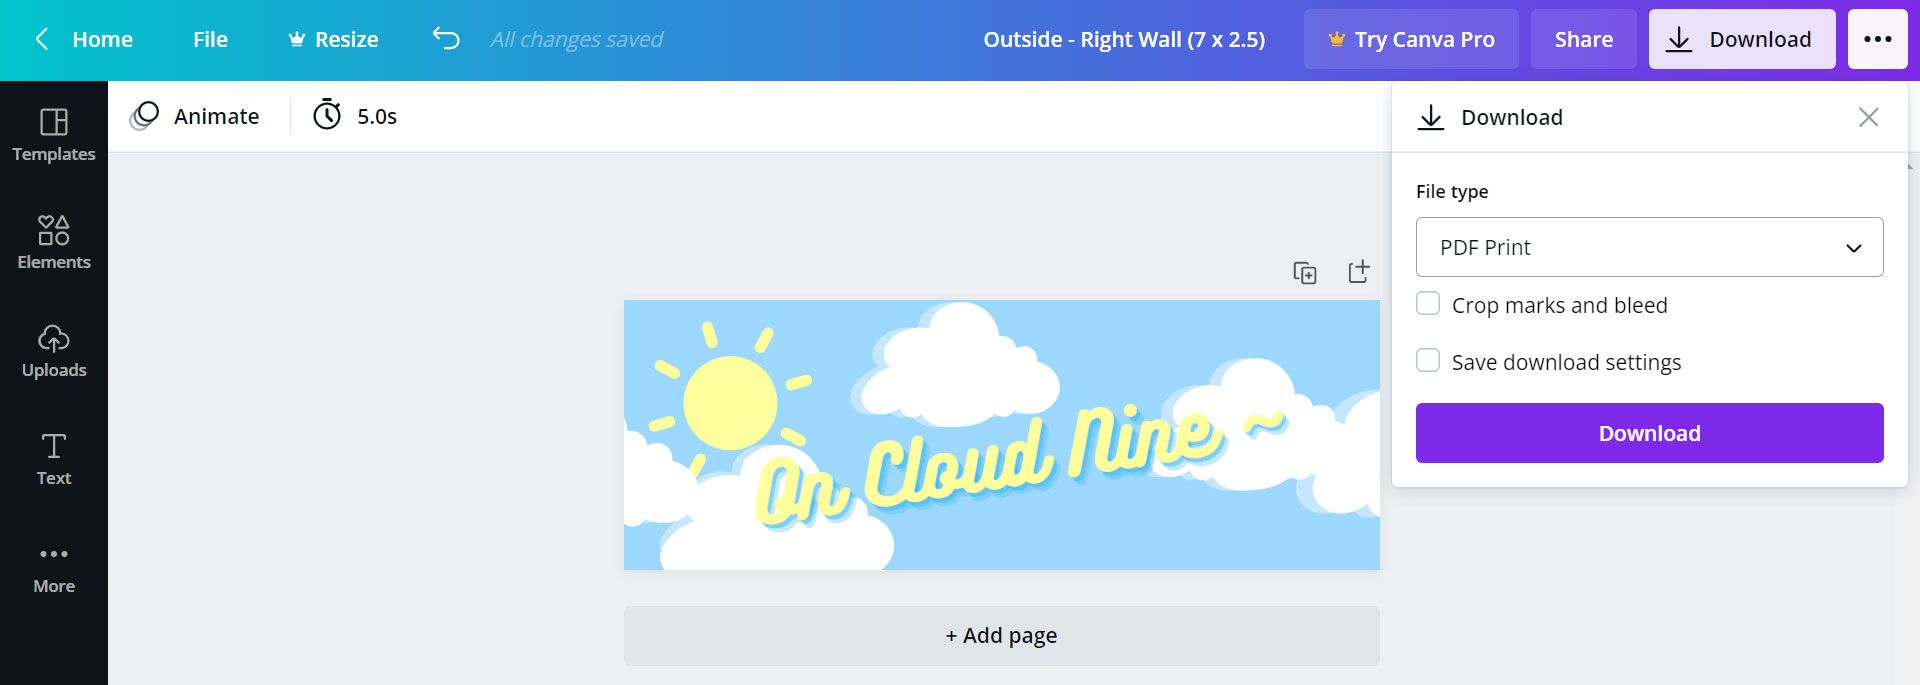
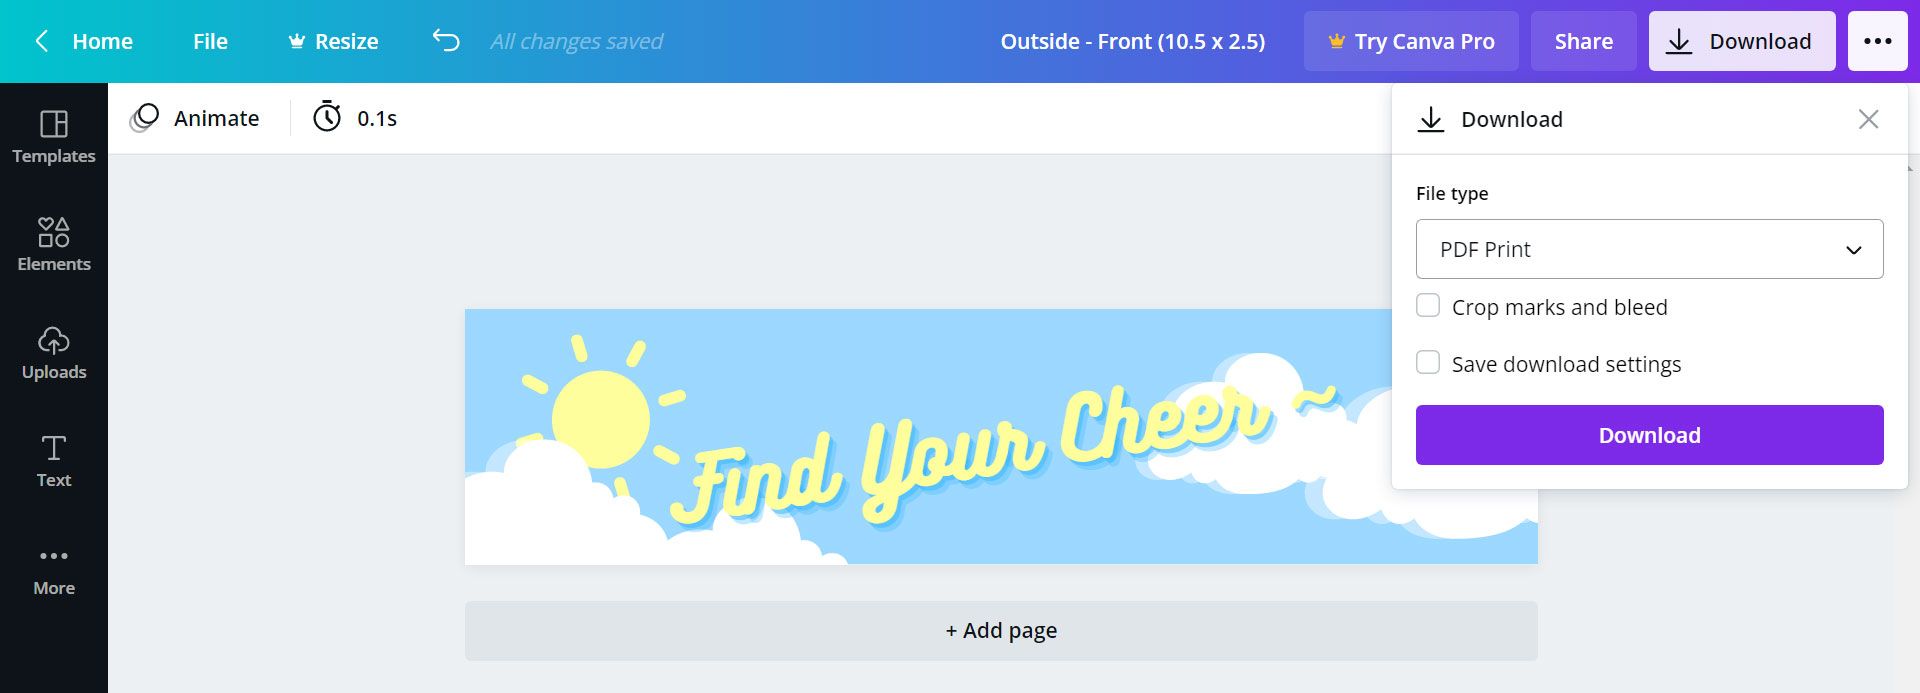
When you're done designing, be sure to name this file by the panel name for easy reference. Since this is a front flap panel on the outside of the box with dimensions 10.5” by 2.5”, you could name this panel something like “Outside - Front Flap (10.5 x 2.5).”
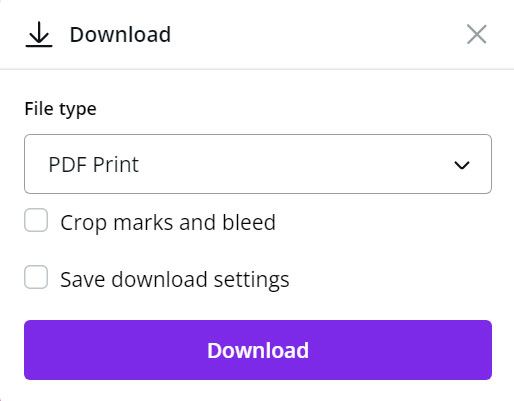
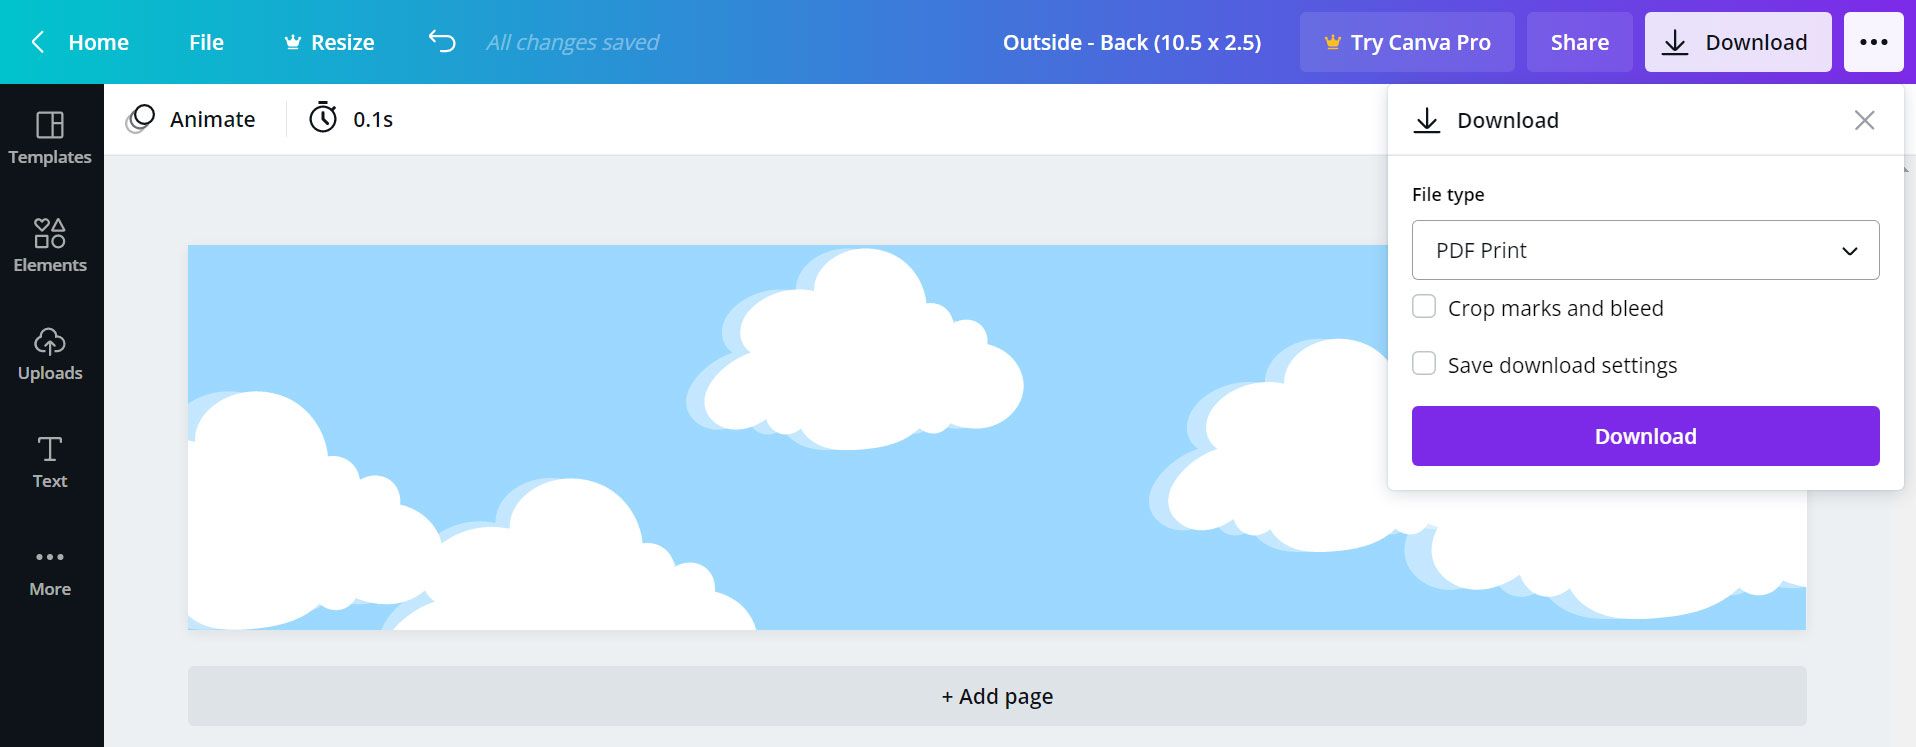
When your canvas has been properly named, click on 'Download' in the top right to save your file.
- Save it as a 'PDF - Print' file
- Leave the box 'Crop marks and bleeds' unchecked
- Click 'Download' to save this file.
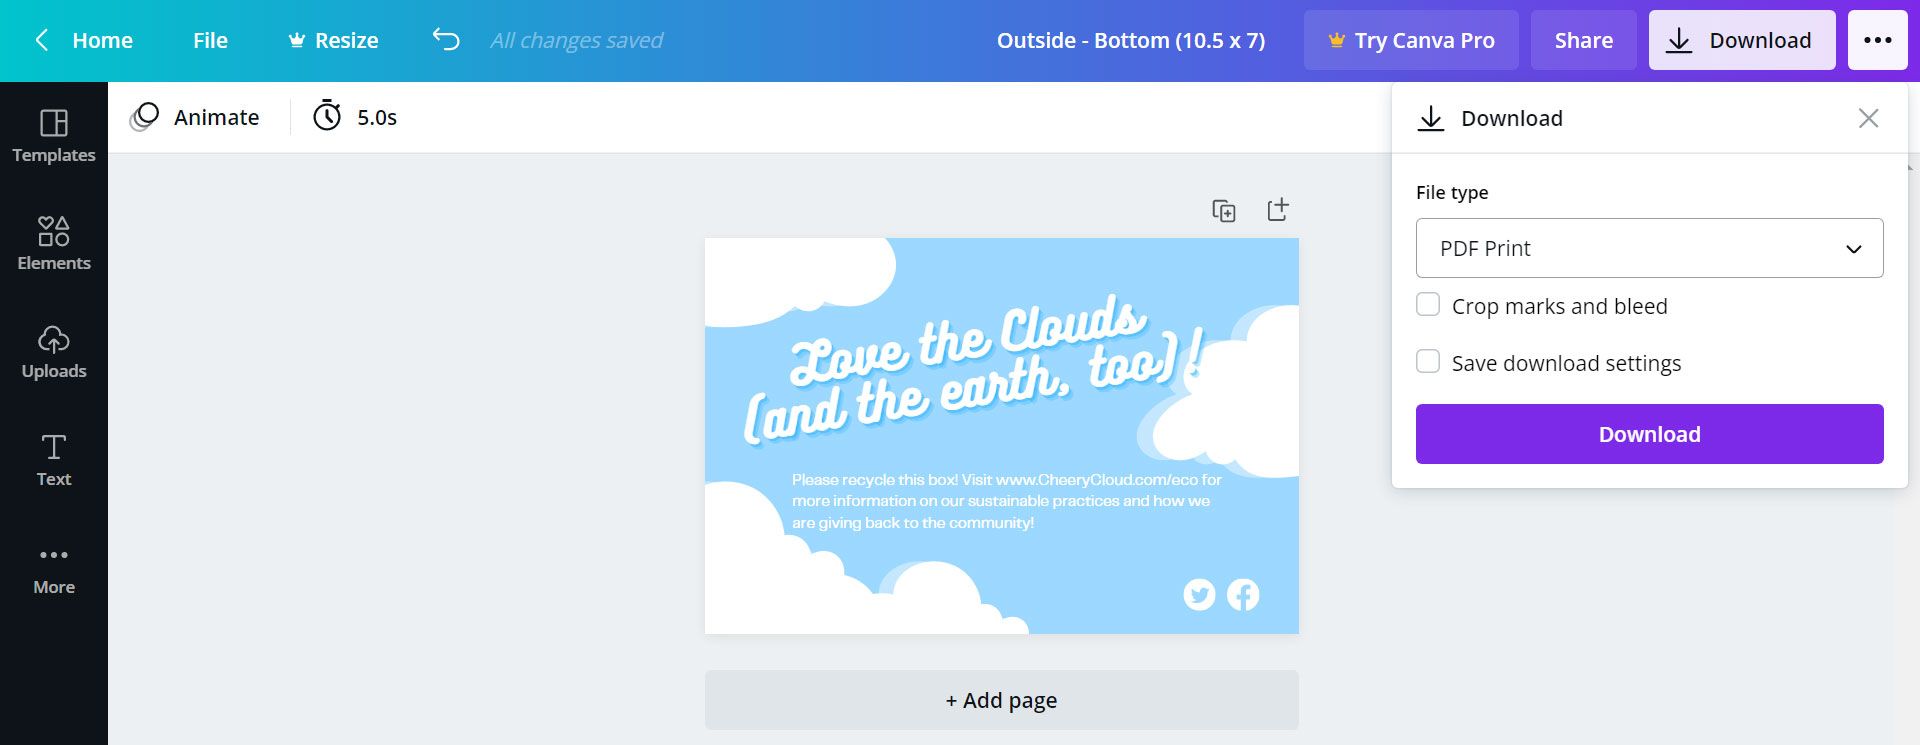
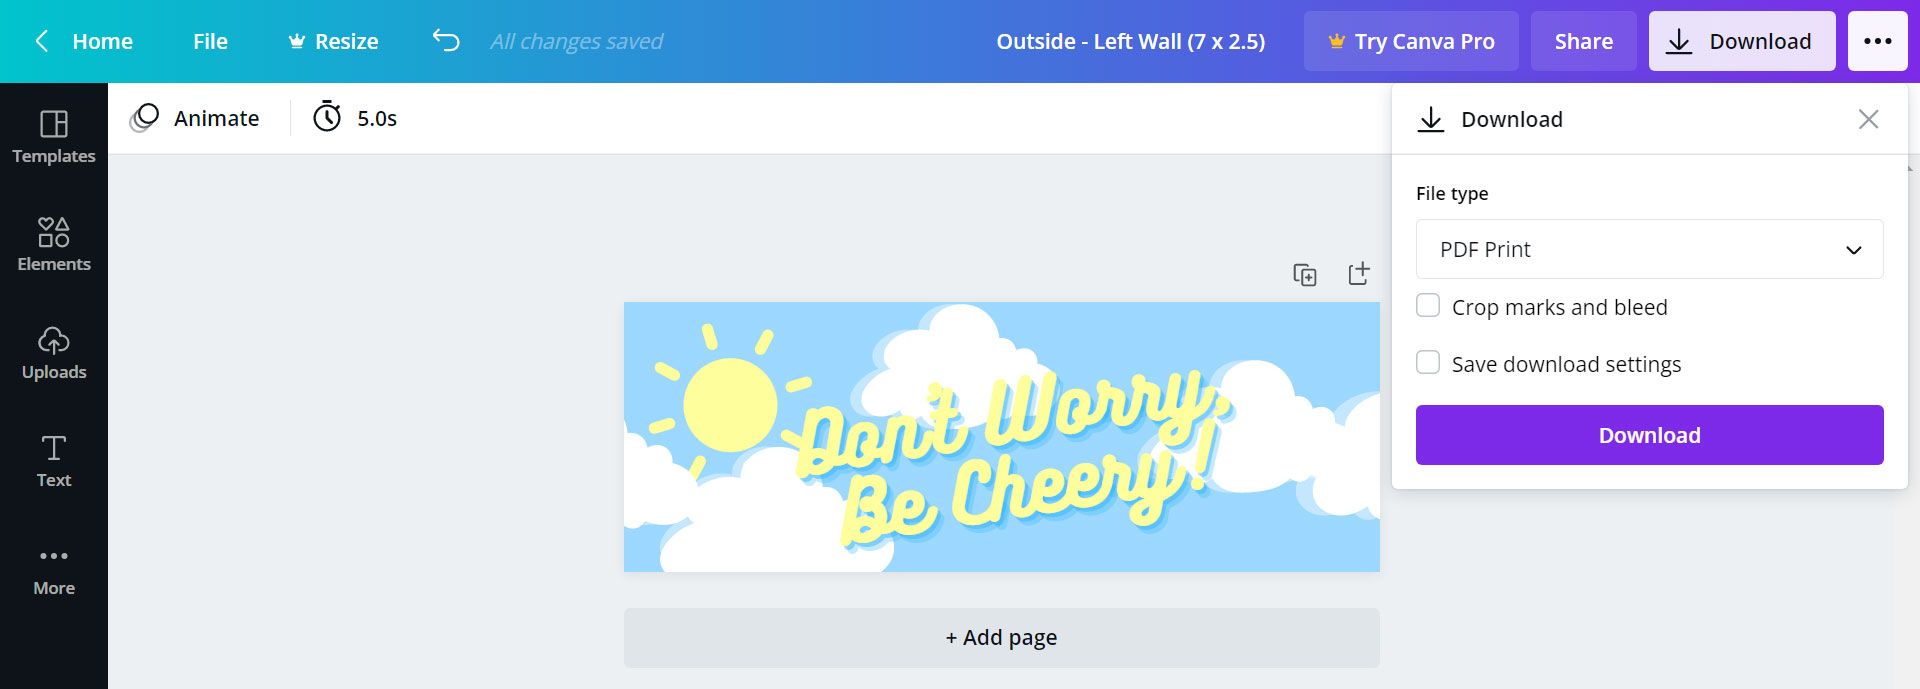
Repeat this process until you have your design for all panels of your box!
Top Panel

Back Panel
Bottom Panel
Left Wall Panel
Right Wall Panel
Front Panel
Important note: Keep in mind that when you are designing in Canva, all colors that you see on screen are in RGB mode. When it comes to print, the colors will be in CMYK, and currently there isn't an option to view colors in CMYK mode in Canva. Nonetheless, you can download your designs as a PDF and convert them to CMYK using a tool like this, which will allow you to see your designs which will closely resemble the colors that will be printed. If you're happy with the outcome, then great! Otherwise, we'd suggest going back into Canva and altering the colors on screen until the colors in the converted PDF turn out as expected. More info on RMB vs CMYK can be found in this blog post.
Step 4 - Add designs to a dieline
Once you've saved all of your designs, these now need to be placed on the appropriate part of the dieline.
If you have access to Adobe Illustrator, open the dieline file in Adobe Illustrator, then drag each file onto the appropriate part of the dieline.
Otherwise, feel free to share your artwork files with us on our platform. Our team will review your artwork and get back to you if any modifications need to be made!
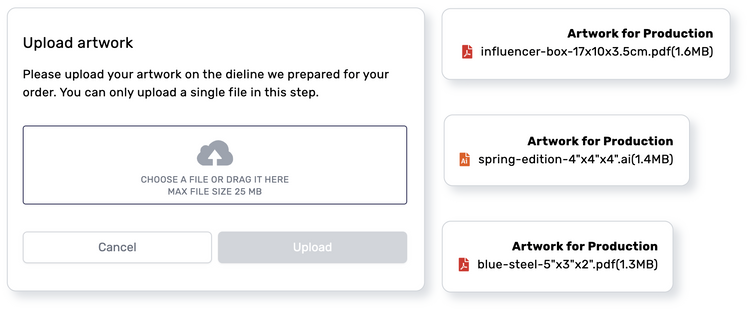
We'd suggest compressing all of your images together into one zip file, and please make sure that all files are named appropriately.
And there you have it! An alternative way to design your packaging using a free tool like Canva. Even if you have minimal design skills or knowledge in packaging design, you'll be able to independently create a beautiful packaging design on your own.