
Whether on social media or your website, you always want to make a good impression on your customers. These impressions help in ensuring your customers view your brand in a good light and spread word about your products. In order to come across these great impressions, brands often rely on photos of products and packaging. Images are the easiest and most eye-catching way to gather information about your products.
However, it is not only important that your photos look aesthetically pleasing but also should also reflect the true nature of your products and packaging. This includes showcasing quality and features as they are. Often, the failure to do so results in negative reviews which can cause potential customers to choose your competitors over your brand.
In order to get the best results along with positive reviews about your products, you must put effort into your product and packaging photography. No, that doesn’t mean you need to put in several hundreds of dollars into hiring a professional photographer. Here are 4 easy DIY tips to take polished and top-notch product and packaging photographs.
1 - Give your smartphone camera a shot
You don’t need a state of the art camera to get good looking pictures of your products and boxes. Smartphone cameras today are only getting better in terms of quality, and what you have today would usually do the trick. You should ensure the following to make sure your photos don’t turn out grainy or low quality.
- The camera is 12 megapixels or above. This would be ideal to get good quality photos that can be zoomed into and edited with ease.
- Ensure you manually change the settings to suit the conditions you are shooting in.
- Invest in a tripod or smartphone stabilizer to make sure your images are not blurred or shaky.
- If you have smaller products like jewelry, consider buying add-ons lenses that can help take more focused photos or macros.
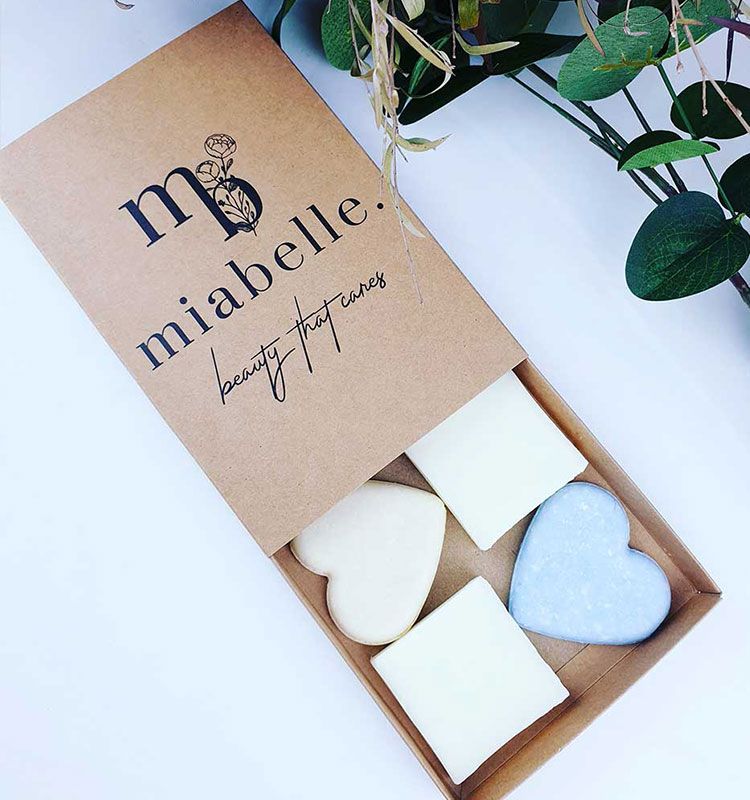
2 - Consider backgrounds with a pop of color or create a scene
A white background can help in making your custom boxes or unique products stand out but this doesn’t mean the opposite for colored backdrops or having a scene in the background. In fact, having bold colors can aid in creating a contract and make the whole image pop!
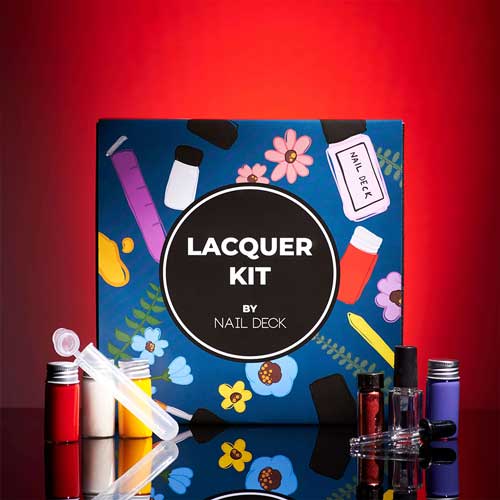
If you’re not a fan of plain colors in the background and want something more natural, why not try creating a scene around your product or packaging? Add in items and furniture that help your customers understand your product better, the uses for it, and in a sense get a glimpse of how it would be to own it. The more relatable your scene, the better it is.
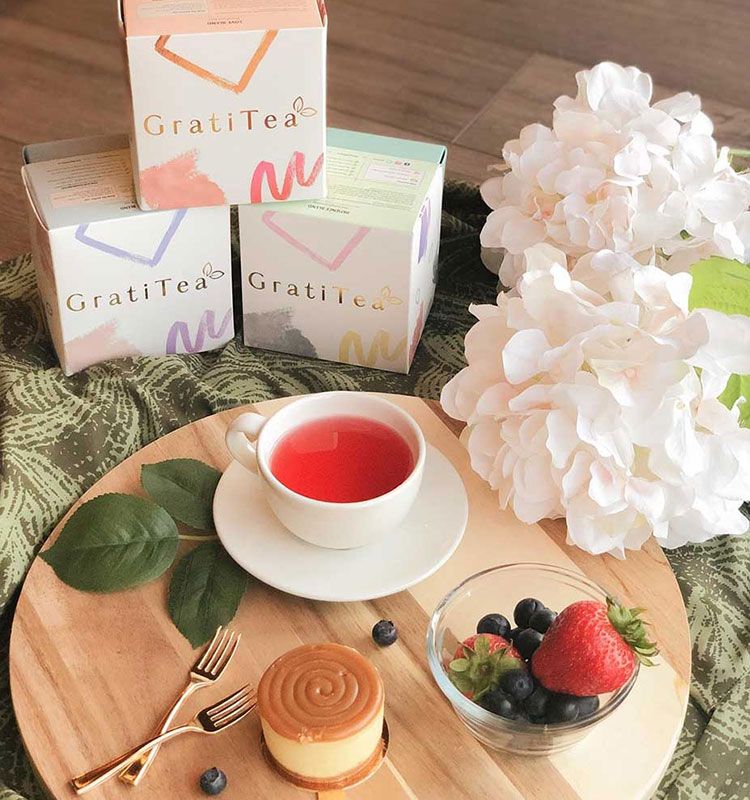
In the image above, GratiTea created a scene by placing a warm cup of tea and cake at a table alongside their tea packages. This photo makes it easier for customers to get a feel for the brand as being a self-care company selling different flavors of tea.
3 - Show all product variations for best comparison
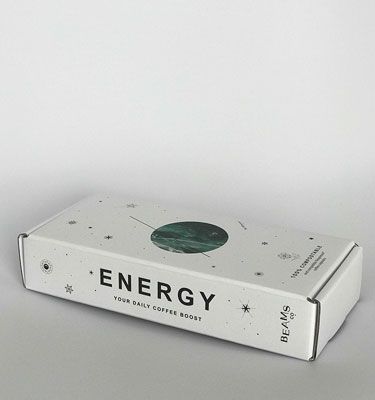
When it comes to positioning your packaging boxes, try and include the different kinds of products you have to offer. For example, BEAMS, a coffee company, included all their coffee flavors in some of their photos so their customers are aware of all the available options before making a purchase.
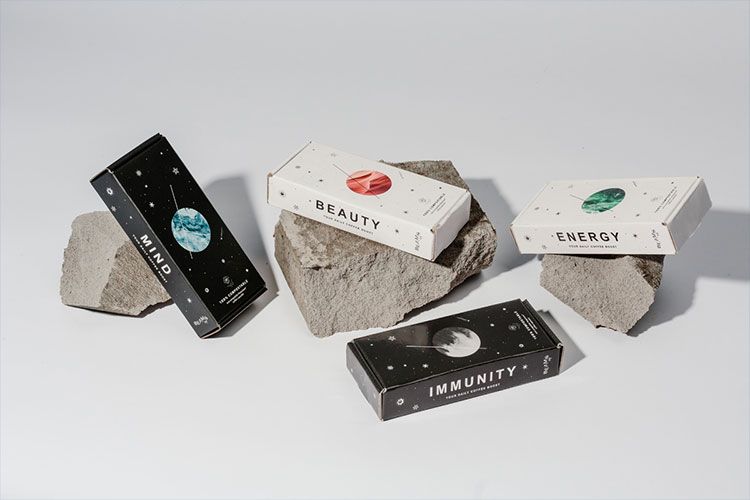
If you are selling products in different colors, make sure you show them in your photos. Your customers probably won’t imagine what the product looks like in another color, showing them would also promote you as a brand that is confident in all their product offerings.
4 - Experiment with angles
People like photos that are angled differently since this is something that they’re usually not used to seeing and hence catches their eye instantly. Angle your products to provide a close-up of any important features or elements that could make your brand stand out from competitors’. Also, focus on the angles when taking photos in natural lighting. Since you cannot control the direction in which the light is falling, angle your product to create shadows and soft edges in the right places.
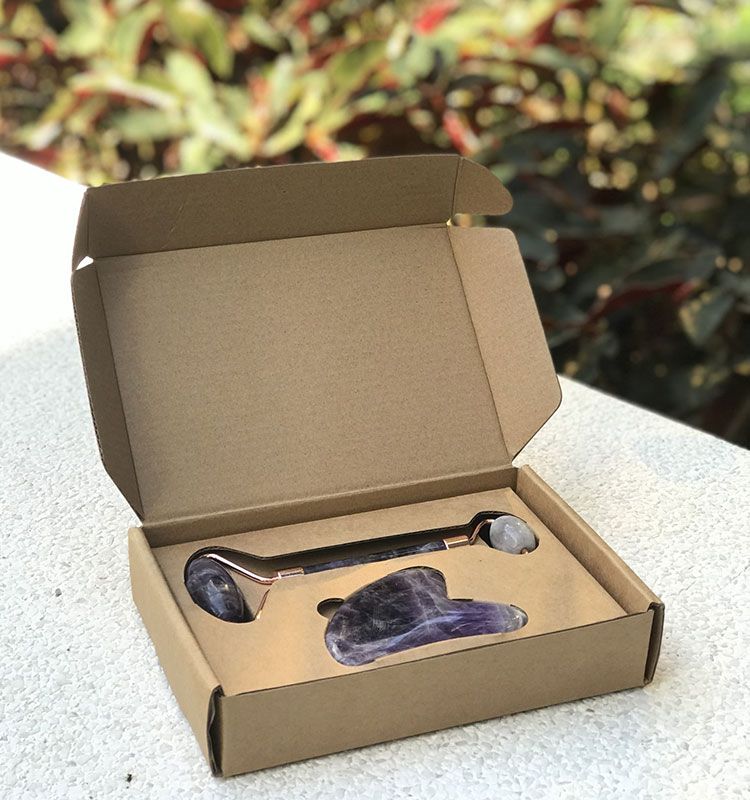
When taking product photos of our boxes, we always make sure to angle the boxes in different directions to capture the shape of the box, the printing and design on all sides, and give the customers a proper look at the product without them being physically present.
Once you have your images, it is just a matter of editing them to give them that professional touch, and voila! You have website ready images at minimal costs. Get started on your own DIY product and packaging photography to grab the attention of potential customers in an otherwise competitive eCommerce environment.
For more inspiration, check out these packaging design examples!